Wednesday, October 14, 2026

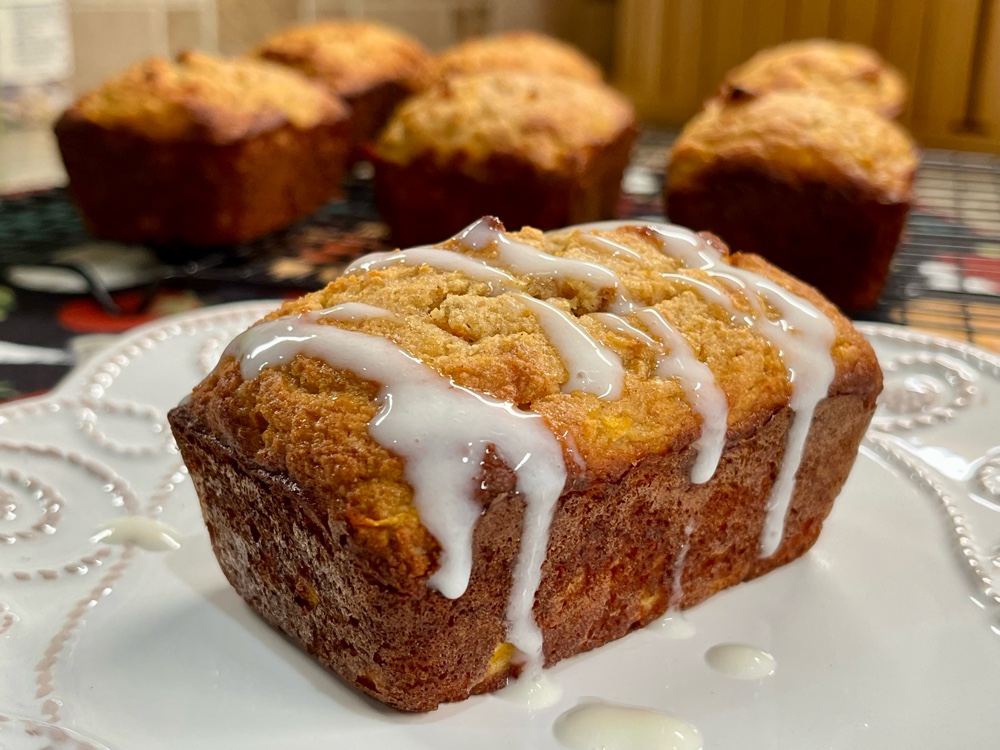
Low Carb Carrot Nut Bread with Sour Cream Glaze

Low Carb Carrot Nut Bread with Sour Cream Glaze

If you’ve never had a fresh carrot directly from the garden, you’ve really never had a good carrot! The bagged carrots are weeks or more old by the time you buy them in your grocery store. The taste difference is truly remarkable! This is the season for fresh carrots and this delicious tea bread is a great way to enjoy them. Also, this bread makes a wonderful gift for the holidays! And because it freezes well, it can be made ahead of time.

Low Carb Carrot Nut Bread with Sour Cream Glaze
Makes 1 large loaf or multiple mini loaves (12 servings)

For the Bread:
½ cup chopped walnuts (or pecans)
90 grams coconut flour (about ¾ cup)
1/3 cup unflavored whey protein powder
½ teaspoon salt
1 teaspoon ground cinnamon
1/4 teaspoon ground mace (or nutmeg)
½ teaspoon baking soda
1 ½ teaspoon baking powder 
1/4 teaspoon xanthan gum 
6 large eggs, room temperature 
2/3 cup brown sugar alternative sweetener, packed
½ cup avocado oil
1/4 cup sour cream
1 ½ cups grated carrots (from about 2 carrots)

For the Glaze:
6 tablespoons allulose sweetener 
1/4 cup sour cream
1/4 teaspoon vanilla extract
2 teaspoons water

1. Preheat the oven to 350°F. Lightly grease an 8 1/2“ x 4 1/2“ loaf pan; line with parchment paper, leaving a 2 inch overhang on long sides. (Or grease the cavities in a mini loaf pan. This recipe makes four mini loaves or eight individual size mini bread loaves.) Spread the walnuts or pecans on a rimmed baking sheet and toast until fragrant, 5 to 7 minutes. Chop them and set aside.

2. Whisk together the coconut flour, whey protein powder, salt, cinnamon, mace or nutmeg, baking soda, baking powder, and xanthan gum in a bowl. In another bowl, or in the bowl of your standing electric mixer, whisk together the eggs, brown sugar substitute, oil, and sour cream. Add the dry ingredients to the wet ingredients and whisk to combine. Fold in the carrots and walnuts. Transfer the batter to the prepared pan(s); smooth the top.

3. Bake for 1 hour to 1 hour and 10 minutes or until the internal temperature is between 200–206°F. Cool in pan on wire rack for 10 minutes. (Adjust time if baking mini loaves, about 20 to 25 minutes depending on size. Internal temperature will determine when they are done.)

4. Make the glaze by whisking together the allulose sweetener, sour cream, vanilla, and water in a bowl until smooth. Pour over loaf and cool completely in pan. Or, if you prefer, top the cooled bread with glaze when served. (This is especially nice when serving individual size mini breads.)
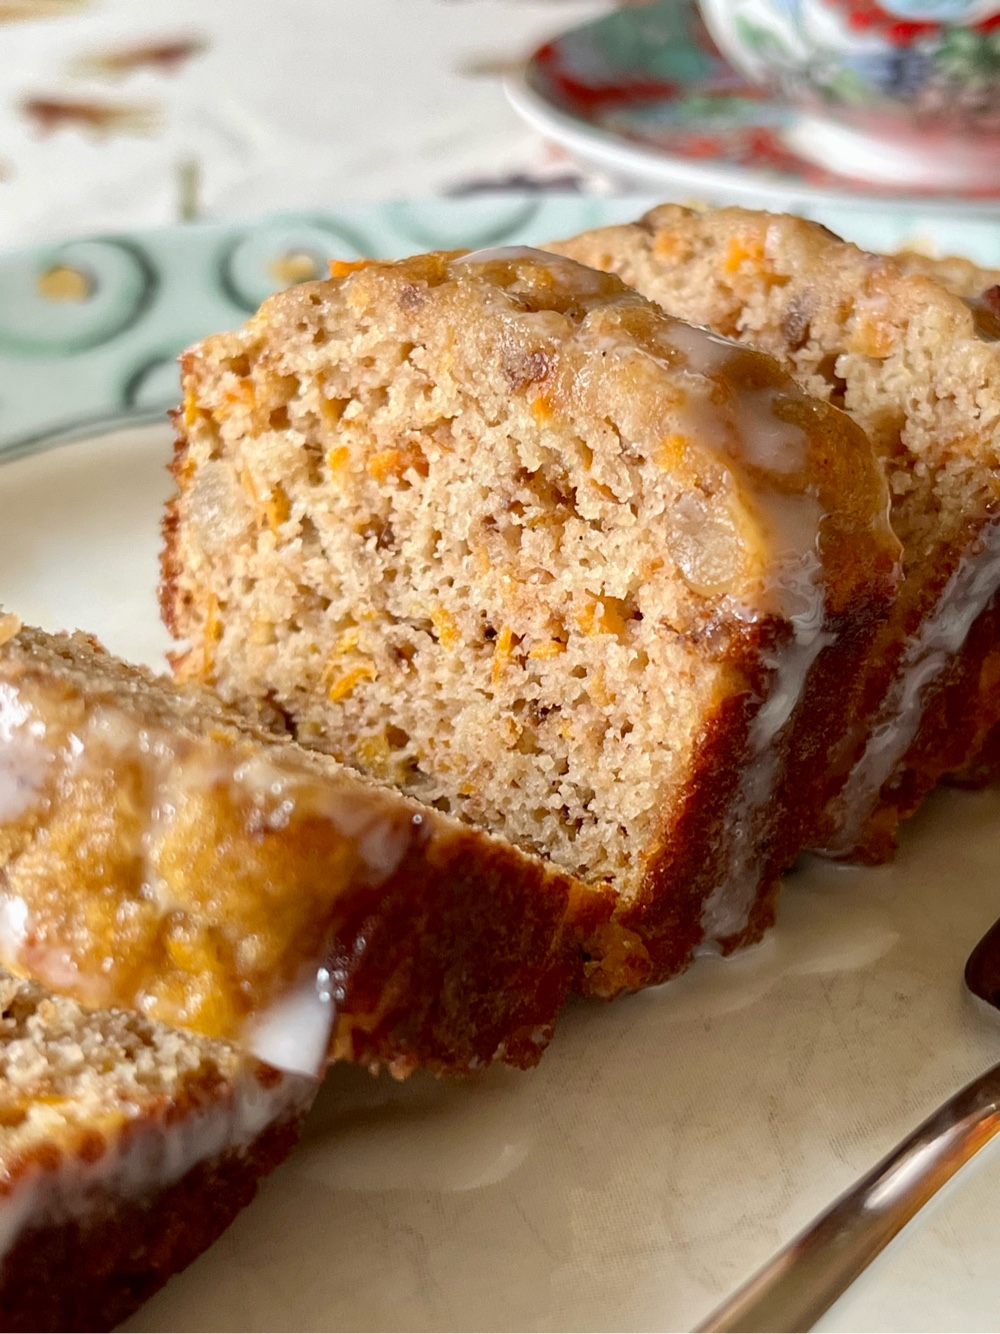
Sliced Carrot Nut Bread

5. Bread can be well wrapped and stored at room temperature for 3 days. Refrigerate for longer storage. Unglazed bread freezes beautifully. Wrap very well and freeze for up to two months. Thaw and serve at room temperature.
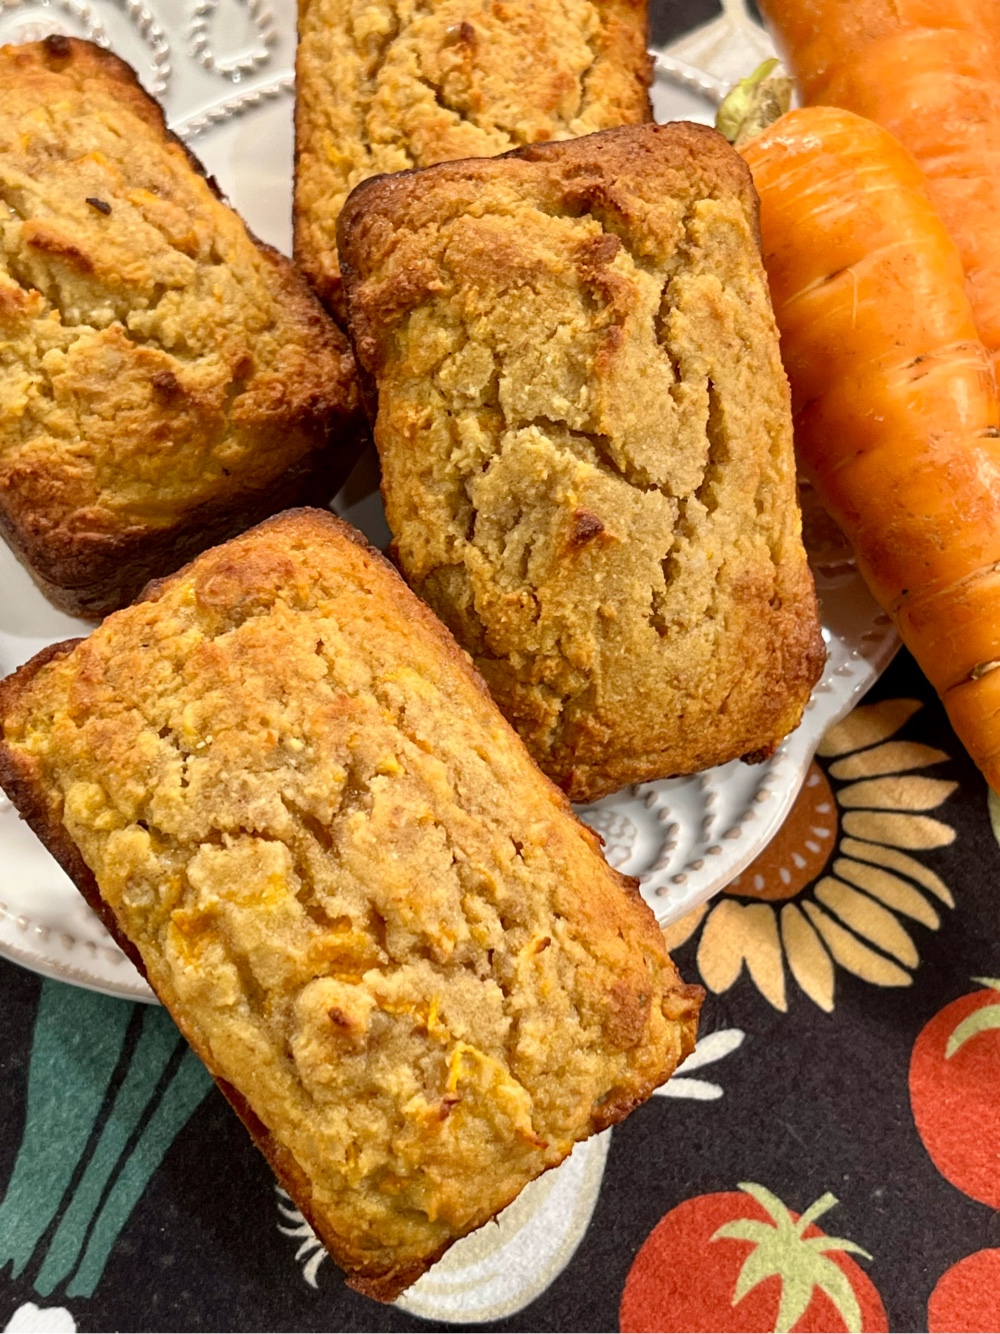
Unglazed Carrot Nut Mini Breads

Nutritional Information per 1/12th of recipe with glaze: 231 calories, 8.6 g carbohydrate (3.5 g dietary fiber, 2.2 g sugars), 17.9 g total fat (4.6 g saturated fat, 0 g trans fat), 111 mg cholesterol, 186 mg sodium, 95.2 mg calcium, 110 mg potassium, 1 mg iron, 1 mg Vit C, 754 IU Vit A, 10.1 g protein. Net carbs per serving: 5.1 grams

Recipe and photos by Kathy Sheehan, copyright 2026
All rights reserved. Please do not duplicate without the author’s permission.

Tuesday, September 29, 2026

Low Carb Pear, Ginger and Chocolate Cake

Low Carb Pear, Ginger and Chocolate Cake

Pear and chocolate is a traditional European (particularly French and Italian) pairing valued for how the soft, juicy sweetness of pears balances the rich, bitter, dark chocolate. This recipe takes it a step further by adding ginger, which is a modern addition, but adds even more complexity and flavor. Best of all, this delicious loaf cake is low-carb! You can bake it in an 8” x 4” loaf pan or make individual mini cakes or muffins that are perfect to serve with afternoon tea. 

Low Carb Pear, Ginger and Chocolate Cake

Makes 10-12 servings

96 grams coconut flour (about ¾ cup plus 2 tbsp, but weighing is best)

1/3 cup unflavored whey protein powder

1 ½ teaspoon baking powder

½ teaspoon baking soda

1/4 teaspoon xanthan gum

1 teaspoon ground cinnamon 

1 teaspoon ground ginger

1/4 teaspoon salt

½ cup unsalted butter, softened

½ cup allulose sweetener

1/4 cup brown sugar alternative sweetener, packed (I used Truvia Brown)

4 large eggs

4 large egg whites

1/4 cup low carb milk of choice

1 teaspoon vanilla extract 

1 ½ tablespoons crystallized ginger, finely chopped

2/3 cup fresh Bartlett or Bosc pear, cored, peeled and chopped into small dice

½ cup dark or semi sweet sugar free chocolate chips


1. Preheat the oven to 325°F and grease an 8” x 4” loaf pan. Line the bottom and sides with parchment paper and grease the corners or any place not lined with the parchment paper sling.

2. In a medium bowl, whisk together the coconut flour, whey protein powder, baking powder, baking soda, xanthan gum, cinnamon, ground ginger and salt.

3. In a separate large bowl, beat the softened butter, allulose and brown sugar sweetener together with an electric mixer until light and fluffy, about 2 to 3 minutes. Beat in the eggs and egg whites one at a time, followed by the vanilla extract and low carb milk.

4. Beat in the dry ingredients until smooth. Fold in the chopped pears, crystallized ginger and chocolate chips.

5. Spoon the batter into the loaf pan (or divide the batter among the cavities of a mini loaf pan or muffin tin, filling each cavity 3/4 full). Smooth the top. Bake the loaf for 50 to 55 minutes or until the internal temperature reaches between 200–206°F. (Note: If making muffins or mini breads, reduce the baking time to 18 to 25 minutes, depending on the pan size. The internal temperature is the best way to gauge when they are done.)

6. Let the bread cool in the pan on a wire rack for 15 minutes. Use the parchment paper handles to carefully lift the loaf out, and let it cool completely on the rack before slicing. (Similarily, if making mini breads or muffins, let them cool in the pan for 5 to 10 minutes before removing them to a wire rack to cool completely.)

7. Storage: Cake can be stored at room temperature for 1-2 days. Refrigerate for longer storage. Cake, mini breads or muffins can be wrapped with plastic wrap and frozen for up to a month. This cake is best if served at room temperature.

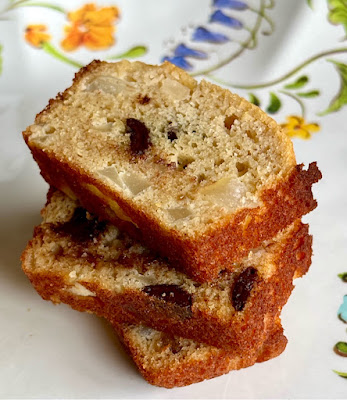
Slices of Mini Cake

Nutritional Information per serving (1/12th of recipe): 188 calories, 11 g carbohydrates (4.5 g dietary fiber, 2.2 g sugars, 1 g sugar alcohols), 12.5 g total fat (7.9 g saturated fat, 0 g trans fat), 94 mg cholesterol, 252 mg sodium, 47.4 mg calcium, 101 mg potassium, 1 mg iron, 108 IU Vit A, 9.5 G protein. Net carbs per serving: 5.5 grams

Recipe and photos by Kathy Sheehan, copyright 2026. 

All rights reserved. Please do not duplicate without the author’s permission.

Friday, April 3, 2026

Low Carb Mini Honey Lemon Cakes

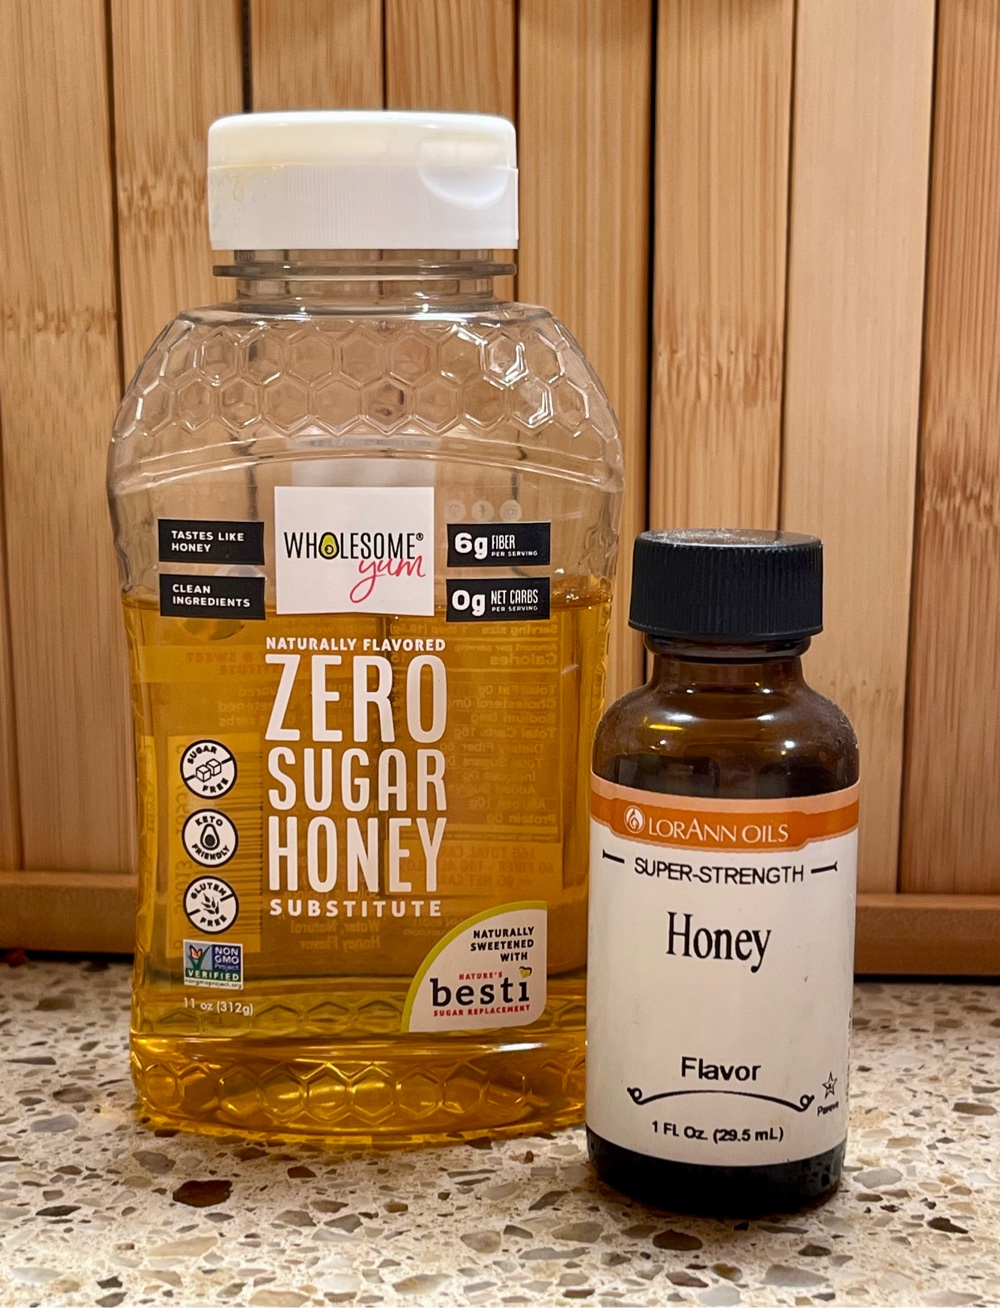
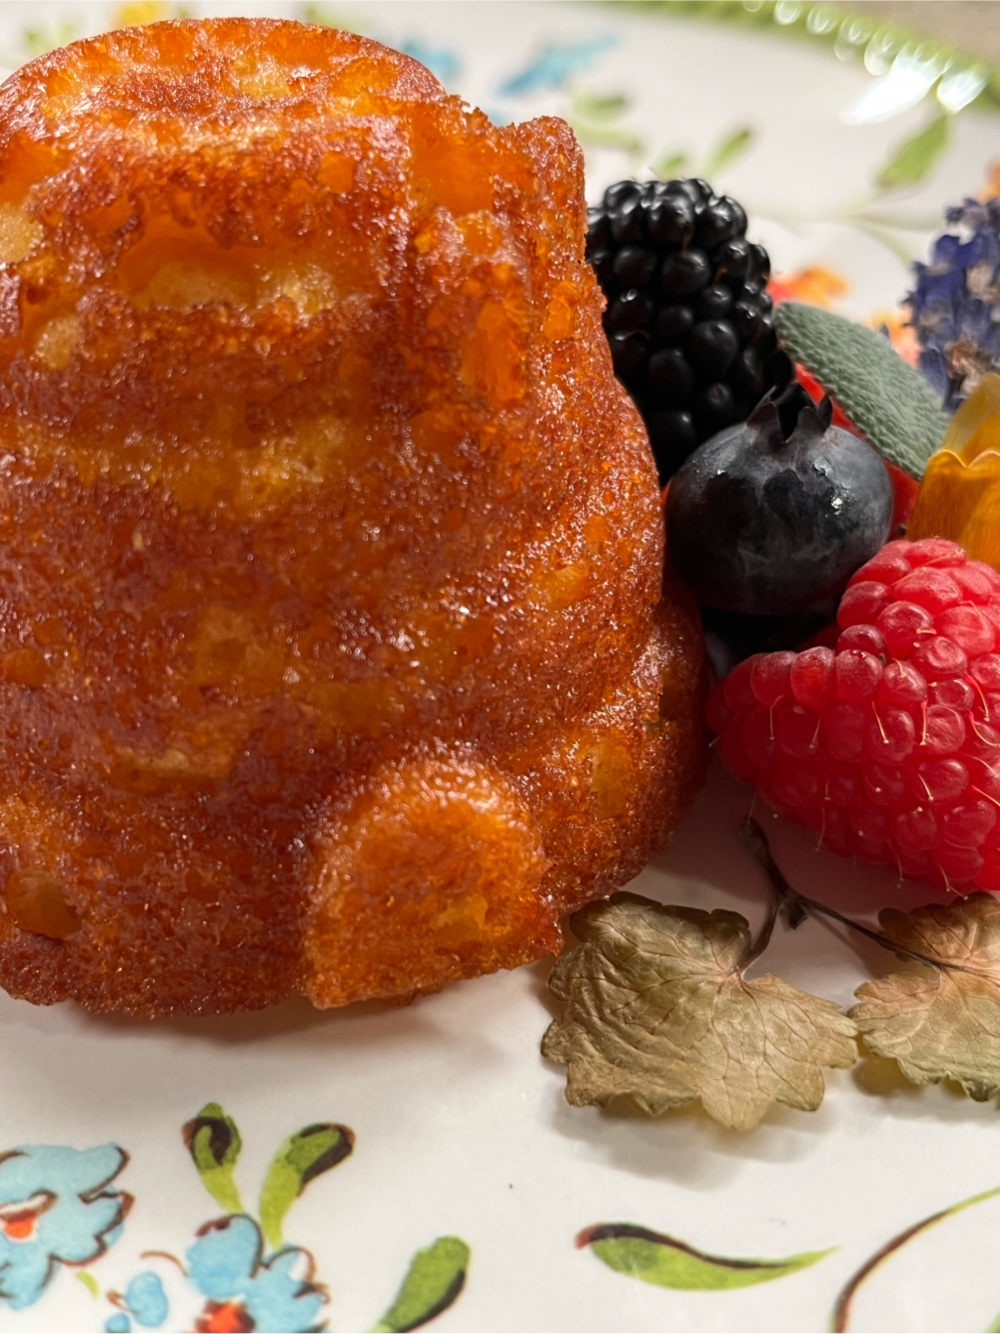
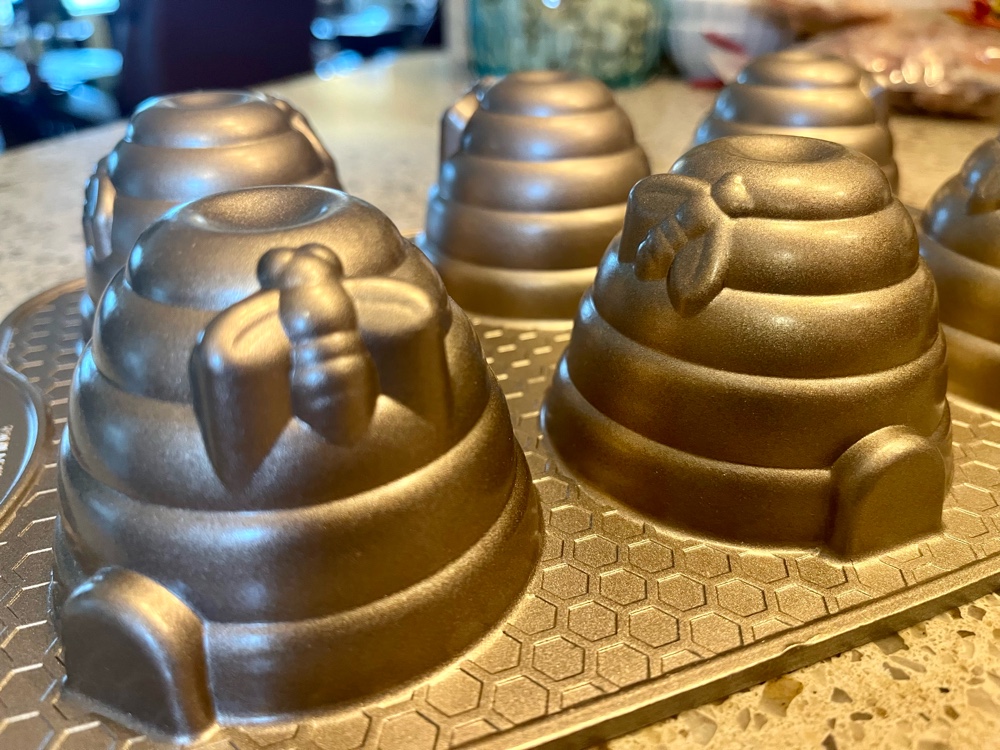
I got an adorable Nordic Ware mini cakelette baking pan in the shape of little beehives, so honey flavored cakes immediately came to my mind. If you’ve never tried sugar free, keto allulose honey, I highly recommend it. It really does taste like honey, but zero carbs! The brand I used is from Wholesome Yum, but you can find other honey flavored liquid allulose online, which would work equally as well in this recipe.


Low Carb Mini Honey Lemon Cakes
Makes 6 cakelettes (or cupcakes)

Cake Ingredients:
7 tablespoons coconut flour
1/4 cup granulated allulose sweetener
3 tablespoons unflavored whey protein powder
1½ teaspoons baking powder
1/8 teaspoon salt
3 large eggs, room temperature 
1/4 cup liquid allulose honey
2 teaspoons lemon zest
1/4 cup unsalted butter, melted and cooled a bit
1/4 cup unsweetened low carb milk of choice
1/4 teaspoon honey flavored extract (or vanilla extract)
1/4 teaspoon lemon extract

Glaze Ingredients:
2 tablespoons liquid allulose honey
1 tablespoon unsalted butter
1½ teaspoons fresh lemon juice


1. Preheat the oven to 325°F. Grease the mini beehive cakelette pan or six wells of a muffin tin, making sure to grease well all the nooks and crannies of the mini cakelette pan.

2. In a medium bowl, sift together the coconut flour, granulated allulose sweetener, whey protein powder, baking powder, and salt and whisk until no lumps remain. In a large bowl and using an electric mixer, beat the eggs and liquid allulose honey on high until light in color and increased in volume. Add the lemon zest, melted butter, low carb milk, and extracts and whisk on low until well combined. Add the dry ingredients and beat on low just until there are no lumps and the batter is smooth.

3. Divide the batter evenly among the prepared pans and tap the pan on the counter to help settle the batter into the bottom of the cake molds and remove any air bubbles. Smooth the tops. Bake for 18 to 22 minutes, until lightly browned, the tops are just firm to the touch and a toothpick comes out clean. (The internal temperature should read between 200°F and 206°F.)

4. Remove from the oven and let the cakes cool in the pan for five minutes. Then flip the cakes out onto a wire rack before glazing.

5. To make the glaze: Combine the 2 tablespoons allulose honey, 1 tablespoon butter and lemon juice in a microwave-safe bowl or in a small sauce pan set over low heat. Heat until the butter is melted and whisk until smooth. Brush the glaze onto the warm cakes. The cakes can be stored at room temperature in a sealed container for up to 3 days, or can be stored in the refrigerator for longer. Serve cakes at room temperature or slightly warmed for the best flavor and texture.

Nutritional Information per serving: 193 calories, 7.5 g carbohydrates (3 g dietary fiber, 1.6 g sugars), 13.9 g total fat (8.5 g saturated fat, 0 g trans fat), 133 mg cholesterol, 260 mg sodium, 70.8 mg calcium, 78 mg potassium, 136 IU Vit A, 1 mg iron, 10.5 g protein. Net carbs per serving: 4.5 grams

Photos and recipe by Kathy Sheehan, copyright 2026
All rights reserved. Please do not duplicate without the author’s permission.


Sunday, March 29, 2026

Sugar Free Carrot Relish (Hart’s Turkey Farm Copycat Recipe)


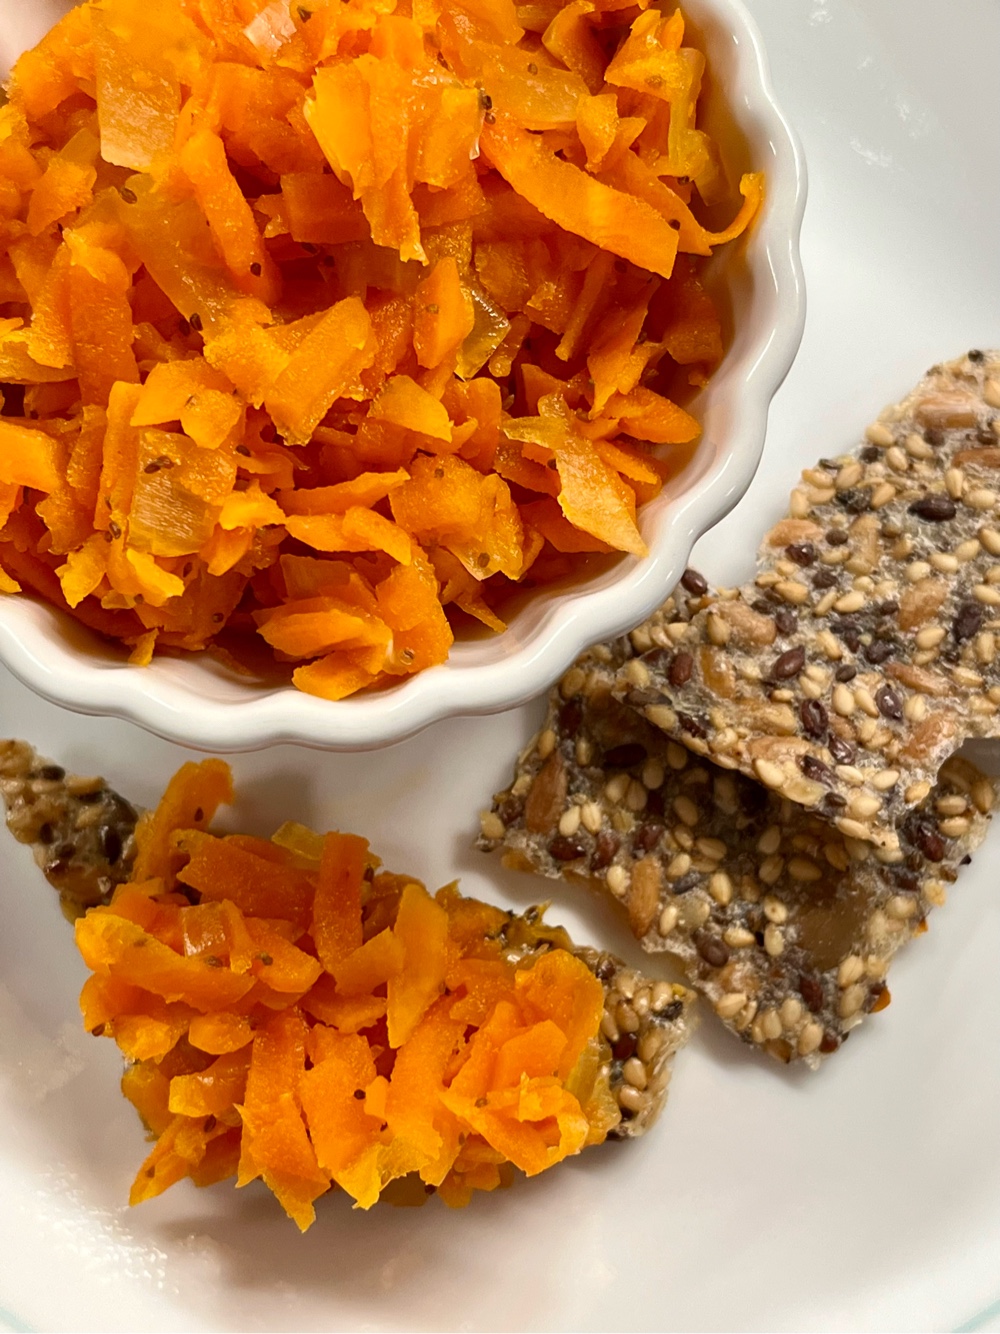
If you have ever been to Hart’s Turkey Farm Restaurant in Meredith, New Hampshire, then you will know of their delicious carrot relish that is served with saltine crackers as an appetizer. Traditionally, carrot relish is overloaded with sugar! This recipe uses allulose/monkfruit as its sweetener, which slashes the carb count significantly. I think you will find this sugar-free version just as delightful as the carrot relish that is so acclaimed at one of my favorite restaurants.

Sugar Free Carrot Relish
Makes 1 pint (32 servings)

3 cups shredded carrots, shredded on the big holes of a box grater
½ onion, chopped
A pinch of ground cayenne (or a dash or two of hot sauce)
1 teaspoon celery seed
½ teaspoon sea salt
1/3 cup allulose Monkfruit sweetener, or to taste
9 tablespoons apple cider vinegar 
1/4 cup water
Low carb crackers to serve

1. Add all the ingredients (except the crackers) to a heavy medium sauce pan. Bring to a boil and simmer for about 30 minutes on medium low heat, stirring occasionally. Simmer until the liquid is absorbed and the vegetables are tender. Spoon into a pint-size glass jar and cool completely before serving.

2. Serve with low carb crackers. Also, this relish is a very nice addition to a cheese platter. Spoon it directly onto a slice of cheddar cheese and enjoy!

Nutritional Information per tablespoon: 7 calories, 1.8 g carbohydrate (0.3 g dietary fiber, 0.6 g sugars), 0 g total fat, 0 mg cholesterol, 15 mg sodium, 5 mg calcium, 37 mg potassium, 520 IU Vit A, 1 mg Vit C, 0 g protein. Net carbs per serving: 1.5 grams

Photo and recipe by Kathy Sheehan, copyright 2026
All rights reserved. Please do not duplicate without the author’s permission.
Saturday, February 14, 2026

Low Carb Clotted Cream Ice Cream


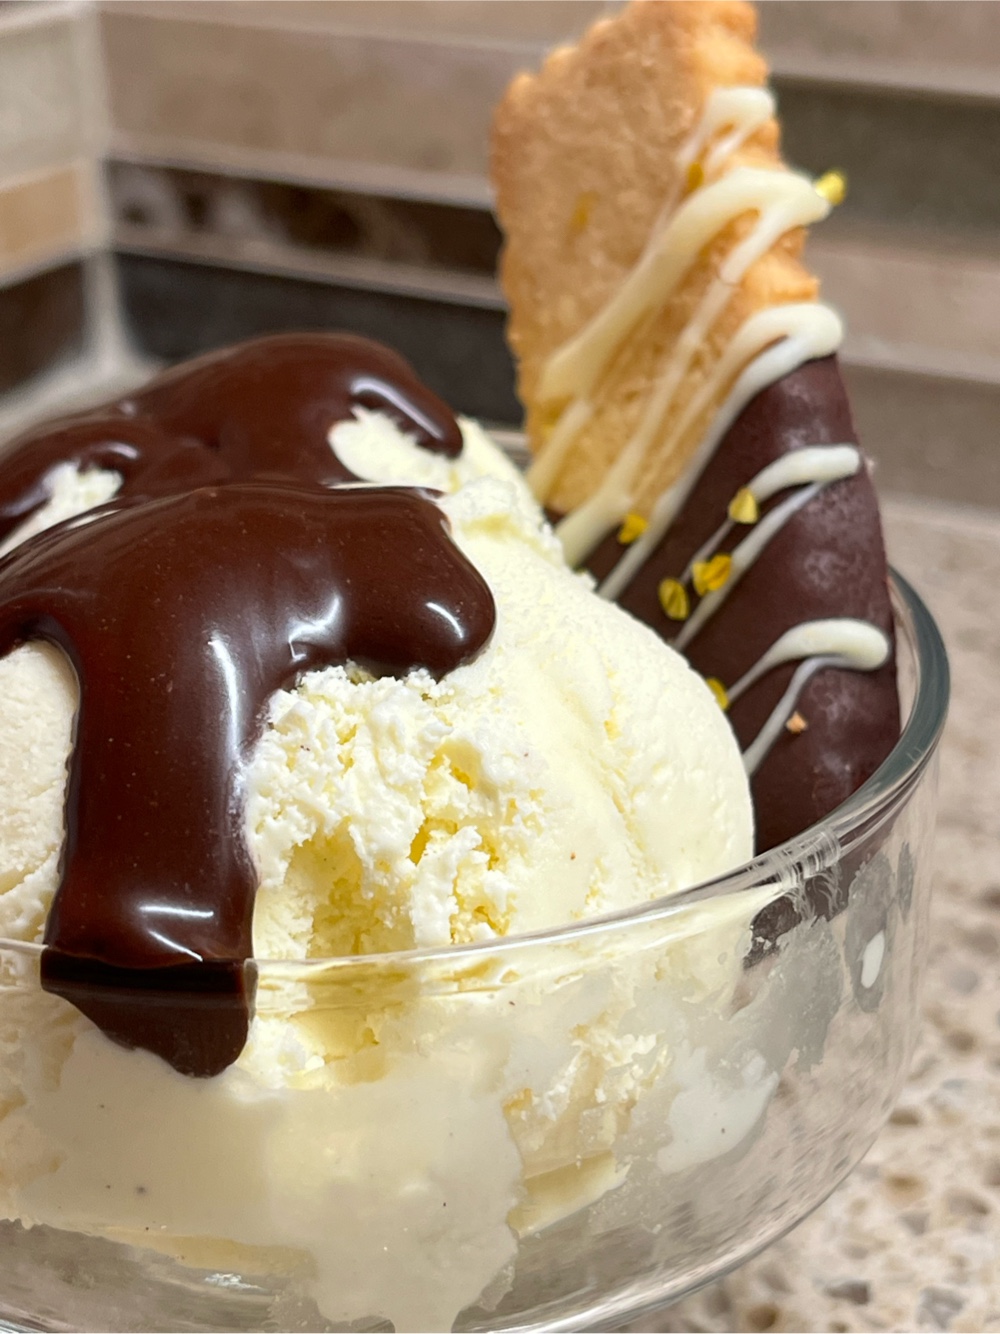
Low Carb Clotted Cream Ice Cream with sugar free chocolate sauce

I was browsing the internet and learned there was such a thing as Clotted Cream Ice Cream! Of course, I had to give this a try, but sugar free and low carb. The final result is the BEST frozen custard ice cream I’ve ever had! If you want a low carb vanilla ice cream that is decadent beyond belief, this is the recipe for you.

Low Carb Clotted Cream Ice Cream
Makes 10 servings

1 cup whole milk (I used Fairlife brand, which is half the carbs of regular whole milk)
1 ½ cups heavy cream
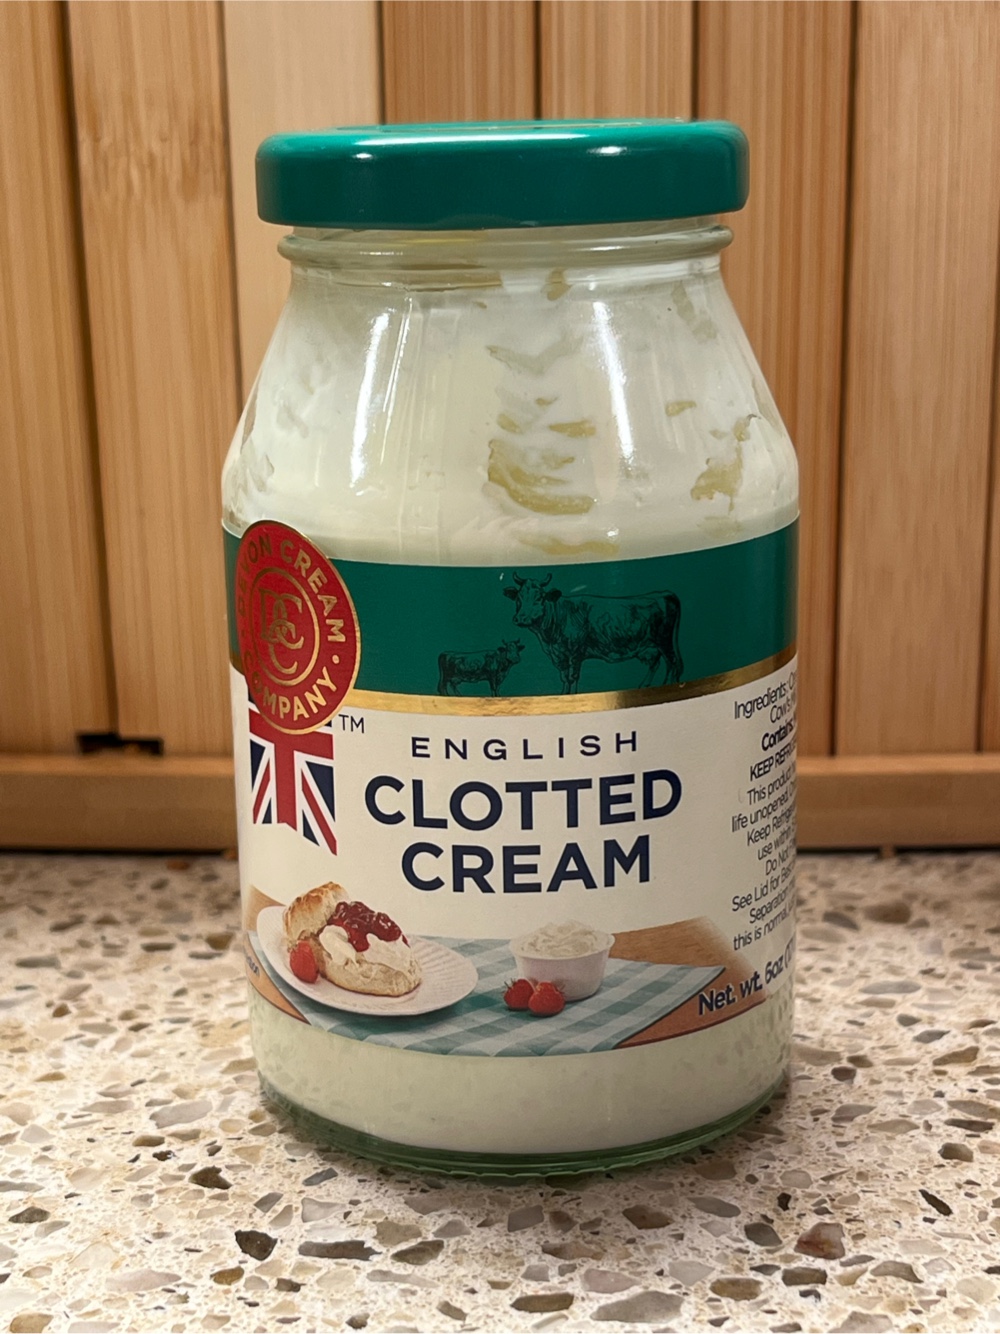
6 oz. English Clotted Cream*
3 tablespoons powdered monkfruit/erythritol sweetener (I used LaKanto Monkfruit sweetener)
A pinch of salt
4 egg yolks
6 tablespoons allulose sweetener
1 tablespoon vanilla extract

English Clotted Cream
In a heavy saucepan, whisk the milk, heavy cream, clotted, cream, powdered monkfruit sweetener and salt over medium heat until the sweetener and clotted cream are dissolved.

In a small bowl or glass measuring cup, whisk together the egg yolks and allulose sweetener.

When the milk and cream mixture begins to bubble at the edges of the pan, ladle about 1/2 cup of the warm liquid slowly into the egg yolks while whisking to temper the yolks. Then slowly add the tempered egg yolk mixture into the hot milk and cream mixture while whisking continuously. Continue whisking gently until the custard reaches 170°F and coats the back of a wooden spoon. (Do not boil or the mixture may curdle.)

Remove the saucepan from the heat, add the vanilla and stir to combine. Pour the custard through a fine mesh strainer and into a medium/large bowl. Top with plastic wrap and refrigerate until cool, about two hours.

Churn according to the manufacturers instructions for your ice cream maker. Churn until thickened, about 20 to 25 minutes. The ice cream will have a soft, creamy texture. If a firmer consistency is desired, transfer the ice cream to an airtight container and place in the freezer for at least six hours or overnight.

*Clotted Cream is sometimes referred to as Cornish Clotted Cream or Devonshire Cream. Also, if using regular whole milk instead of Fairlife brand, add 1 ½ carbs per serving.

Clotted Cream Ice Cream in pink bowl

Nutritional Information per ½ cup serving: 252 calories, 2.7 g carbohydrates (0 g fiber, 0.8 g sugars, 0.5 g sugar alcohols), 24.8 g total fat (15.4 g saturated fat, 0 g trans fat), 166 mg cholesterol, 54 mg sodium, 72 mg calcium, 35 mg potassium, 202 IU Vit A, 3.1 g protein. Net carbs per serving: 2.7 grams

Recipe and photos by Kathy Sheehan, copyright 2026
All rights reserved . Please do not duplicate without the author’s permission.

Thursday, February 5, 2026

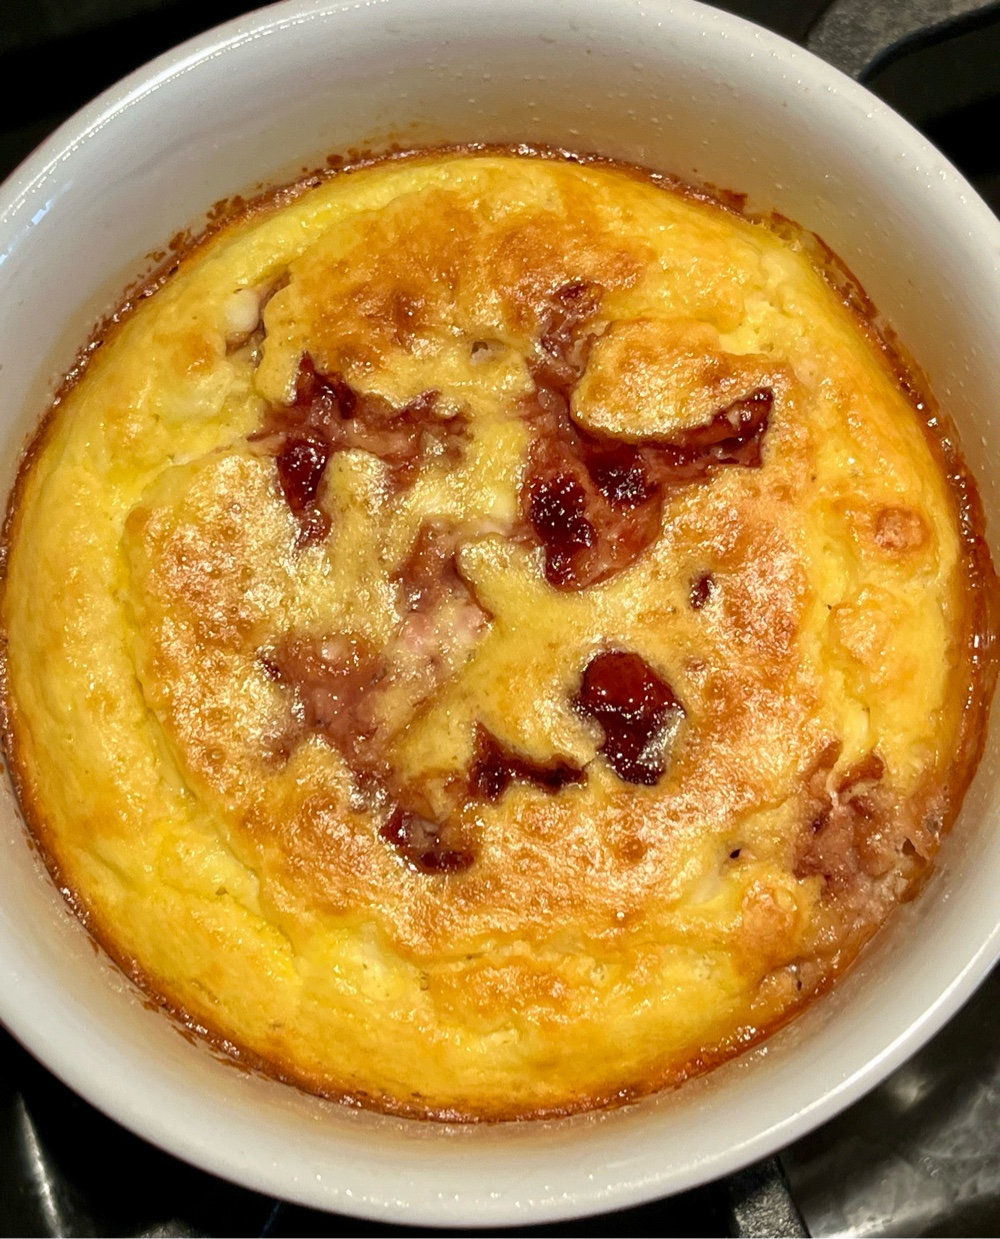
Baked Cottage Cheese Breakfast Bowl

Baked Cottage Cheese Breakfast Bowl
This high protein breakfast pudding can be made either sweet or savory! It makes one generous serving that leaves your body nourished and satisfied for hours.

Baked Cottage Cheese Breakfast Bowl
Makes 1 serving

Base Mixture:
½ cup cottage cheese (4% fat)
1 large egg
1/4 cup almond flour
1/4 teaspoon baking powder
A pinch of salt

Sweet Additions:
½ teaspoon vanilla extract
1-2 tablespoons allulose honey or sugar free maple syrup (or 6 drops monkfruit extract)
1/4 cup strawberries (chopped), or blueberries, fresh or frozen

Savory Additions:
1/4 cup ham, or cooked sausage, bacon or broccoli (chopped)
2 tablespoons shredded cheese
Freshly ground black pepper to taste
½ teaspoon chopped herbs

Preheat the oven to 350°F. Lightly grease one large oven-safe ramekin or small baking dish; set aside.

In a bowl, whisk together the base mixture of cottage cheese, egg, almond flour, baking powder, and salt until smooth.

If making sweet, whisk in your sweetener of choice and vanilla. Then gently fold in the fruit.

If making savory, add the meat or chopped broccoli, cheese, pepper and herbs to the base mixture and stir to combine.

Pour the mixture into the greased ramekin and bake for 25-30 minutes until set and lightly golden on top. Cool for about 10 minutes before serving.

Nutritional Information per serving: Varies, depending on additions to base mixture. Base mixture is 330 calories, 9.7 g carbohydrate (2 g dietary fiber, 5.2 g sugars), 22.8 g total fat (5.6 g saturated fat, 0 g trans fat), 201 mg cholesterol, 607 mg sodium, 255.6 mg calcium, 229 mg potassium, 2 mg iron, 141 IU Vit A, 24.3 g protein. Net carbs per serving: 7.7 grams.

Photo and recipe by Kathy Sheehan, copyright 2026
All rights reserved. Please do not duplicate without the author’s permission.
Monday, October 27, 2025

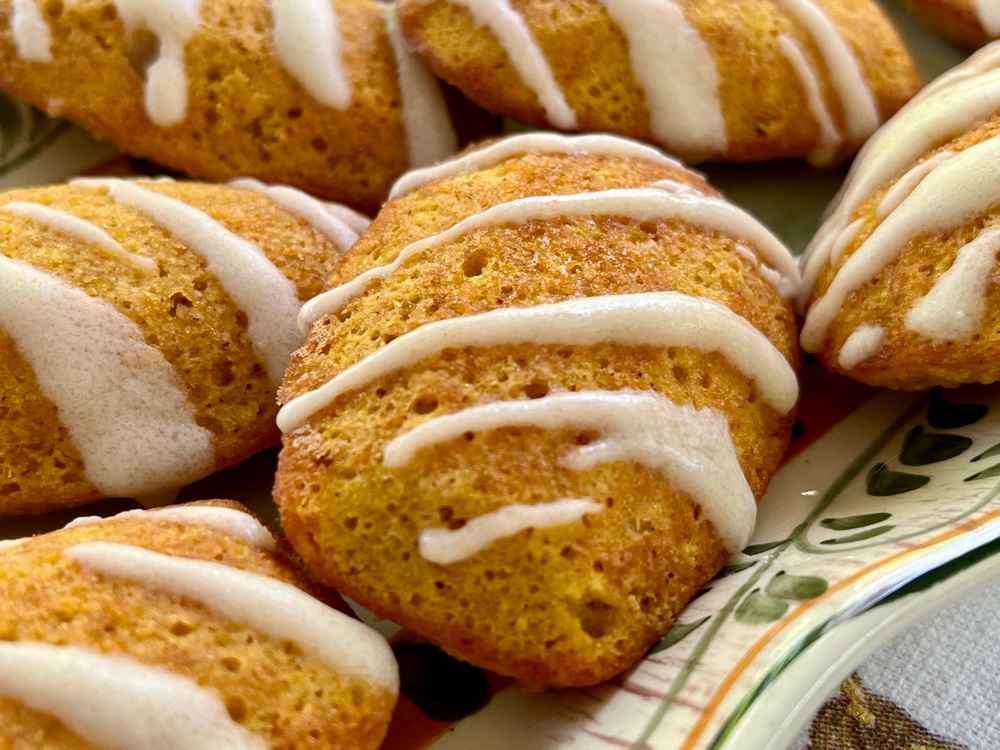
Keto Pumpkin Madeleines with Brown Butter Glaze

Keto Pumpkin Madeleines with Brown Butter Glaze
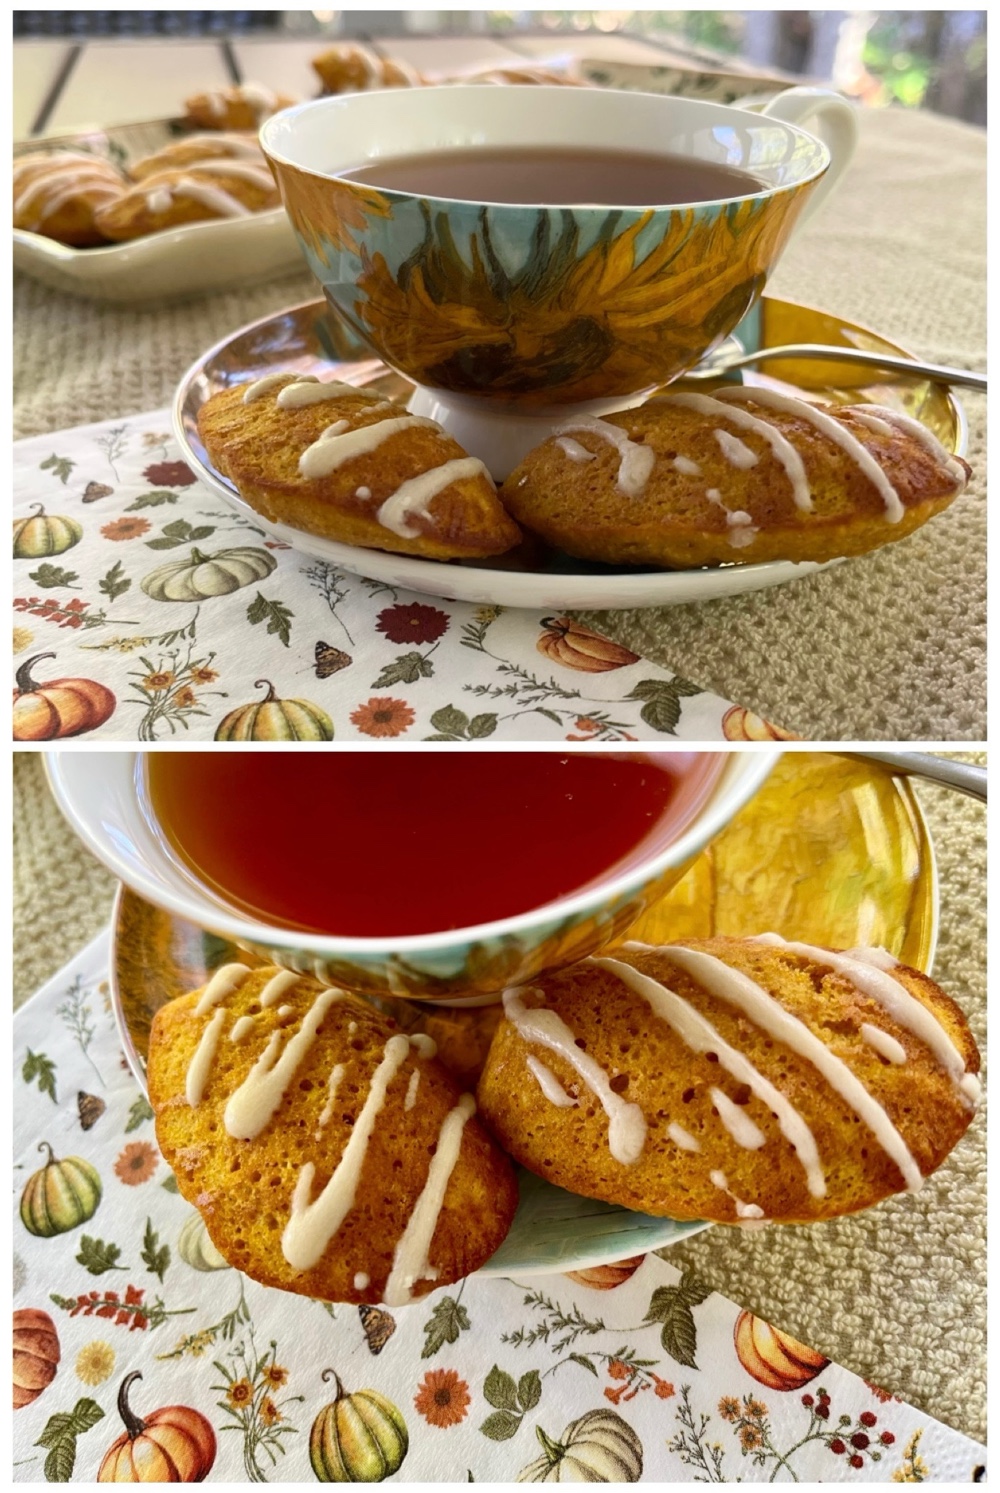
Madeleines are scallop-shaped, mini French Butter Cakes, often thought of as cookies, that are a delicious snack enjoyed with a cup of tea in the afternoon. This recipe is perfect at this time of year, when pumpkin and warm spices are most popular. You’ll need a madeleine baking pan to create that distinctive scallop shape but, if you don’t have one, a mini muffin pan will work too.

Keto Pumpkin Madeleines with Brown Butter Glaze
Makes 10-12 cookies

Madeleines:
½ cup almond flour
1 tablespoon coconut flour
2 tablespoons chickpea flour (or another 2 tablespoons almond flour)
1 teaspoon baking powder
½ teaspoon pumpkin pie spice
1/4 teaspoon salt
1/4 cup low carb brown sugar substitute sweetener 
2 large eggs, room temperature 
1 teaspoon vanilla bean paste (or extract)
1/4 cup pumpkin puree
2 tablespoons melted unsalted butter (plus 1 tbsp for greasing pan)

Brown Butter Glaze:
2 tablespoons unsalted butter 
2 tablespoons powdered erythritol-based sweetener* (see note)
½ teaspoon vanilla extract
2 teaspoons low carb milk of choice (more or less to reach proper glaze consistency)

1. Preheat your oven to 350°F. Brush the madeleine cookie pan very well with melted butter; set aside.

2. In a small bowl, whisk together the almond flour, chickpea flour, coconut flour, baking powder, pumpkin pie spice and salt; set aside.

3. In a separate bowl, add the eggs, brown sugar substitute sweetener, vanilla, bean paste or extract, pumpkin purée, and whisk vigorously until foamy, about 30 seconds. Add the melted butter and mix until well combined.

4. Add the flour mixture and whisk until while combined and the batter is smooth and creamy.

5. Spoon the batter into the madeleine baking mold just up to the rim so that it can rise and puff up nicely. Do not overfill.

6. Bake for 11 to 12 minutes, just until the sides are slightly browned and the tops are no longer moist to the touch. Do not overbake as they can crisp up like cookies. You want them soft and pillowy. While the cookies are cooling, make the glaze. 

7. These madeleines can be enjoyed immediately out of the oven and are best served freshly baked. They can be kept at room temperature for a few days or they can be refrigerated for up to a week or frozen (without glaze) for months. 

To make the Brown Butter Glaze:

1. Place the 2 tablespoons of unsalted butter into a light colored or stainless sauce pan. Heat over medium low heat until the butter is melted and stops sizzling, swirling the pan occasionally to prevent burning. Continue simmering and swirling the pan until the butter has turned a golden color. Watch carefully as it is too easy to burn the brown butter! Once the butter has browned, pour it into a small bowl

2. Add the powdered sweetener, vanilla extract, and stir until smooth. Add just enough milk, 1/2 teaspoon at a time, until the glaze has reached the proper consistency. If the brown buttered glaze ceases up, heat gently in the microwave for a few seconds and stir briskly until a smooth glaze has formed.

3. Drizzle about 3/4 of a teaspoon of glaze on each cookie in a loose striped pattern. Allow the glaze to set up for a while. The glaze will harden as it sets.

*Notes: An allulose sweetener will remain sticky and not set up properly.

Keto Pumpkin Madeleines with tea
Nutritional Information per cookie: 79 calories, 2.5 g carbohydrates (0.8 g dietary fiber, 0 g sugars), 6.6 g total fat (2.9 g saturated fat), 41 mg cholesterol, 96 mg sodium, 38.8 mg calcium, 22 mg potassium, 49 IU Vit A, 2.6 g protein. Net carbs per serving: 1.7 grams

Photos and recipe by Kathy Sheehan, copyright 2025
All rights reserved. Please do not duplicate without the author’s permission.