Hash is an easy dish that is typically made with leftover meat and potatoes. In this spectacular recipe, I’ve used riced cauliflower in place of the potatoes and added some shredded cheese to help bind it together. The cheese will brown and get crispy during the cooking and give it an authentic texture. The result is very much like the real thing! I am so please with this recipe, I can’t wait to try it with leftover roast beef next time.
3. With a spatula, turn the mixture over and stir, breaking up the cheese and incorporating it throughout the cauliflower and meat mixture. Press the mixture down with the back of the spatula into one layer and continue cooking for a few minutes, stirring and flipping occasionally, until the hash is nicely browned.
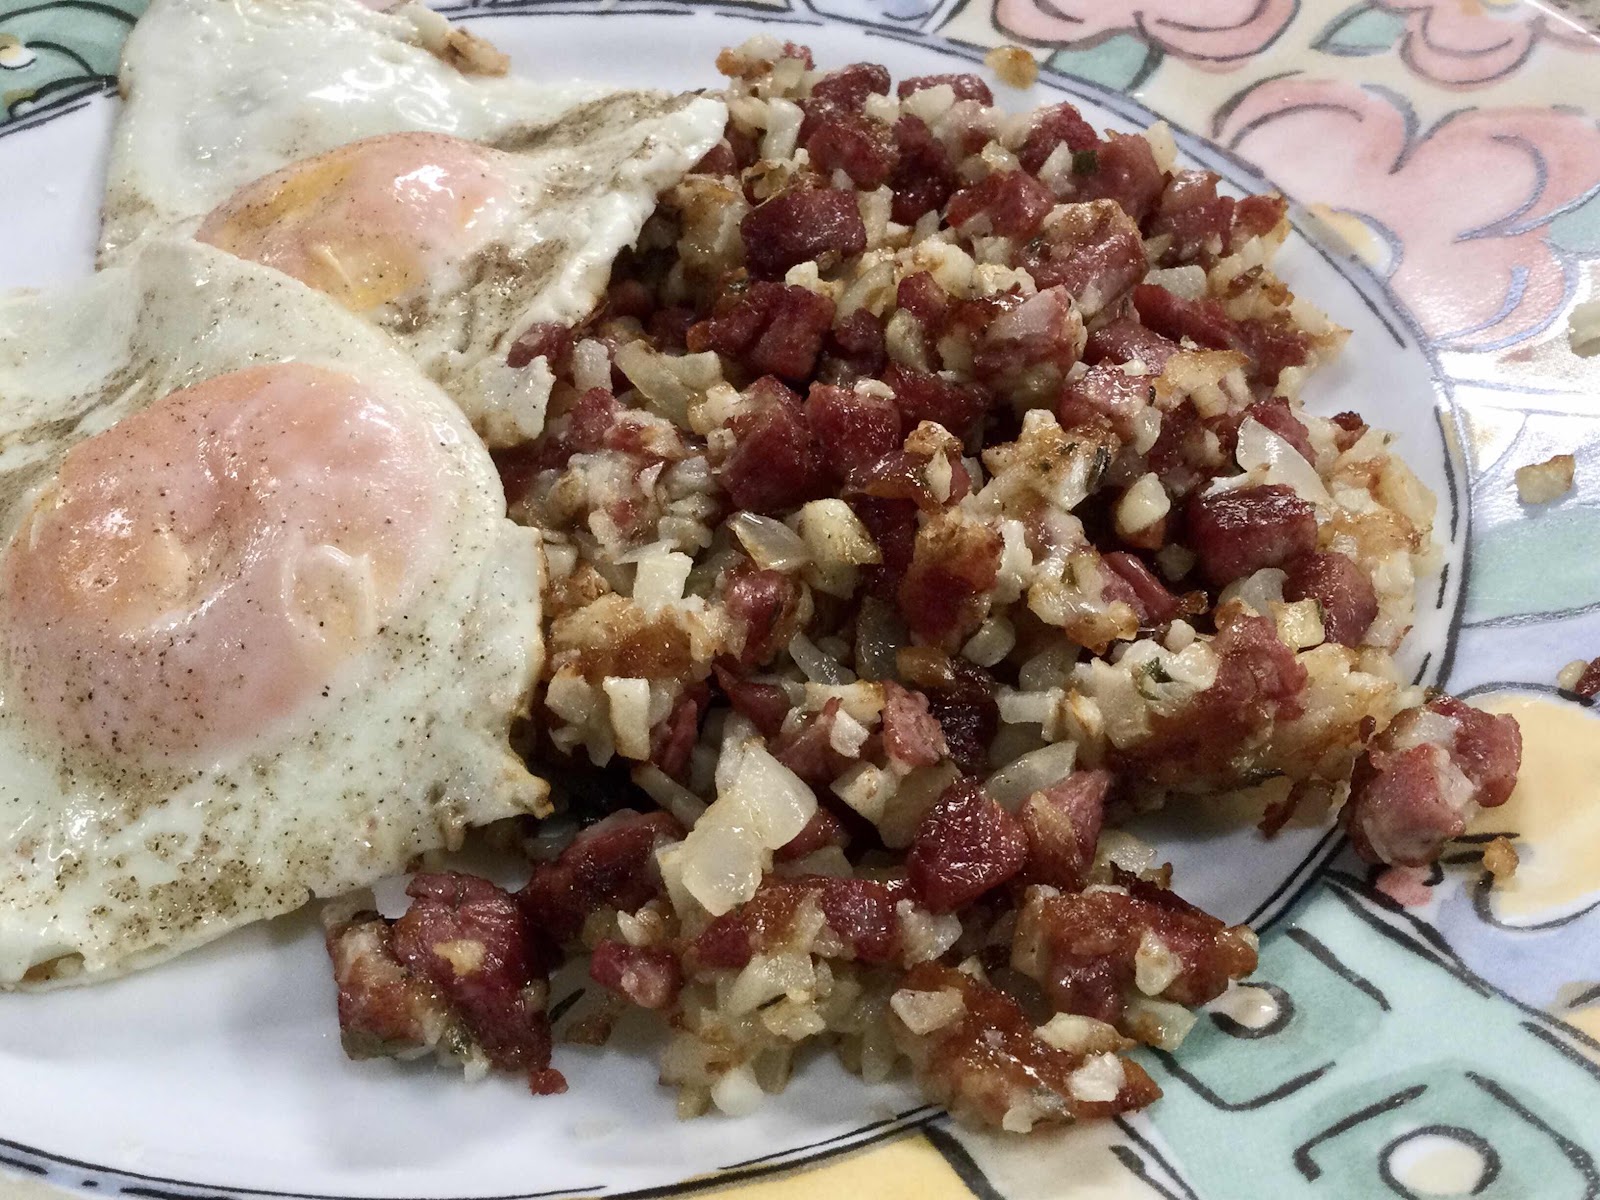
Low Carb Corned Beef Hash
Makes 2 servings
1 tablespoon avocado oil
4 ounces of leftover corned beef, cut into small cubes
2 tablespoons onion, chopped fine
2 ounces mild cheese (such as Monterey Jack), shredded
1-1/2 cup frozen riced cauliflower, thawed
3/4 tsp dried thyme
Salt and pepper to taste
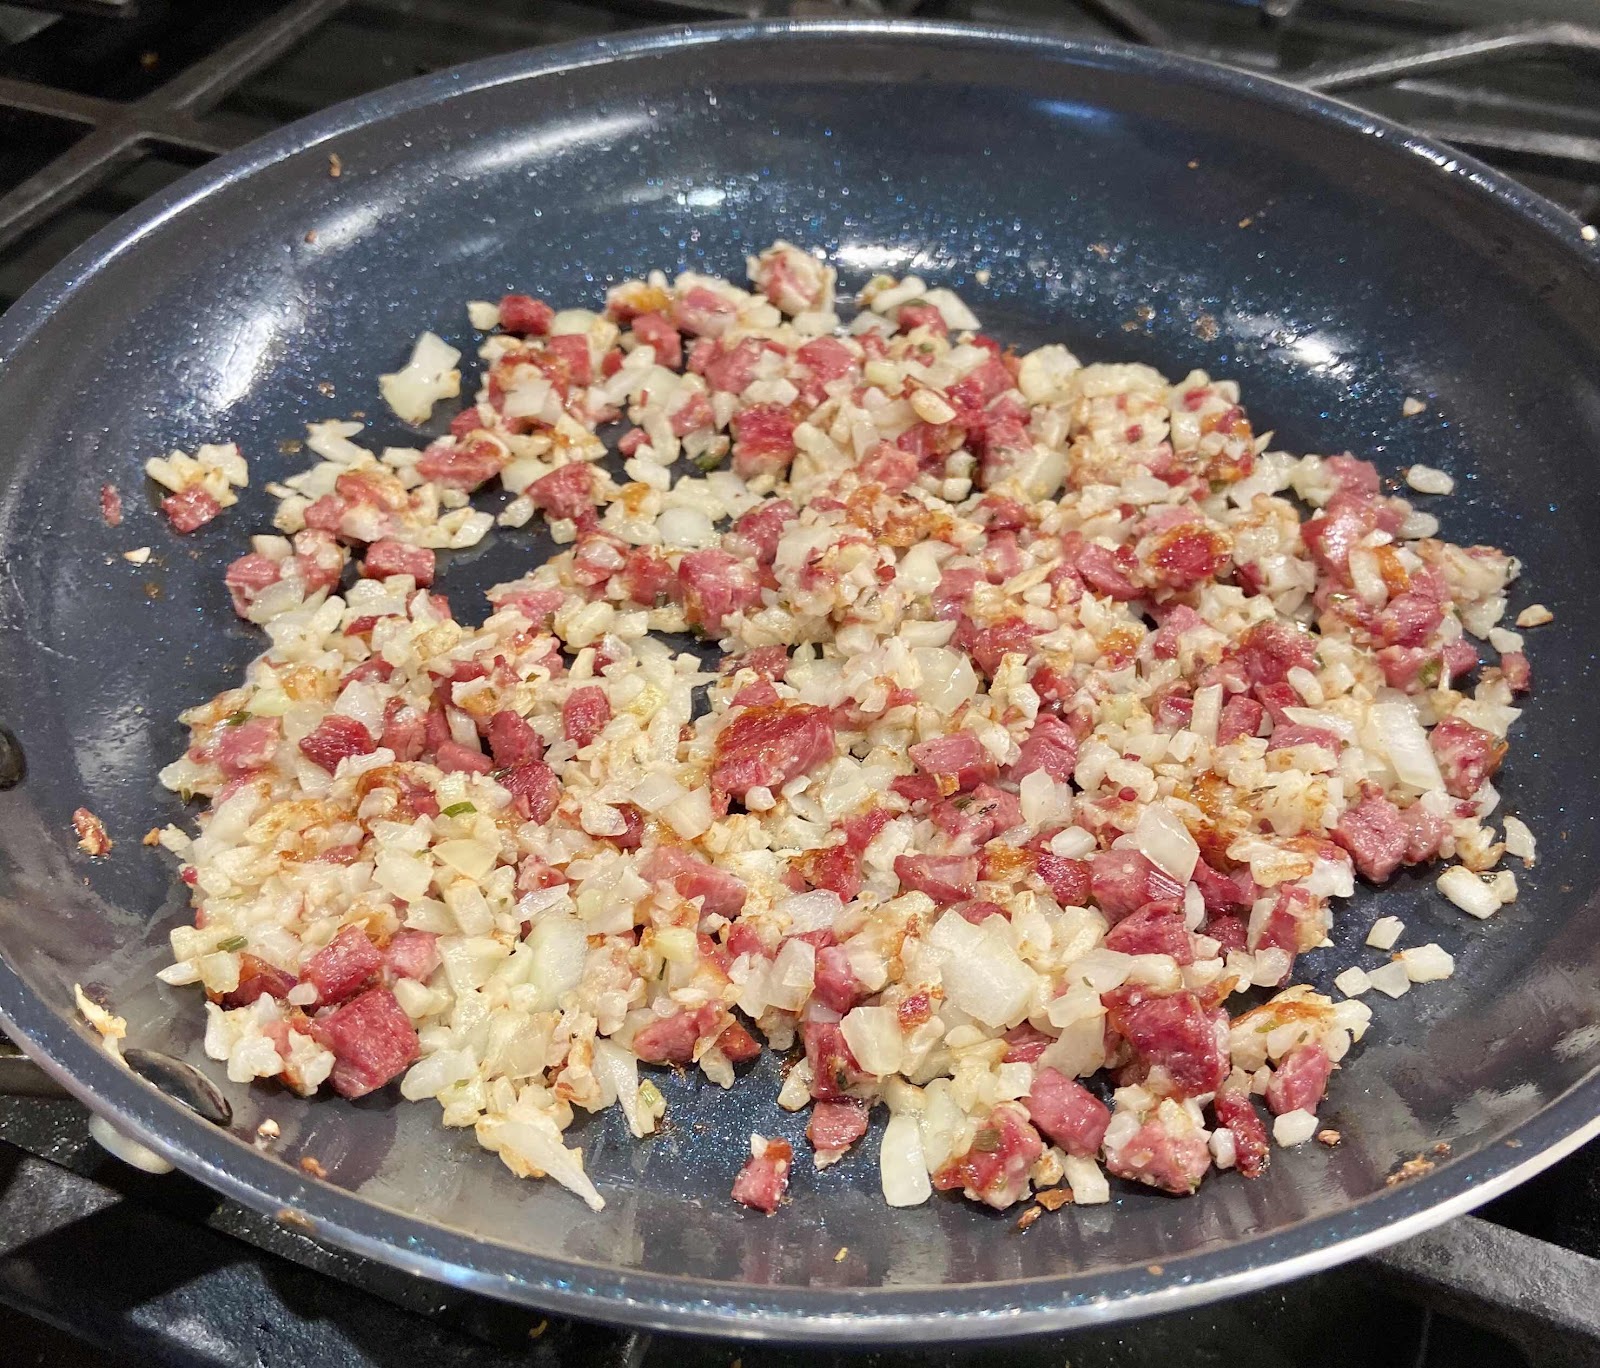
1. Add oil to a non-stick or well seasoned cast iron skillet and heat over medium heat. Add the chopped corned beef and onion and sauté until the onion is translucent, about 2-3 minutes.
2. Sprinkle the shredded cheese over the mixture and allow it to melted and start sizzling. Add the cauliflower and thyme to the pan, but do not stir until the cheese has begun to brown.
3. With a spatula, turn the mixture over and stir, breaking up the cheese and incorporating it throughout the cauliflower and meat mixture. Press the mixture down with the back of the spatula into one layer and continue cooking for a few minutes, stirring and flipping occasionally, until the hash is nicely browned.
4. Season with salt and pepper to taste. Serve hot. Corned beef hash is excellent served with fried eggs!
Nutritional Information per serving (1/2 recipe): 241 calories, 4.8 g carbohydrate (1.8 g dietary fiber, 1.9 g sugars), 17.5 g total fat (7.5 g saturated fat, 0 g trans fat), 49 mg cholesterol, 789 mg sodium, 225 mg calcium, 18 mg potassium, 2 mg iron, 94 IU Vit A, 32 mg Vit C, 17.5 g protein. Net carbs per serving: 3 grams
Recipe and photos by Kathy Sheehan, copyright 2021
All rights reserved. Please do not duplicate without the author’s permission.