Monday, November 30, 2020

Keto Hot White Chocolate Peppermint Cocoa

Keto White Chocolate Peppermint Cocoa
The mornings and evenings are colder, which puts me in the mood for hot chocolate! This version uses white chocolate chips (either in peppermint flavor or plain) to create a delicious warming beverage that has a flavor reminiscent of Peppermint Bark. Perfect for any time of day, but especially at night, because there’s no caffeine...just pure, delicately sweet white chocolate and peppermint!

Keto Hot White Chocolate Peppermint Cocoa
Makes 1 serving

1-1/4 cups unsweetened coconut milk
2 tablespoons heavy cream
A tiny pinch of salt
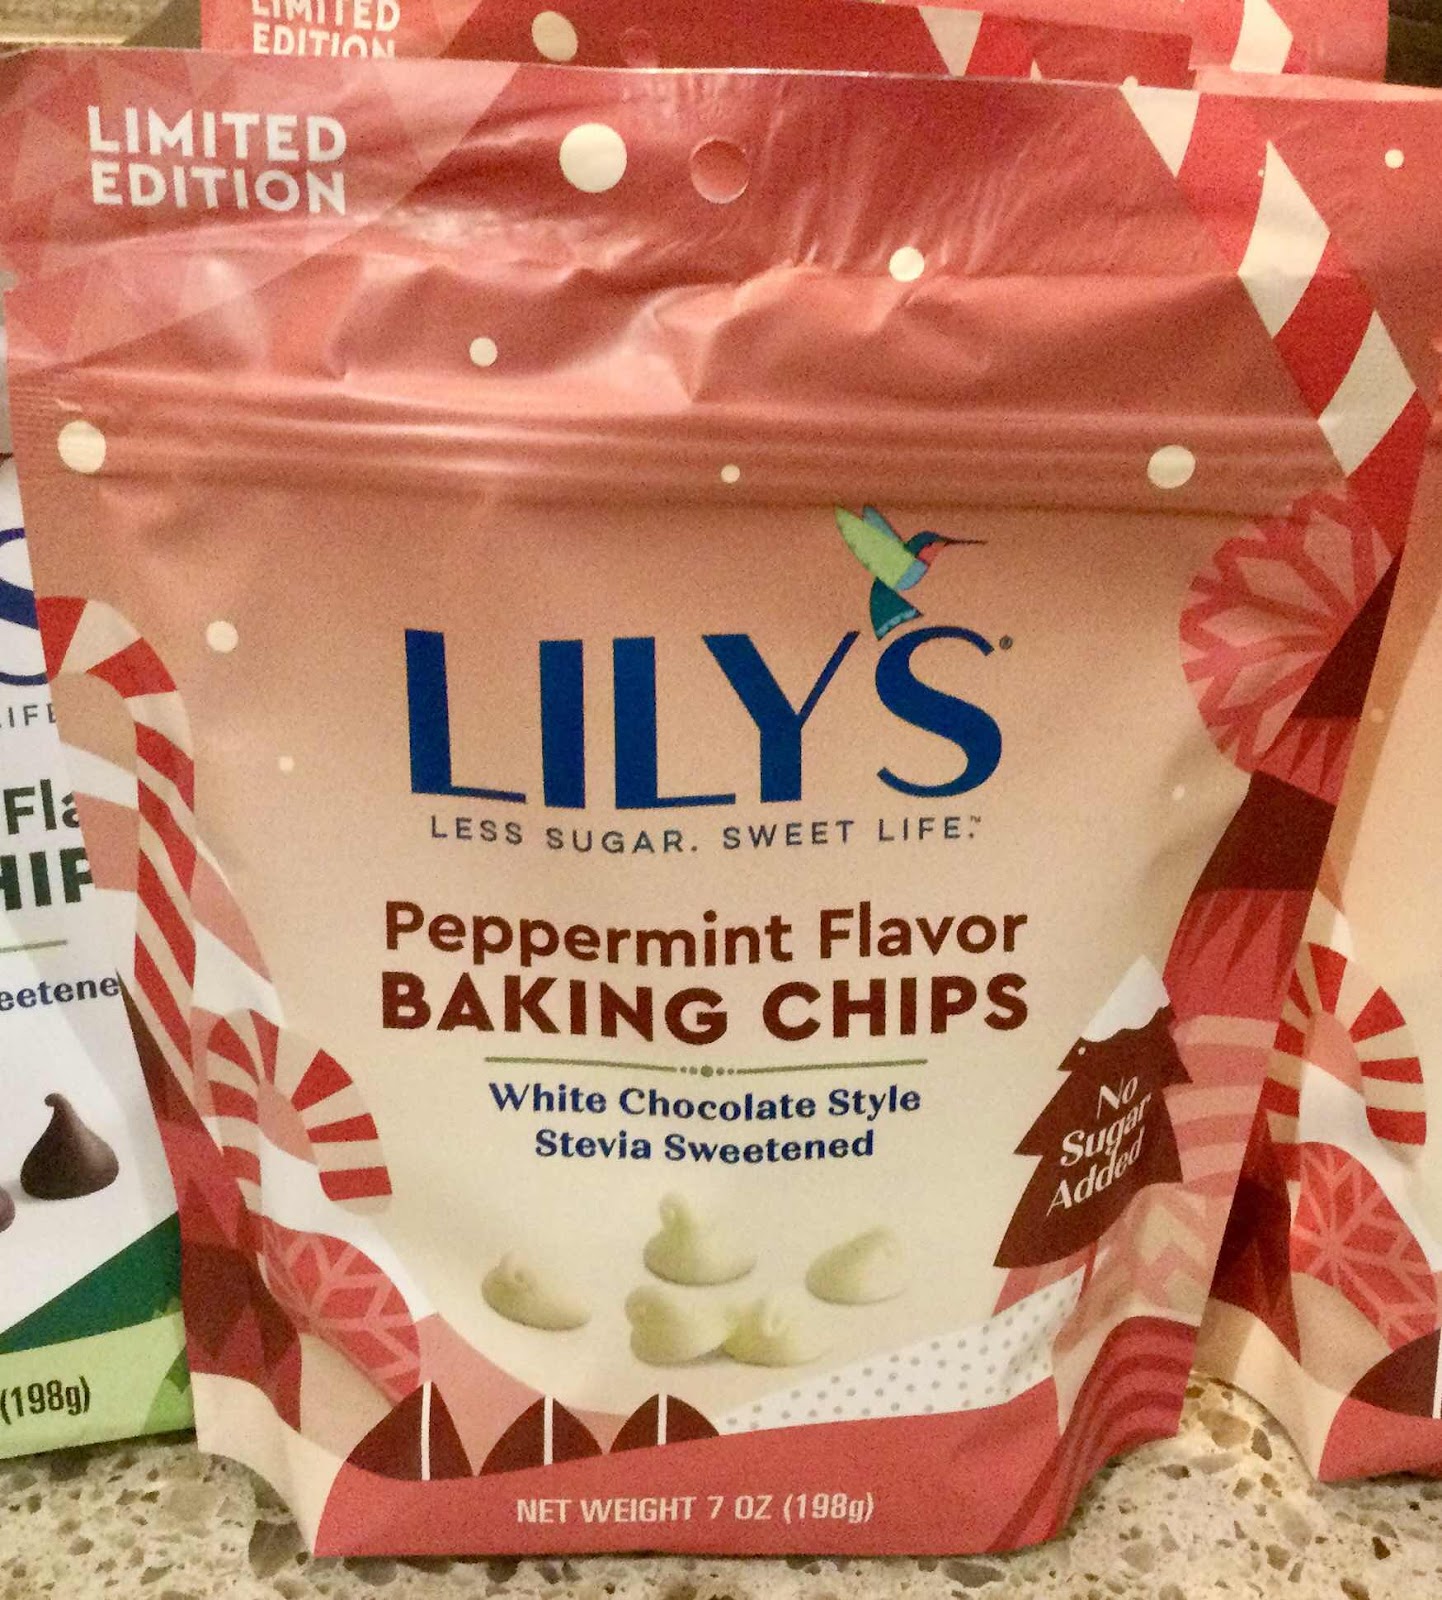
2 tablespoons sugar free white chocolate chips (I used Lily’s Peppermint baking chips, see below*)
2-3 drops peppermint extract, or to taste
1/4 teaspoon chocolate or vanilla extract
6-7 drops monkfruit extract or liquid stevia, or to taste

1. Heat the coconut milk, heavy cream, pinch of salt and white chocolate chips in a small saucepan over medium-low heat, stirring constantly until the chips are melted and the mixture is hot and bubbly around the edges.

2. Remove from heat and add the extracts and sweetener. Stir to combine.

3. If you have one, use a frothing tool to create foam and pour into a mug. If desired, top with whipped cream and a sprinkle of crushed sugar free peppermint candies. Serve immediately. 

*Note: I used Lily’s sugar free Peppermint Flavor baking chips, which are available for a limited time at WalMart. If you can’t find them, just use any sugar free white chocolate chips and add enough peppermint extract to achieve the peppermint flavor you desire.

Lily’s Peppermint Baking Chips
Nutritional Information: 168 calories, 4.4 g carbohydrate (1.5 g dietary fiber, 0.6 g sugars), 17 g total fat (8.3 g saturated fat, 0 g trans fat), 42 mg cholesterol, 215 mg sodium, 572.6 mg calcium, 19 mg potassium, 120 IU Vit A, 1.4 g protein. Net carbs per serving: 2.9 grams

Photos and recipe by Kathy Sheehan, copyright 2020
All rights reserved. Please do not duplicate without the author’s permission. 

Wednesday, November 25, 2020

Duchess Cauliflower Casserole

Duchess Cauliflower Casserole
I saw an intriguing recipe on America’s Test Kitchen a few weeks ago for Duchess Potatoes. I immediately thought how delicious it could be made with cauliflower! This low carb recipe is super easy because I started with frozen riced cauliflower. Once baked, a golden brown crust forms on the top of the casserole creating a contrast to the creamy, buttery cauli-mash inside. This side dish is going to be a favorite on my Keto Thanksgiving Buffet this year.

Duchess Cauliflower Casserole 
Makes 6 servings (1/2 cup each)

20 ounces frozen riced cauliflower
2 tablespoons heavy cream 
1 tablespoon unsweetened almond or coconut milk
1 large egg, separated
1/2 teaspoon salt
1/8 teaspoon black pepper
A pinch of nutmeg
4 tablespoons melted unsalted butter, divided

1. Preheat the oven to 450 degrees Fahrenheit. Heat riced cauliflower in a large saucepan until thawed and most of the excess liquid has evaporated. Remove from heat and puree in a food processor until a mashed potato consistency is reached.

2. Whisk together the heavy cream, almond or coconut milk, egg yolk, salt, pepper and nutmeg. Stir this mixture into the mashed cauliflower along with 2 tablespoons of the melted butter until well combined.

3. Grease a small casserole dish and spread the cauliflower mash evenly in the dish.

4. Whisk together the egg white, remaining 2 tablespoons of melted butter and a pinch of salt. Pour 1/2 to 3/4 of the egg white mixture on the top of the cauliflower mash. Tilt the pan and allow the egg white mixture flow into the corners and all over the top until evenly coated. Use the flat side of a sharp knife to carve a diamond pattern into the top of the casserole, pressing only about 1/4 inch into the surface.

5. Place in the preheated oven on the middle rack and bake for 25-30 minutes, turning 1/2 way through cooking. Bake until the crust is a nice golden brown. Remove from oven and allow to rest for about 15-20 minutes before serving.

Nutritional Information per serving (1/2 cup): 120 calories, 4.6 g carbohydrate (2.2 g dietary fiber, 2.3 g sugars), 10.6 g total fat (6.4 g saturated fat, 0 g trans fat), 58 mg cholesterol, 234 mg sodium, 31 mg calcium, 14 mg potassium, 1 mg iron, 47 mg Vit C, 107 IU Vit A, 3.4 g protein. Net carbs per serving: 2.4 grams

Photo and recipe by Kathy Sheehan, copyright 2020
All rights reserved. Please do not duplicate without the author’s permission.

Saturday, November 21, 2020

Low Carb Peppermint Candy Sprinkles

Low Carb Peppermint Candy Sprinkles
I’m getting ready to make some holiday and winter desserts that call for crushed peppermint candy as an ingredient or decoration. There are sugar free peppermint candies available, but they contain a type of sugar alcohol (isomalt, mannitol, sorbitol or maltitol) that causes painful and embarrassing digestive issues! That’s not the kind of holiday gift I want for myself or to share with family or friends, so I avoid all sugar free candies with these offending sweeteners. Because I need peppermint candies in recipes, I decided to create a suitable substitute. This recipe is the result of my experimentation and, because it contains a small amount of real crushed candy canes combined with the coconut, it really does taste like crushed peppermint candies! I am so pleased with these sprinkles and look forward to the many delicious creations I’ll be making with them. 

Low Carb Peppermint Candy Sprinkles
Makes 1/2 cup (24 servings)

1/2 cup finely shredded unsweetened coconut (I used Bob’s Red Mill)
4 drops red food coloring
4 drops monkfruit extract or liquid stevia, or to taste
5 drops pepperment extract, or to taste
2 mini peppermint candy canes, crushed (I used candy canes made with real sugar)

In a small bowl, stir together all of the ingredients until well combined. Store in an airtight container at room temperature. 

Low Carb Peppermint Candy Sprinkles
Nutritional Information per 1 teaspoon: 14 calories, 0.8 g carbohydrate (0.2 g dietary fiber, 0.4 g sugars), 1.1 g total fat (1 g saturated fat, 0 g trans fat), 1 mg sodium, 0.1 g protein. Net carbs per serving: 0.6 grams

Photo and recipe by Kathy Sheehan, copyright 2020
All Rights Reserved. Please do not duplicate without the author’s permission. 

Saturday, November 14, 2020

Low Carb Yellow Cake

Low Carb Yellow Cake
I love to bake and decorating cakes has become a fun and creative hobby. It’s been difficult to find a really good low carb, gluten free, sugar free and low oxalate cake recipe, until now. I have made this cake several times and the result has been good, but the edges sometimes dried out before the center was done. After hearing about cake pan bands, that insulate the edges so the cake bakes more evenly and the edges don’t over-brown, I tried baking with them this time and the cake was PERFECTION! A tender and soft crumb throughout with no tough, dried out edges! My entire family loved it, whether they’re low carb or not! Comments all around were that this might be the best low carb cake I’ve ever made. To learn how to make your own cake pan bands out of newspaper and foil, watch this video by America’s Test Kitchen: https://youtu.be/1eU6UpHH3-s

Low Carb Yellow Cake
Makes 12 servings

96 grams coconut flour (about 3/4 cup + 2 tablespoons)
3/4 cup granulated erythritol sweetener 
1/3 cup unflavored whey protein powder
1 tablespoon baking powder
1/4 teaspoon salt
6 large eggs
1/2 cup unsalted butter, melted and cooled
1/2 cup unsweetened coconut milk
1-1/2 teaspoons vanilla extract

1. Preheat oven to 325 degrees Fahrenheit. Prepare two 8-inch baking pans (or three 6-inch pans) by wrapping with cake pan bands (optional, but results in a more tender cake, see link in the description above to learn how to make them with newspaper and foil.) Next, grease pans, line with parchment paper and grease the parchment paper; set aside.

Homemade Cake Pan Bands
2. In a medium bowl, sift or whisk the coconut flour, sweetener, whey protein powder, baking powder and salt. (If you can’t weigh the coconut flour, scoop and level with a light hand, do not pack down.)

3. In a large bowl and using an electric mixer, beat the eggs until light and lemon yellow in color. Add the melted butter, coconut milk and extract. While the mixer is on low, slowly add the dry ingredients and then switch the mixer to medium and beat just until the dry ingredients are incorporated and a smooth batter forms. It will be thicker than traditional cake batter, but that’s okay.

4. Divide the batter evenly among the prepared cake pans, spread to the edges and smooth the tops with an offset spatula or back of a spoon. Bake for about 30 minutes if using 8-inch pans until lightly brown around the edges, the tops are slightly firm to the touch and a toothpick in the center comes out clean. (If using 6-inch baking pans, test cake after 20-25 minutes.) Do not overbake.

5. Remove from the oven and allow the cakes to cool in their pans for about 10-15 minutes. Coconut flour cakes can be delicate while hot, so let them cool a bit before turning them out onto a wire rack to cool completely before filling and decorating them with the cake frosting of your choice.

Nutritional Information per serving (1/12th of recipe, no frosting): 148 calories, 6.4 g carbohydrate (2.9 g dietary fiber, 1 g sugars), 11.5 g total fat (7 g saturated fat, 0 g trans fat), 113 mg cholesterol, 194 mg sodium, 112.6 mg calcium, 43 mg potassium, Vit A 118 IU, 1 mg iron, 5.5 g protein. Net carbs per serving: 3.5 grams

Photos and recipe by Kathy Sheehan, copyright 2020
All rights reserved. Please do not duplicate without the author’s permission.