My daughter likes to joke and say, “You eat more cake than any diabetic I know!” When they’re gluten free, low carb/keto and sugar free, why not? I especially enjoy making tiny cakes because I don’t have a large crowd to feed, it’s just me and my husband, so a mini cake will provide a serving or two and then we’re done. No leftovers to get stale or tempt me for a week! Chaffle cakes are so quick and easy, they’re even lower carb than my other cakes, and they’re fun! This recipe is bright and refreshing on a winter’s day. To give it an extra strawberry boost, I crushed unsweetened, dried strawberries into a powder and added it to both the batter and the frosting. It lends a pretty pink color, too. The mousse frosting can be made by itself and served in a dish or the strawberry chaffles are excellent eaten as they are, but the combination is truly a special Valentine’s Day treat!
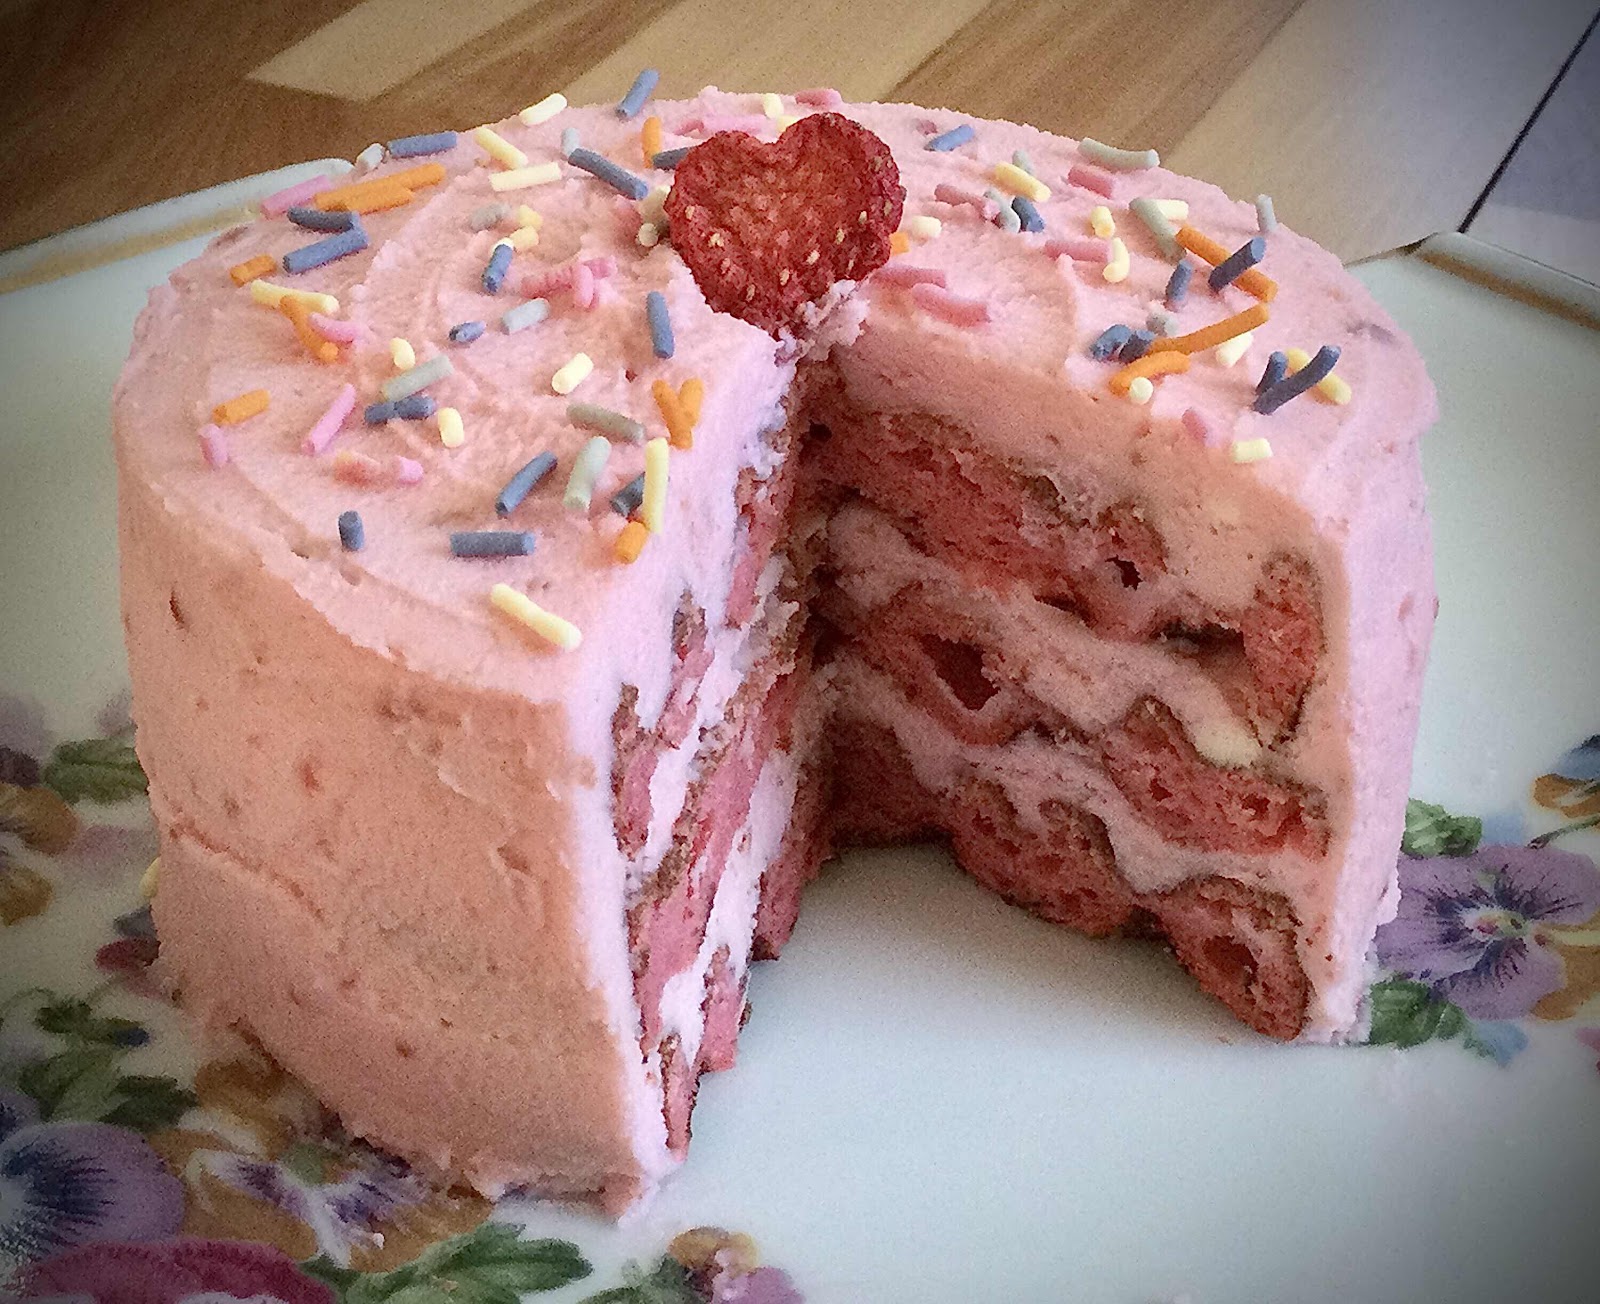
Low Carb Strawberry Mousse Chaffle Cake
The cake makes 3 servings, plus extra chaffles for snacking
Strawberry Chaffle Ingredients:
2 eggs, room temperature
2 ounces cream cheese, softened
1 tablespoon coconut flour
1/2 teaspoon baking powder
2 tablespoons granulated erythritol sweetener
1 teaspoon vanilla extract
1/2 teaspoon strawberry extract (I used McCormick brand)
1/8 teaspoon cake batter extract, optional (but gives a nice flavor. I used McCormick brand)
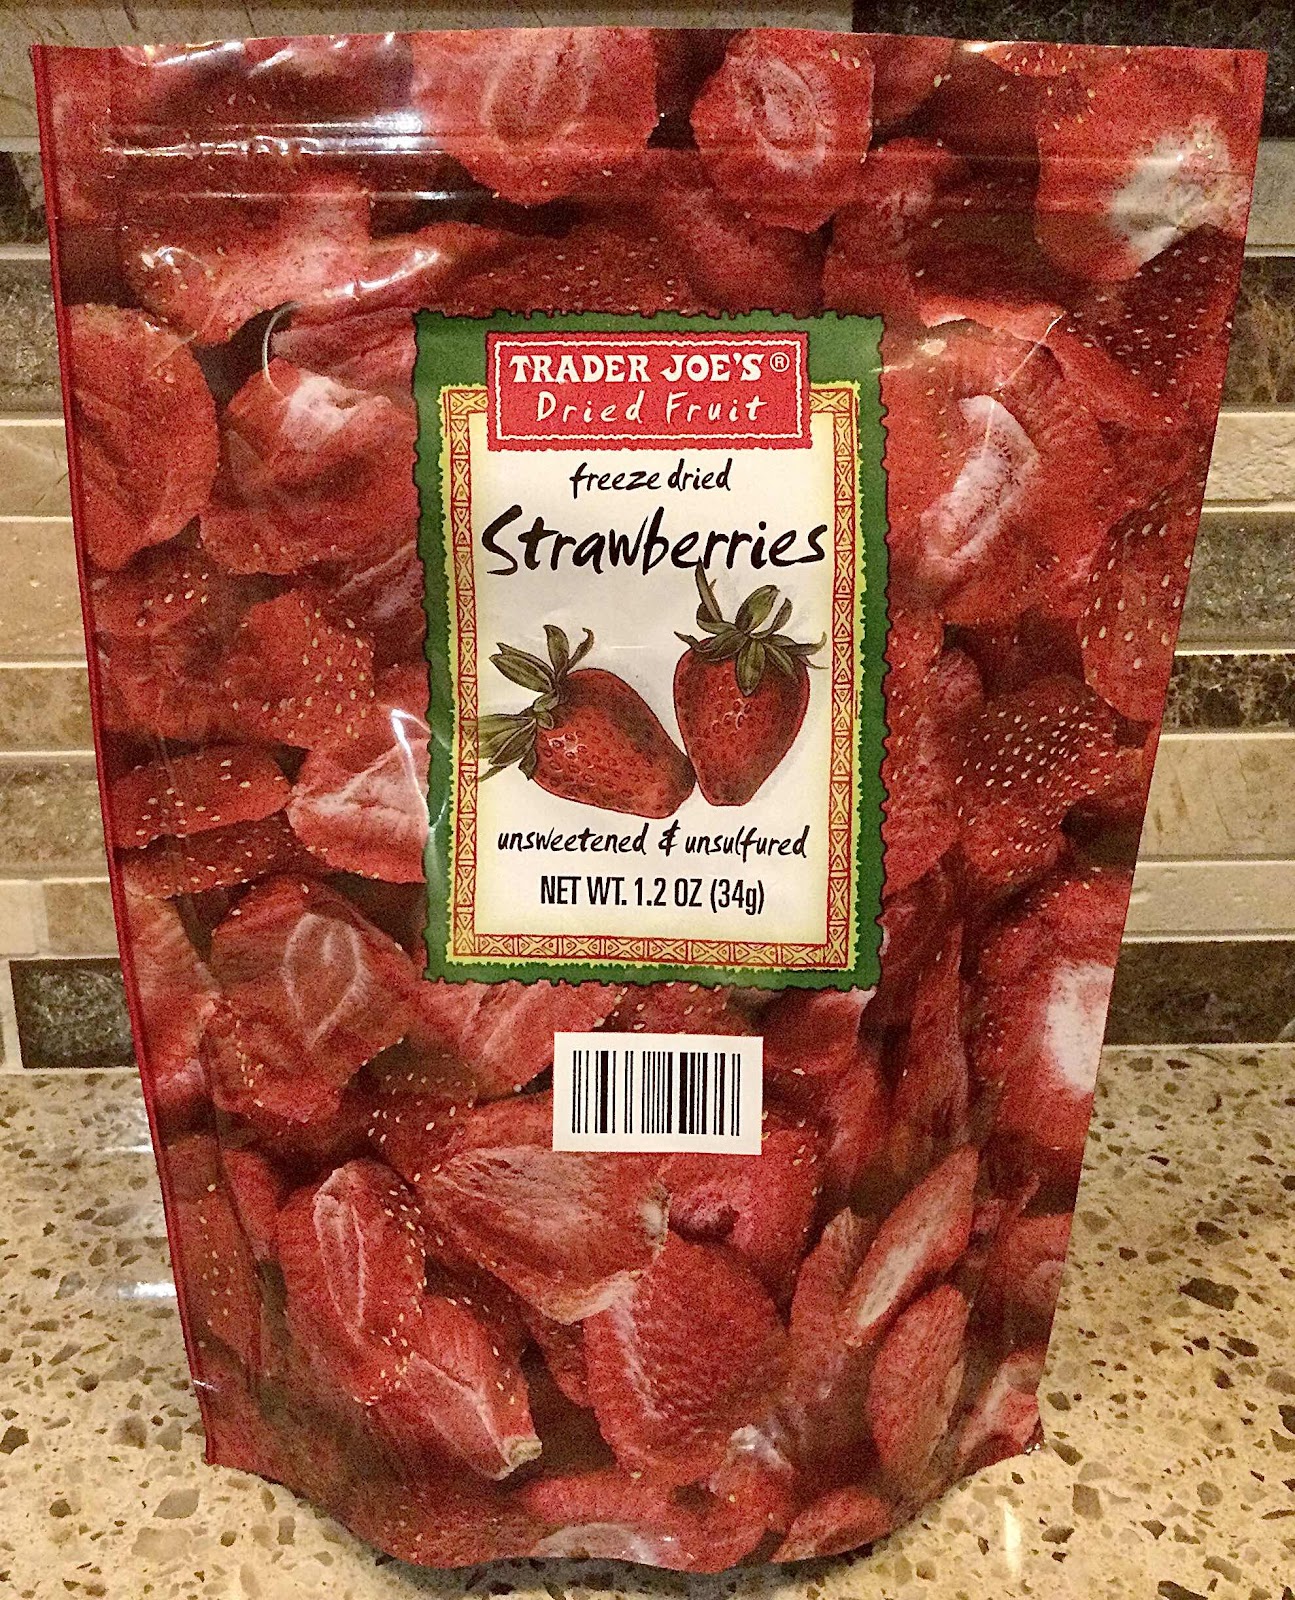
2 teaspoons unsweetened, dried strawberries, crushed into a powder (I used Trader Joe’s, see photo below)
1 tablespoon water
2 drops red food coloring, optional
Strawberry Mousse Frosting:
1/4 cup cold heavy cream
2 tablespoons cream cheese, softened
2 tablespoons unsalted butter, softened
2 tablespoons powdered erythritol sweetener
1/4 teaspoon strawberry extract
1 teaspoon unsweetened, dried strawberries, crushed into a powder
1-2 drops light pink food coloring, optional
Decorative Toppings (optional):
Sliced strawberries
Sugar free sprinkles
To make the chaffles:
1. Preheat a mini 4-inch waffle maker (I used a Dash Mini). In a mixing bowl or a 2-cup glass measuring cup (or a straight-sided pint mason jar), add all of the chaffle ingredients and whisk thoroughly to combine. I find it easier to do this with an immersion blender in a tall measuring cup or mason jar, but a hand whisk will do fine. Just be sure to whisk until no lumps remain and the batter is smooth. (Below is a picture of the dried strawberries I used to make the strawberry powder.)
2. Spoon 3-4 tablespoons of the batter into your preheated mini waffle maker. Close the lid and cook for about 3 minutes and 15 seconds or until cooked through. You don’t want to cook your waffle until crispy or too brown because it will make your cake tough and dry. The chaffle will be soft when it is removed from the waffle maker, but will firm up a bit upon cooling. Place the chaffle on a wire rack to cool.
3. Repeat to make another 3-4 strawberry chaffles (I made 5 chaffles). Allow the cooked chaffles to cool completely before assembling your cake.
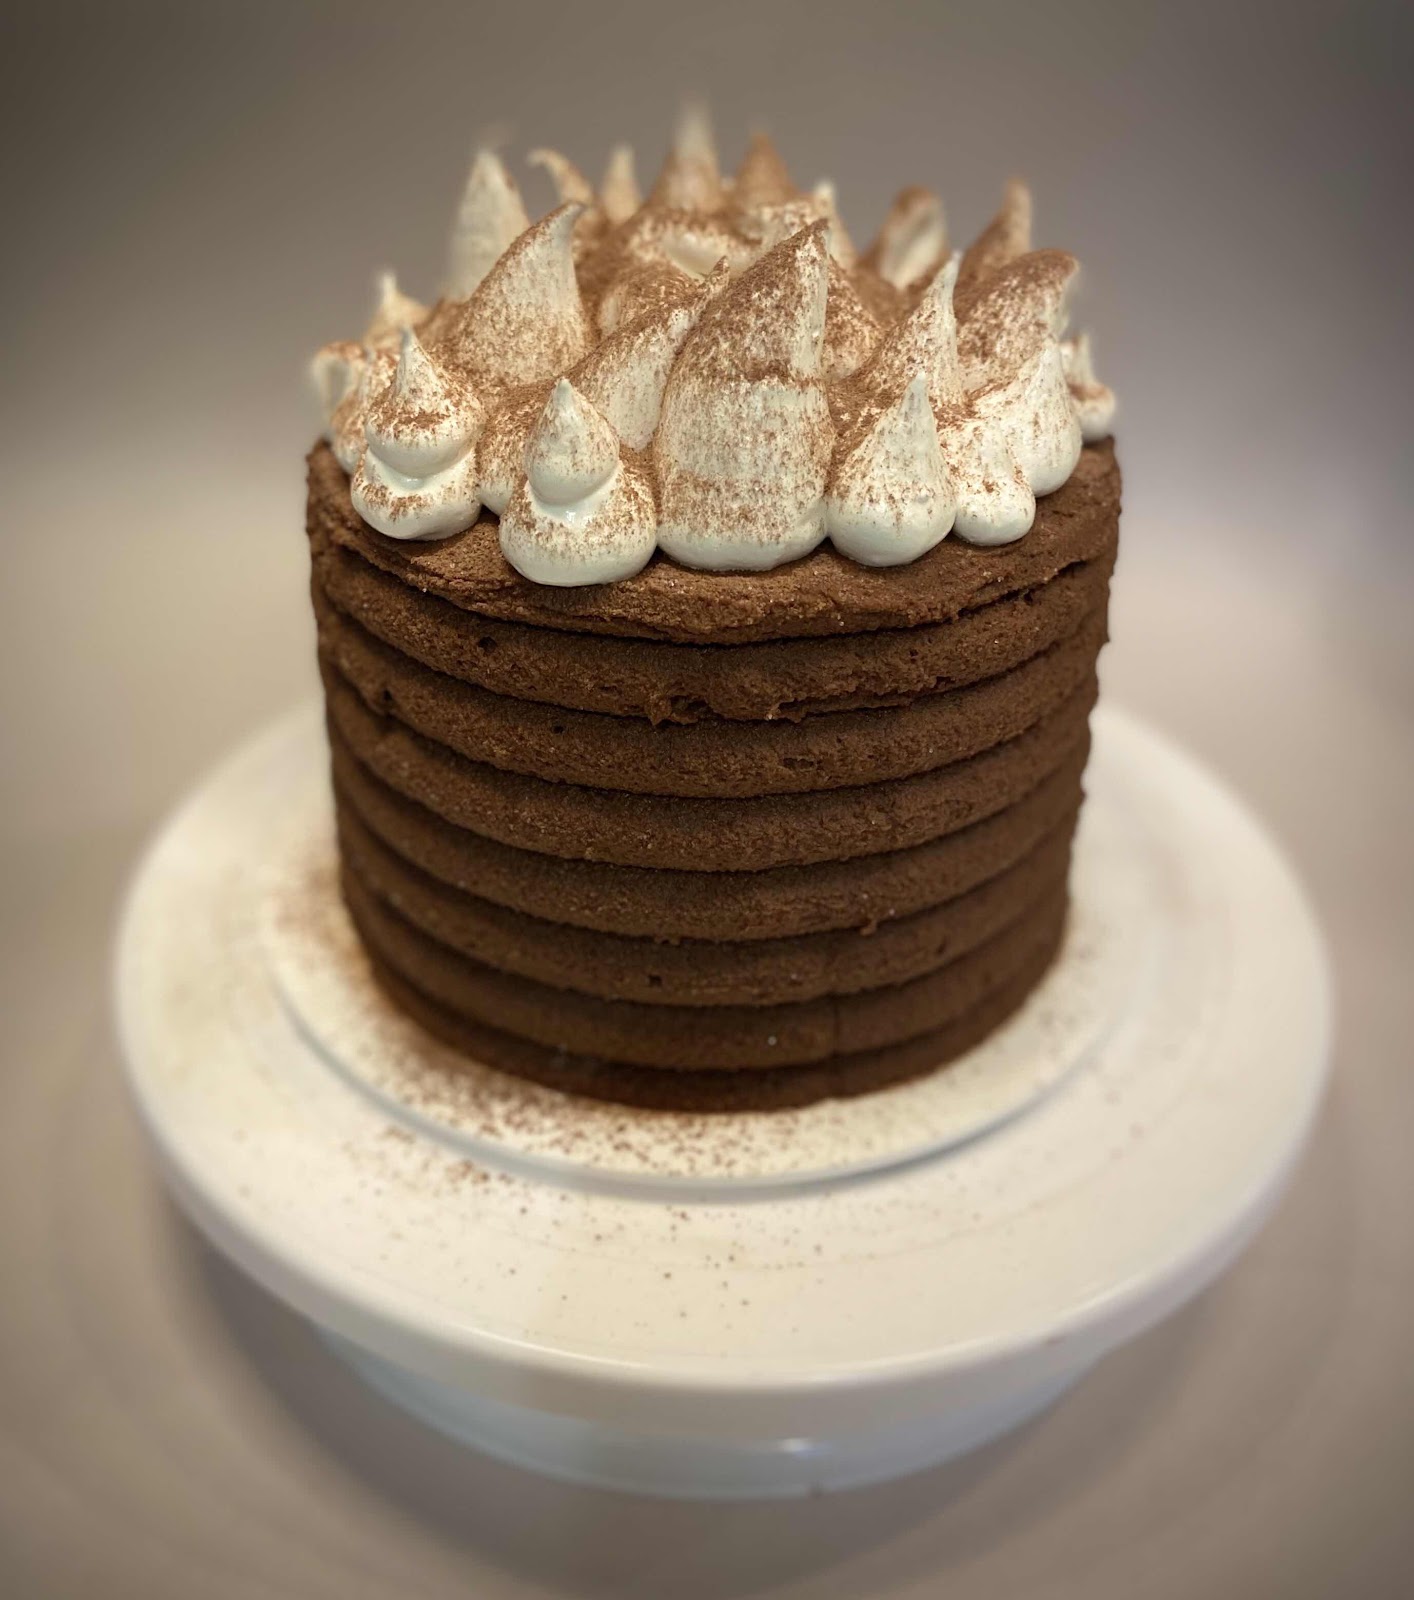
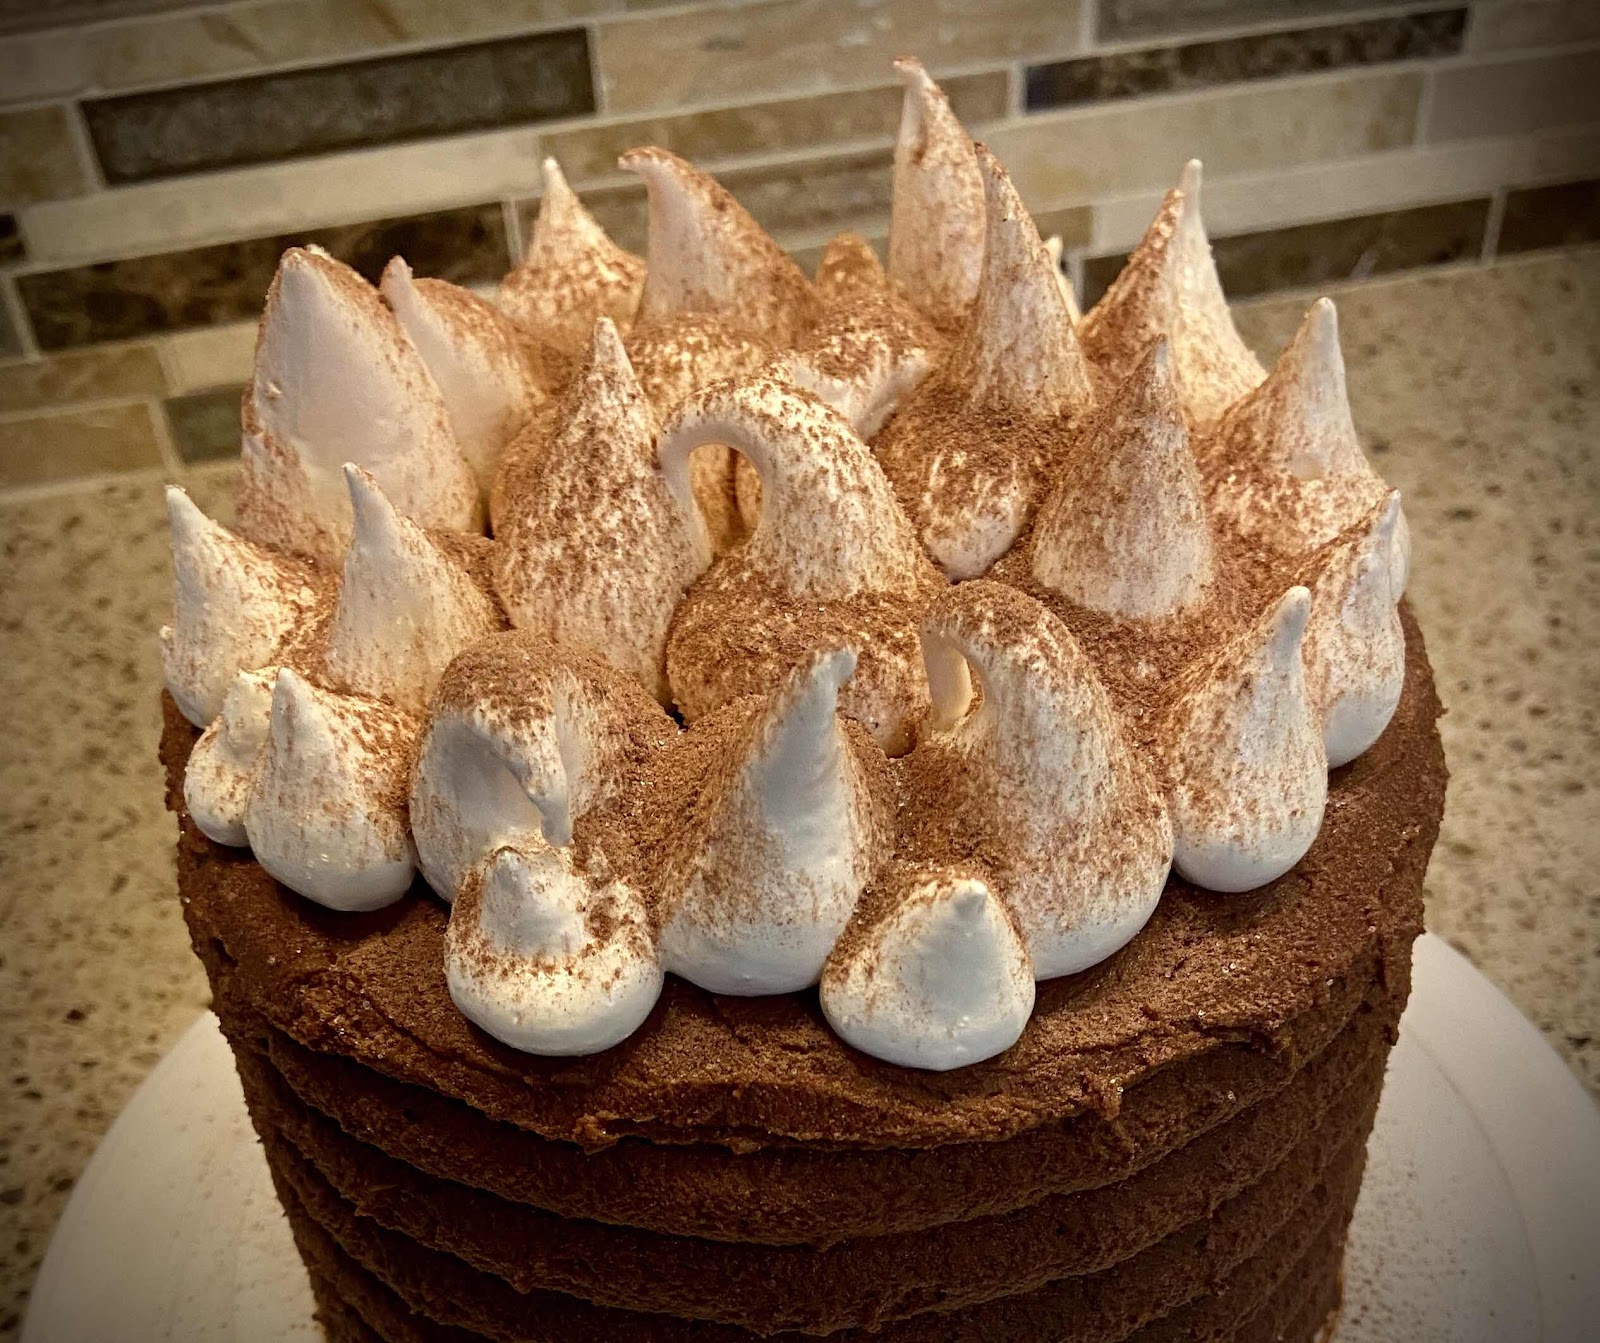
Make the Strawberry Mousse Frosting. This recipe makes enough to frost a 3-layer mini cake (between the layers, top and sides), as pictured. Or will frost a 4-5 layer cake (between the layers and top), if the sides are left bare. Double the recipe if you like a lot of frosting or want to cover a taller cake completely.
4. In a small and deep bowl, whip the cold heavy cream using an electric mixer on high until stiff peaks are formed; set aside.
5. In a separate medium bowl, beat the cream cheese and butter with an electric mixer until fluffy and no lumps remain. Add the powdered sweetener, strawberry extract, strawberry powder and food coloring (if using) and beat until well combined and the mixture is smooth and fluffy.
6. Add 1/3 of the whipped cream to the cream cheese mixture and beat briefly with an electric mixer on low until well incorporated and the cream cheese mixture is creamier and not as stiff.
7. Switch to a rubber spatula and gently fold the remaining whipped cream into the cream cheese mixture until no streaks remain and a spreadable consistency is reached.
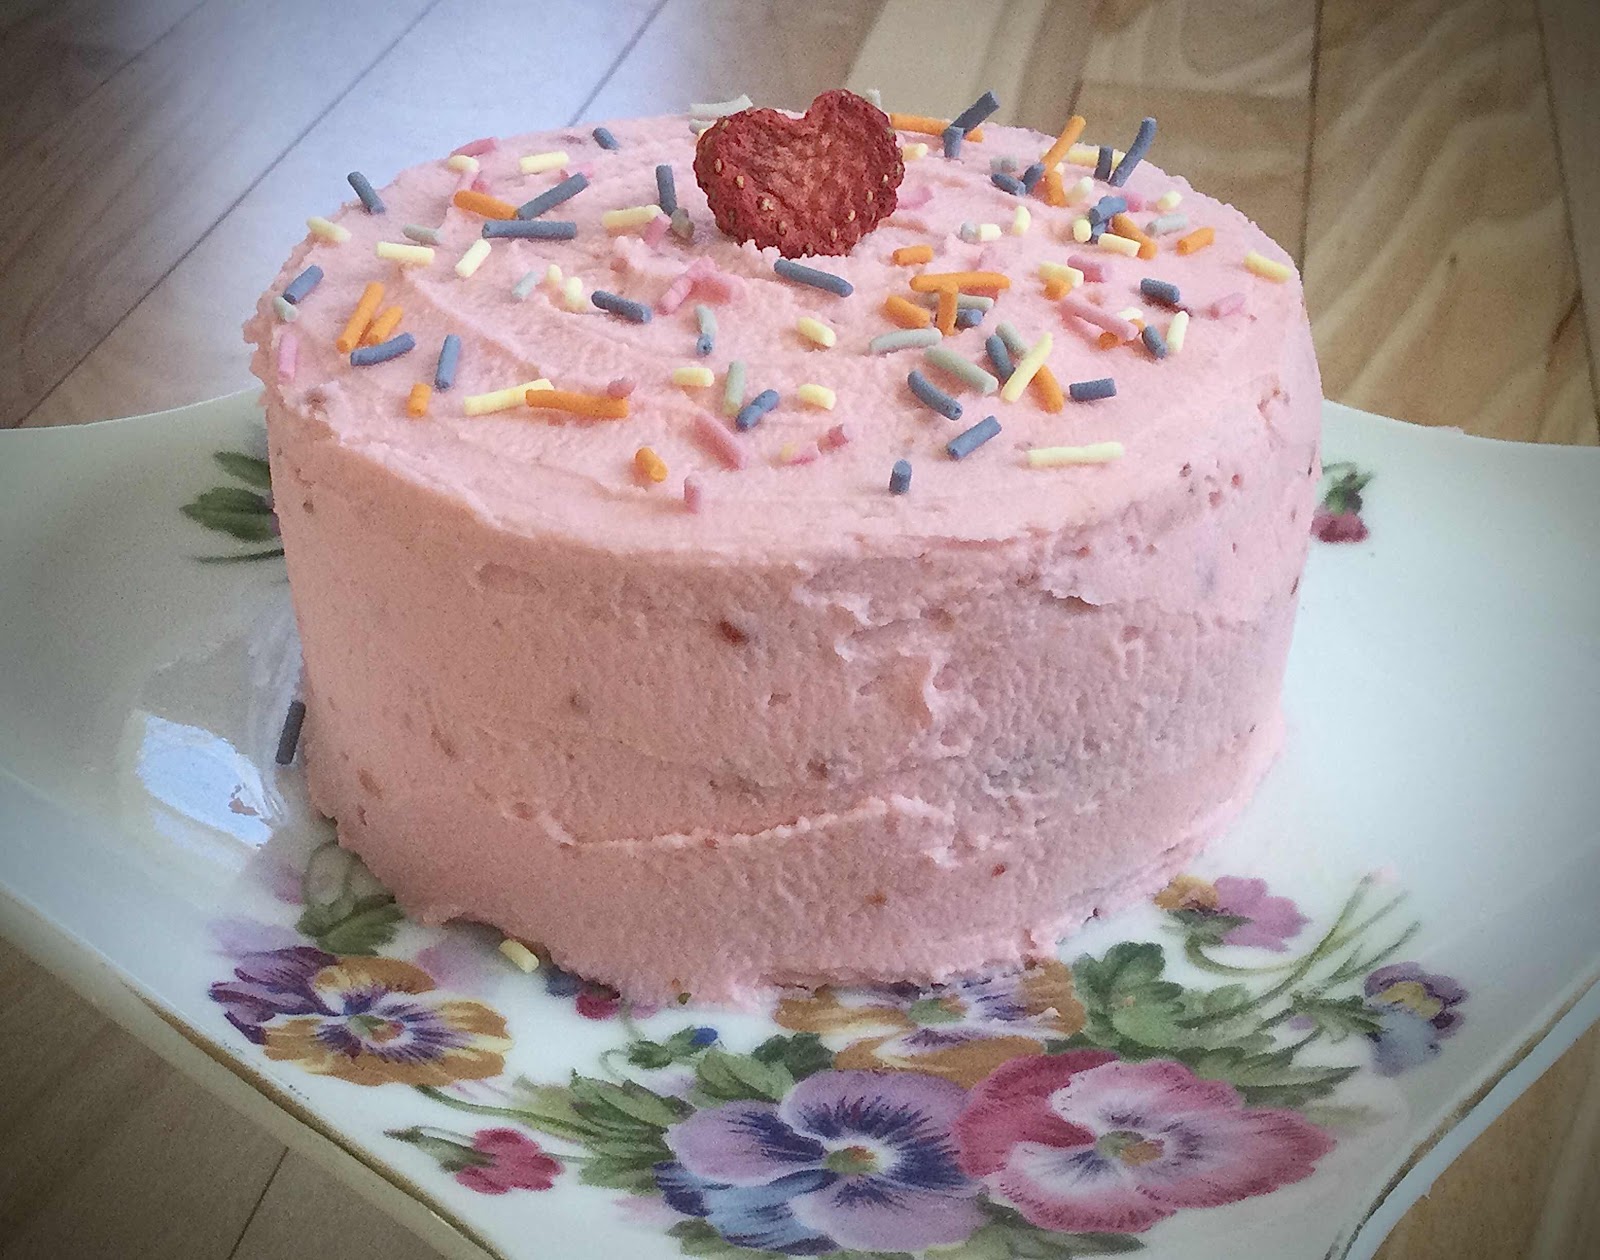
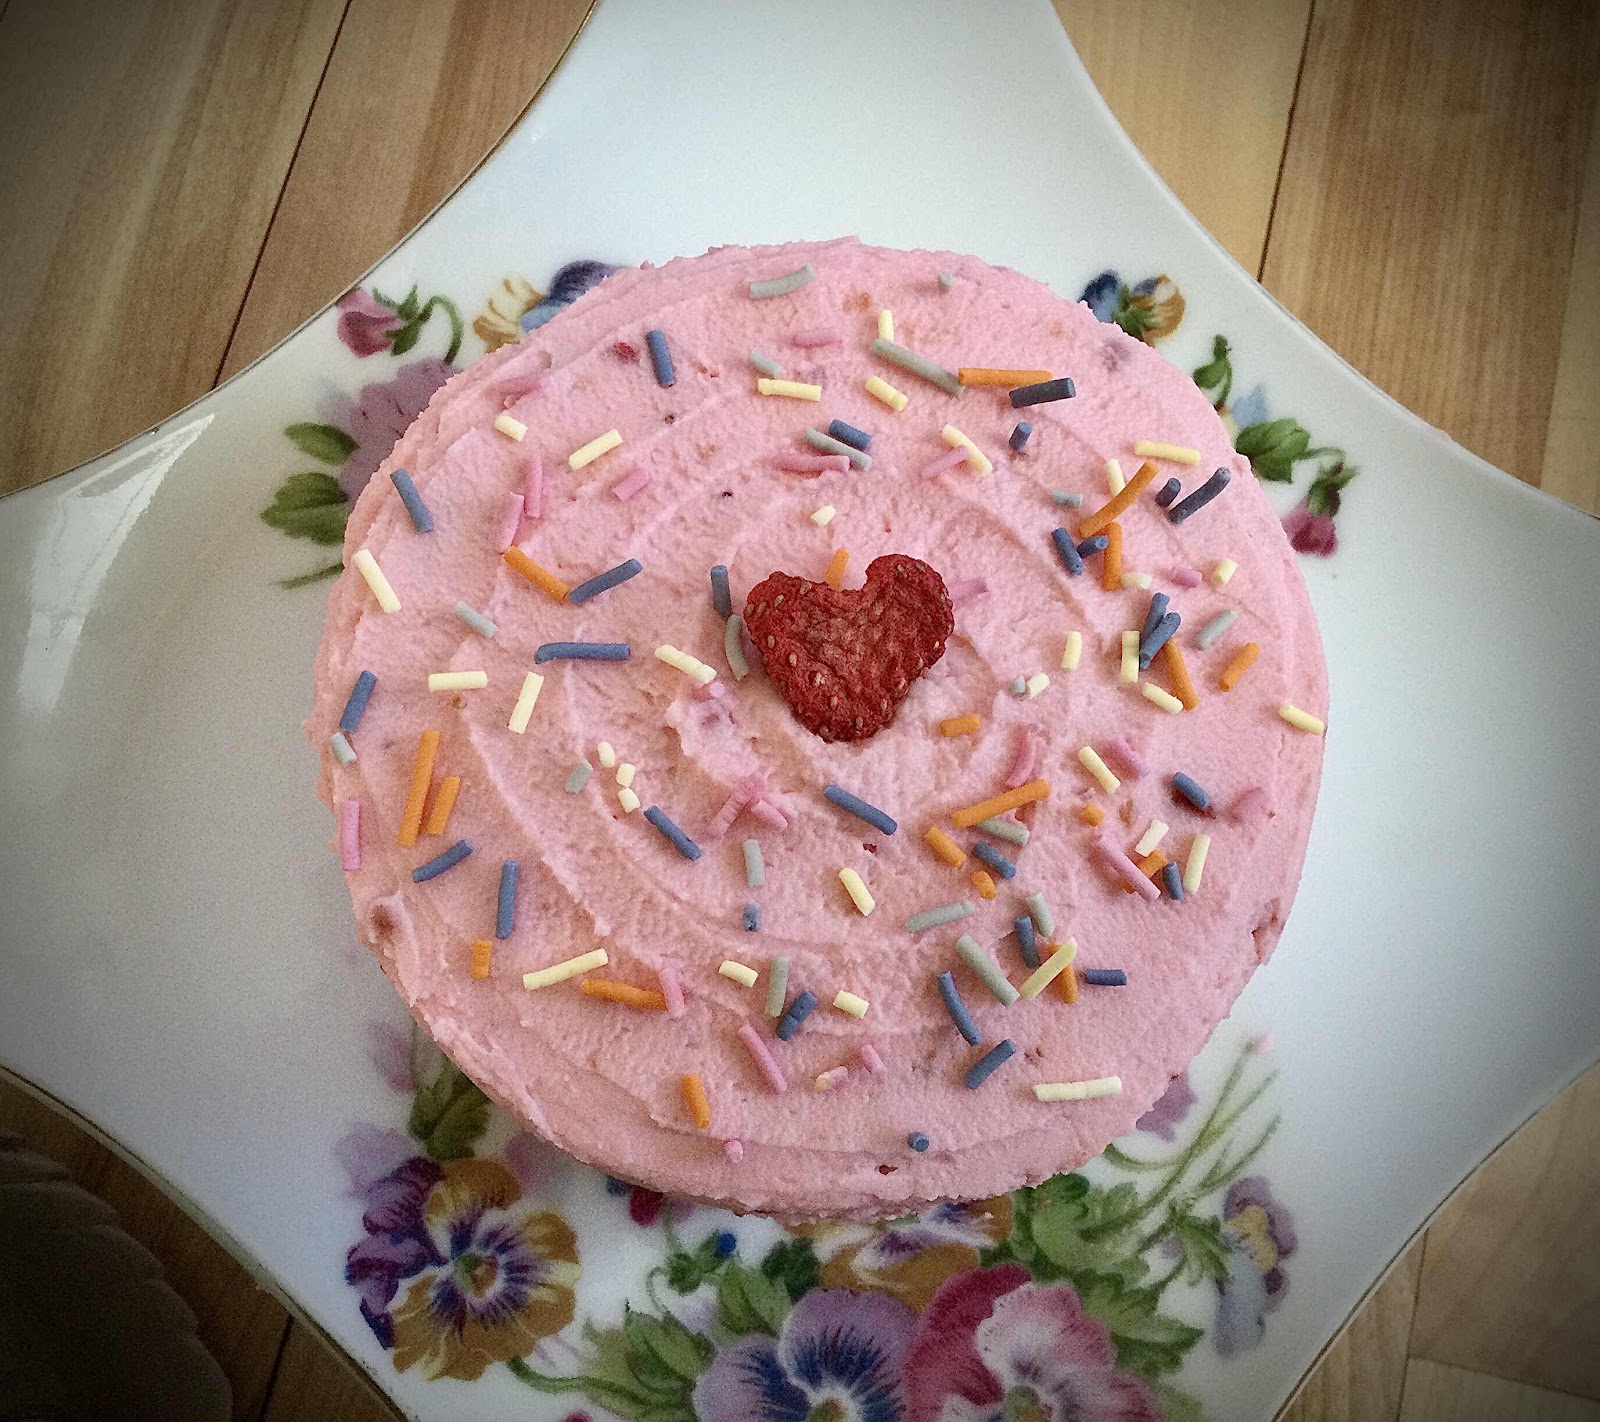
8. Frost your cake and decorate with sliced strawberries or sugar free sprinkles, as desired.
Nutritional Information per serving (1/3 of a 3-layer cake with frosting): 284 calories, 5.8 g carbohydrate (0.6 g dietary fiber, 1.1 g sugars, 2.9 g sugar alcohols), 27.5 g total fat (16.8 g saturated fat, 0 g trans fat), 159 mg cholesterol, 189 mg sodium, 69.4 mg calcium, 33 mg potassium, 281 IU Vit A, 1 mg Vit C, 5 g protein. Net carbs per serving: 2.3 grams
Nutritional Information per 1 chaffle (no frosting): 80 calories, 3 g carbohydrate (0.5 g fiber, 0.6 g sugars, 1.6 g sugar alcohols), 5.7 g total fat (3.3 g saturated fat), 3.5 g protein. Net carbs per 1 chaffle: 0.9 grams
Nutritional Information for Strawberry Mousse Frosting only (1/3 recipe): 204 calories, 2.9 g carbohydrate (0 g fiber, 0.5 g sugars, 1.6 g sugar alcohols), 28.8 g total fat (13.6 g saturated fat), 1.4 g protein. Net carbs per serving of frosting only: 1.6 grams
Photos and recipe by Kathy Sheehan, copyright 2021
All rights reserved. Please do not duplicate without the author’s permission.