Showing posts with label herbs. Show all posts

Tuesday, October 27, 2026

Low Carb Lemon Rosemary Tea Bread

Low Carb Lemon Rosemary Tea Bread
At this time of year, I begin to think ahead for Thanksgiving, the holidays and gift giving. Already my freezer is filling up with low carb breads, cookies and cakes to celebrate these happy, festive occasions. I recently got an individual size, mini loaf pan that bakes up eight mini loaves, each the perfect size for one! Offered on a breakfast buffet or a variety of mini breads given as a gift, these delicious mini breads will be much appreciated and enjoyed in the days and weeks to come. This recipe makes one 8”x4” loaf or multiple mini loaves of the best Lemon Bread! The subtle hint of rosemary makes it unique, but it’s still sweet enough to be served as a dessert.

Low Carb Lemon Rosemary Tea Bread
Makes 1 large loaf or multiple mini loaves (12 servings)

For the Bread:
90 grams coconut flour (about ¾ cup)
2/3 cup allulose sweetener
2 teaspoons finely chopped fresh rosemary
1 teaspoon finely grated lemon zest
2 teaspoons baking powder
1/4 teaspoon baking soda
½ teaspoon salt
6 large eggs
2 tablespoons fresh lemon juice
2 tablespoons low carb milk of choice
1/4 teaspoon lemon extract
½ cup olive oil (or avocado oil for a more neutral flavor)

For the Lemon Rosemary Syrup:
1/4 cup allulose
1/4 cup water
1 sprig fresh rosemary
1 strip lemon zest

1. Preheat the oven to 350°F. Lightly grease an 8 1/2” x 4 1/2“ loaf pan (or cavities in a mini loaf pan); set aside.

2. Whisk together the coconut flour, allulose sweetener, finely chopped rosemary, lemon zest, baking powder, baking soda, and salt in a bowl until blended and no lumps remain.

3. Using an electric mixer, whisk together the eggs until light in color and increased in volume. Add the lemon juice, low carb milk, lemon extract and oil and whisk to combine. Add the dry ingredients and whisk until the batter is smooth. Transfer the batter to the prepared pan; level the top by tapping the pan on the counter or using an offset spatula. 

4. Bake until a toothpick inserted into the center comes out clean, 60 to 70 minutes or until the internal temperature reaches between 200-206°F. (If making mini breads, bake for less time, about 22 to 28 minutes, depending on the size of loaf. Internal temperature will determine when they are done.)

5. Meanwhile, make the syrup. Combine the allulose, 1/4 cup of water, rosemary sprig and strip of lemon zest in a small saucepan. Cook over medium heat, stirring occasionally, until sweetener dissolves, 2 to 4 minutes. Remove from heat and steep for 15 minutes. Remove strip of lemon zest and rosemary sprig.

6. Poke holes all over the top of the warm bread with a thin wooden skewer or toothpick. Spoon the syrup over the loaf. Cool the bread completely in the pan before turning it out onto a wire rack. Allow to cool completely before slicing. 

7. The bread can be stored at room temperature for 3 days, or refrigerate for longer. Serve bread at room temperature. (This bread can be well wrapped in plastic wrap and frozen for up to 2 months. Thaw and allow to come to room temperature before serving.)

Nutritional Information per serving (1/12th of recipe): 150 calories, 6 g carbohydrate (2.7 g dietary fiber, 0.8 g sugars), 12.8 g total fat (3.2 g saturated fat, 0 g trans fat), 93 mg cholesterol, 222 mg sodium, 73.2 mg calcium, 41 mg potassium, 1 mg iron, 1 mg Vit C, 43 IU Vit A, 4.2 g protein. Net carbs per serving: 3.3 grams

Recipe and photo by Kathy Sheehan, copyright 2026
All rights reserved. Please do not duplicate without the author’s permission.

Monday, January 17, 2022

Keto Chicken and Cauliflower Rice Soup

Keto Chicken and Cauliflower Rice Soup
Sometimes when you’re sick, the only thing that sounds good is a warm bowl of soup. When I was recently ill, that’s the only thing I was craving! I looked through my cupboard to try and find the lowest carb soup in a can. I found a chicken rice soup with 12 g per cup and, because I was in no shape to make a homemade pot of soup that day, I ate it…and was very disappointed. There was very little chicken, lots of rice and even more potatoes! My blood sugar soared through the roof, much more than a serving of 12 carbs should have caused. The next day I was determined to make my own soup! And it turned out so delicious, very comforting and I ate it over the next several days as I recovered. Cauliflower rice in this recipe tastes and has the same texture as real rice! The broth was richer and more flavorful than anything you’ll find in a can. The real trick to this recipe is to brown the chicken, skin side down, in the Dutch oven or saucepan until crispy and a fond collects in the bottom of the sauce pan. Then, once you add the rest of the ingredients and broth, the fond is incorporated into the soup adding exceptional flavor. I hope you find this recipe as comforting as I did, especially on a sick day.

Keto Chicken and Cauliflower Rice Soup
Makes about 6 servings

12 ounces bone-in chicken thighs with skin (2 large thighs or 3-4 smaller)
2 carrots, diced
1/2 onion, diced
1 large rib celery, diced
1/4 teaspoon salt
1 clove garlic, minced
3/4 teaspoon dried thyme
1/2 teaspoon poultry seasoning
4 cups chicken stock or bone broth
2 cups frozen cauliflower rice, thawed
Salt and pepper, to taste

1. In a large Dutch oven or large, heavy saucepan, place the bone-in chicken thighs skin side down and heat over medium heat for eight minutes or until the skin has rendered its fat and is crispy. Turn the chicken over and continue cooking for another five minutes. Remove the chicken to a plate to rest while you continue making the soup.

2. Add the carrots, onion and celery to the saucepan, along with about 1/4 teaspoon of salt, and sauté until the vegetables are tender crisp and the onion is translucent. Add the garlic, thyme and poultry seasoning and stir for 30 seconds. Add the chicken stock and, with a wooden spoon, scrape the bottom of the pan until the accumulated fond is incorporated into the broth.

3. Add the chicken back into the pan and bring to a simmer. Cover and gently simmer the soup for 45 minutes. Test the temperature of the chicken with a probe thermometer. It should be at least 175°F. Remove the chicken from the pan and onto a plate to cool. Add the cauliflower rice to the soup and stir. Turn off the heat and allow the soup to sit, covered, while the chicken cools.

4. Once the chicken is cool enough to handle, remove the skin and bones from the chicken and discard. Cut the chicken into bite-size pieces and return the chicken to the pot. Reheat the soup, adding salt and pepper to taste. Simmer gently for 10 minutes before serving. Enjoy and get well! (This soup can be stored in an airtight container in the refrigerator for up to four days.)

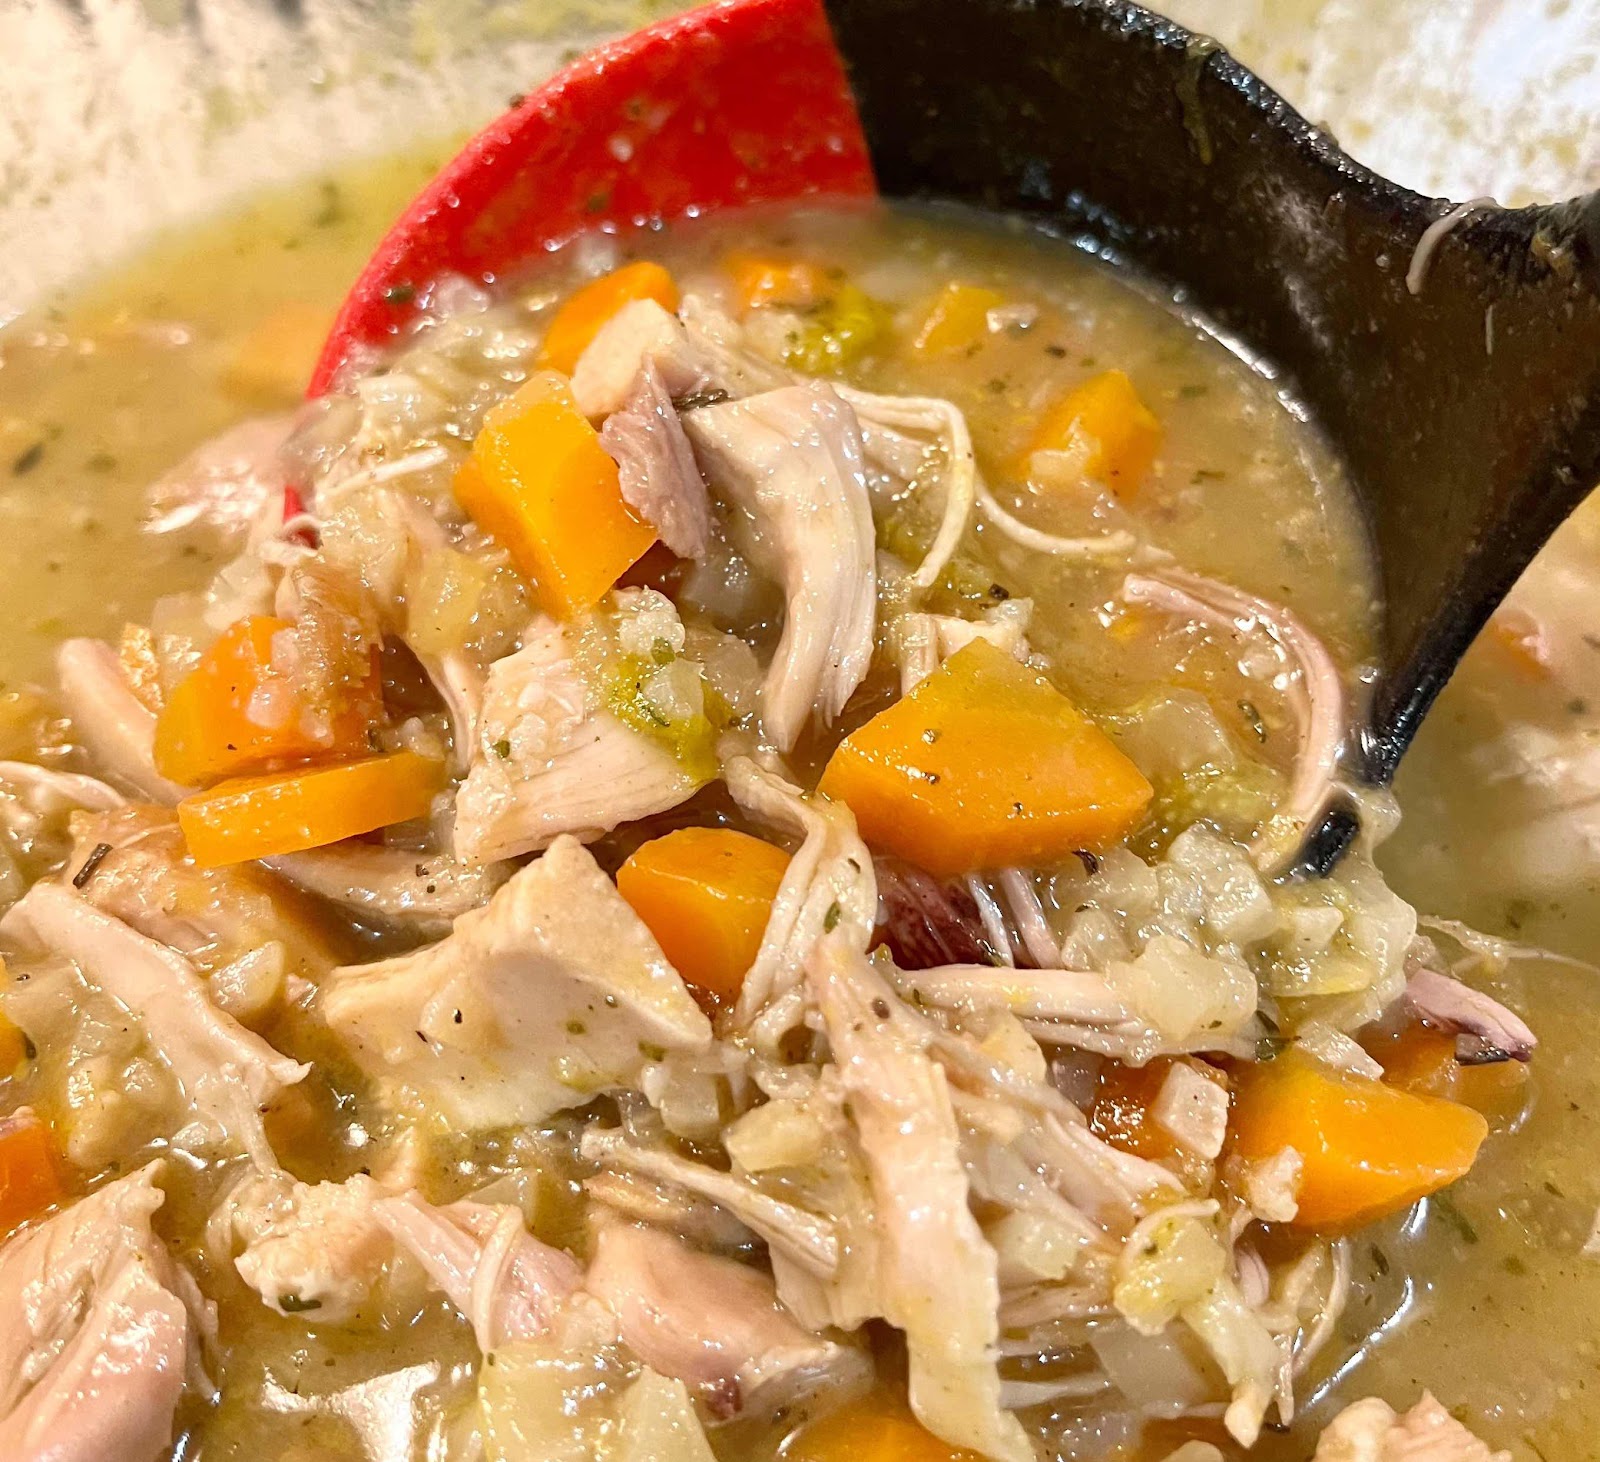
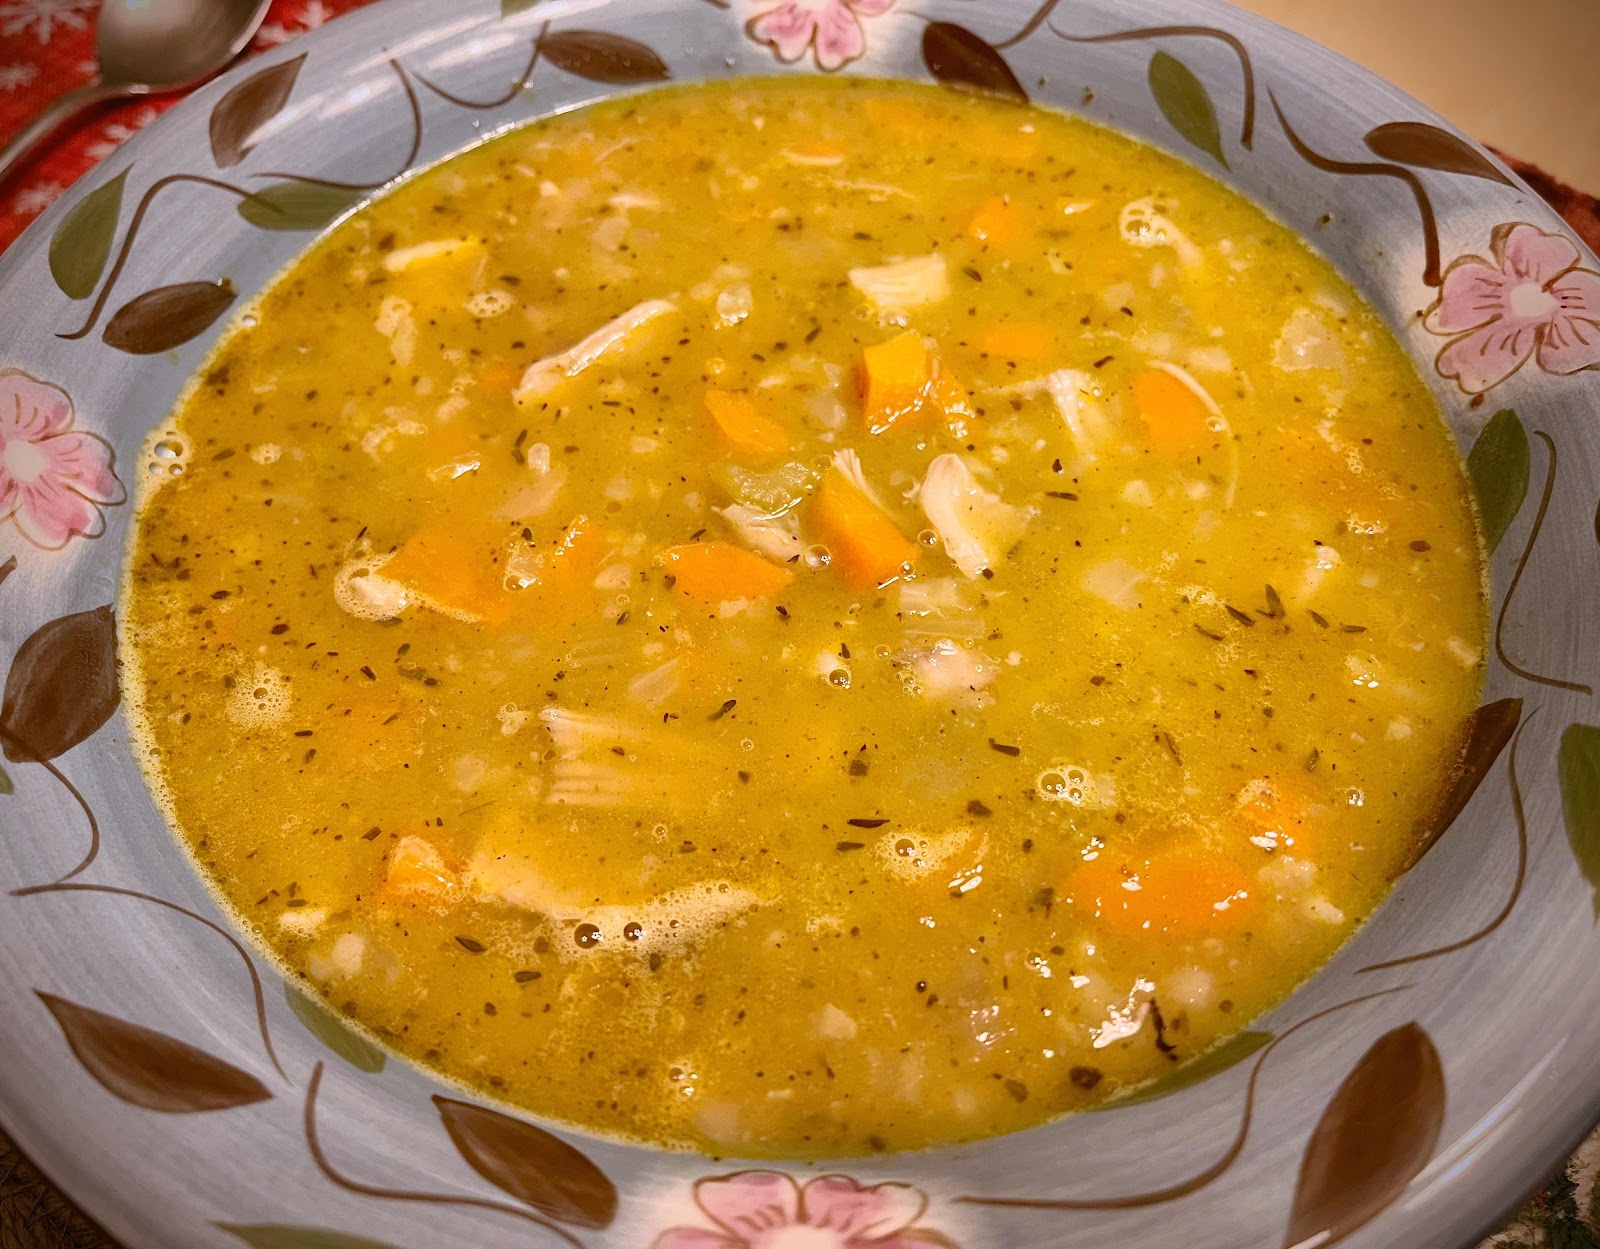
Bowl of Chicken and Cauliflower Rice Soup
Nutritional Information per serving (1 cup): 150 calories, 4.7 g carbohydrate (1.5 g dietary fiber, 2.5 g sugars), 6.2 g total fat (1.7 g saturated fat, 0 g trans fat), 54 mg cholesterol, 414 mg sodium, 27.9 mg calcium, 214 mg potassium, 1 mg iron, 819 IU Vit A, 16 mg Vit C, 18.3 g protein. Net carbs per serving: 3.2 grams

Photos and recipe by Kathy Sheehan, copyright 2022
All rights reserved. Please do not duplicate without the author’s permission.
Wednesday, April 26, 2017

Low Carb Zucchini Lasagna (or Hearts of Palm)


It's been eight years since I posted a lasagna recipe and, now that I'm living gluten and grain free, it's time for an updated version. My husband brought home two gorgeous, organic zucchini the other day and my plan was to spiralize them and make spaghetti. But because today was a cold and rainy spring day in Maine, I decided to make a warm and comforting baked lasagna instead. Instead of pasta noodles, I cut my zucchini lengthwise into narrow slices and used them between the layers of cheese and sauce. (You can substitute hearts of palm noodles in place of the zucchini.) It's important to place the zucchini slices between paper towels and leave at room temperature for at least an hour (or longer) to allow the moisture to be drawn out of this watery vegetable before assembling the casserole. The ricotta cheese mixture and meat sauce can be made a day or two ahead so, when it's time to assemble and bake, the prep time is minimal. Whether made with zucchini or hearts of palm noodles, this recipe is definitely a keeper! The lasagna was so delicious and, because it is a complete and balanced meal by itself, you don't even need to worry about a side dish. Keep life simple!

Low Carb Zucchini Lasagna (or Hearts of Palm)
Makes 6 servings

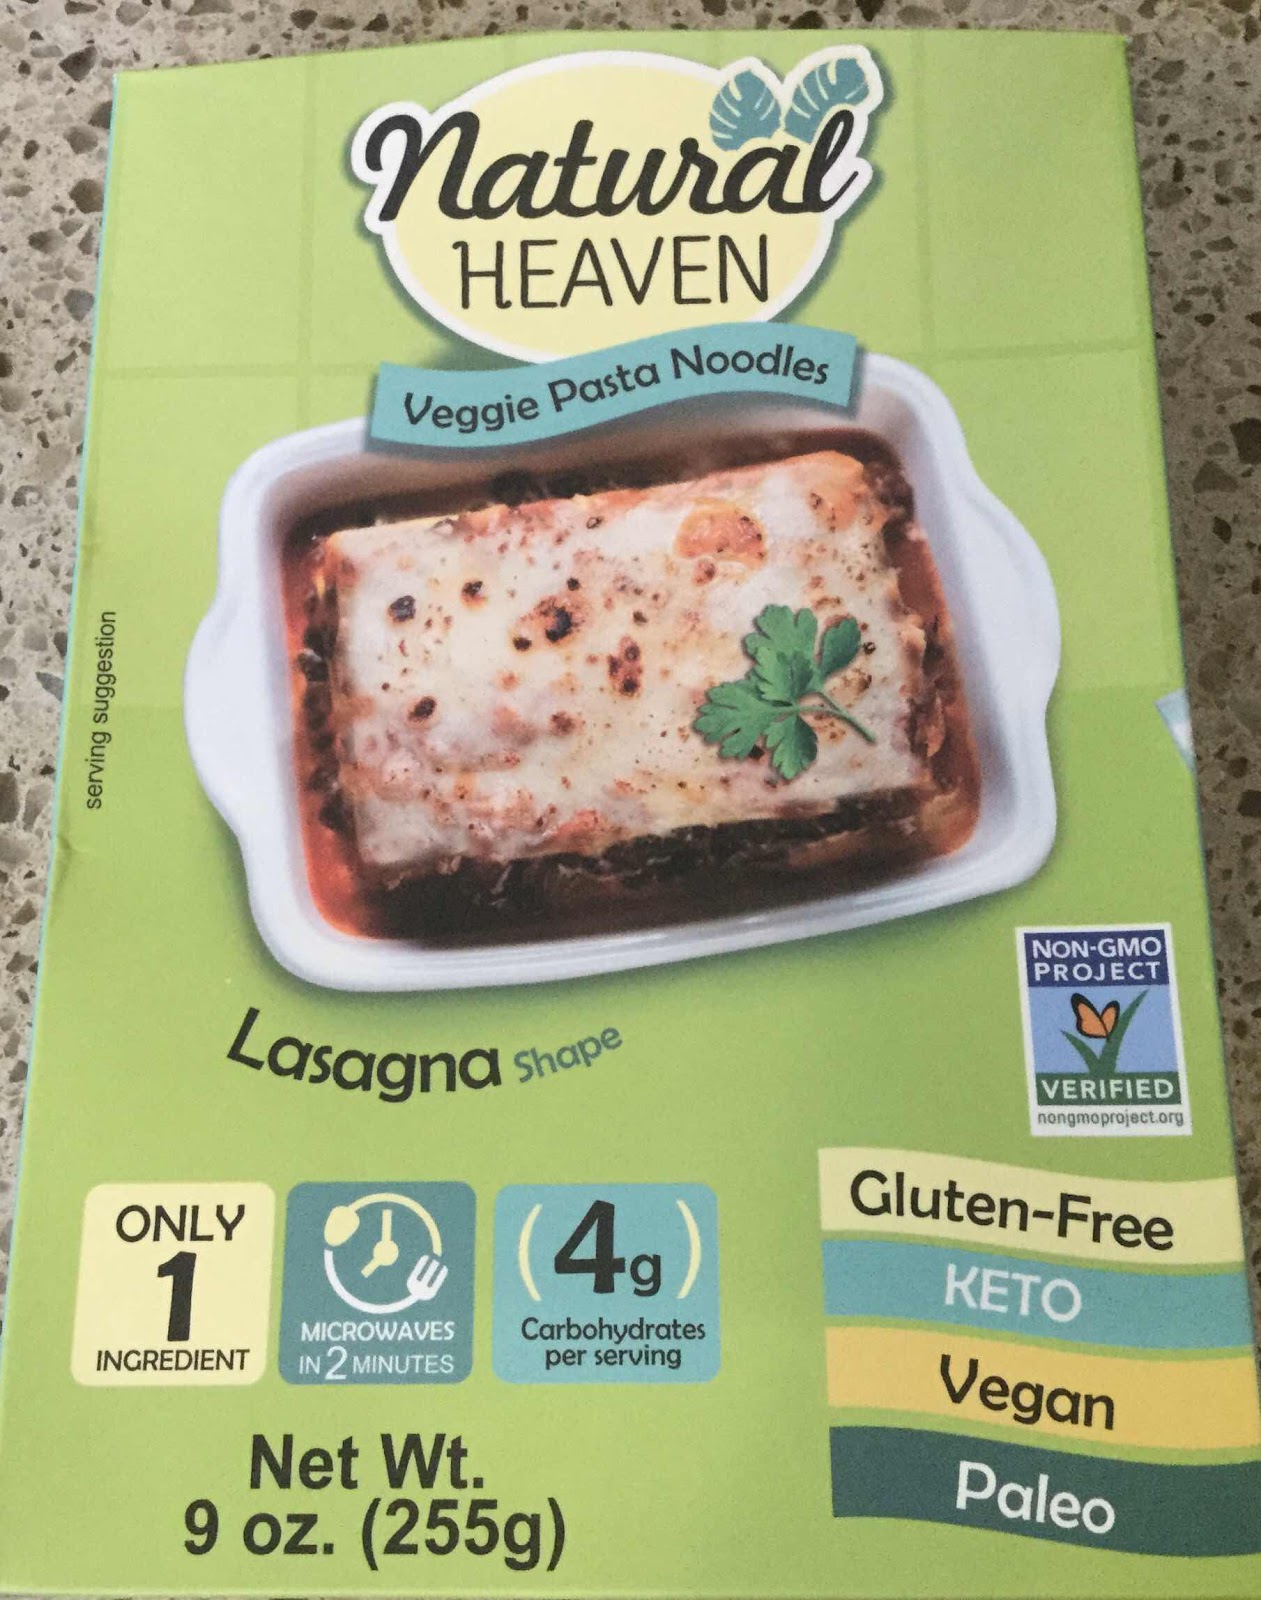
2 large zucchini, about 9 inches long or 9 oz package of hearts of palm lasagna noodles (drained, rinsed and dried), such as Palmini or Natural Heaven brand)
1 cup shredded mozzarella cheese

Ricotta Cheese Filling:
15 oz. of whole milk or part-skim ricotta cheese
1 cup of chopped fresh spinach (or 1/2 cup frozen, squeezed and drained of moisture)
1/4 cup grated Parmesan cheese
1/2 teaspoon dried basil
1 teaspoon of Italian herb seasoning
1/8 teaspoon nutmeg
1/4 teaspoon black pepper
2 cloves garlic, minced (or 1/2 teaspoon garlic powder)
1 egg, slightly beaten

Meat Sauce:
3/4 pound of sweet Italian sausage, casings removed (or substitute ground beef)
2 cups marinara or your favorite pasta sauce, no sugar added

1. Prepare the zucchini ahead of time by slicing lengthwise into thin slices (about 3/16-inch wide). If you have one, a mandoline works well to make even, thin slices, otherwise cut with a large knife. Lay the slices in a single layer on several layers of paper towel, sprinkle very sparingly with salt and cover with several more layers of paper towel. If desired, you can place a baking sheet over them and weight it with canned goods or other objects. Allow the zucchini slices to remain at room temperature between the paper towels for at least one hour (or longer) to draw out the excess moisture. Wipe off any excess salt before assembling the lasagna. (If using hearts of palm noodles, you can skip this step.)
Step by Step Pictorial

2. In a medium bowl, mix together the Ricotta Cheese Filling ingredients and stir until well combined. Set aside. (If making ahead, refrigerate until you're ready to assemble the lasagna.)

3. In a large skillet, brown the sausage and add the pasta sauce. Stir to combine and set aside. (This can be made ahead and refrigerated, if desired.)

4. Preheat oven to 375 degrees Fahrenheit. To assemble the lasagna, spray a baking pan with non-stick spray or grease with coconut oil or butter. Spoon in about 1/2 cup of the pasta sauce (no sausage) and spread to cover the bottom of the pan. Lay down a layer of the zucchini slices or hearts of palm noodles, overlapping just slightly, until the bottom of the pan is covered. Spread 1/3 of the ricotta filling over the zucchini or noodles and spread into an even layer, covering the slices. Top with 1/3 of the meat sauce and spread to edges. Sprinkle sauce with 1/4 cup shredded mozzarella cheese.

5. Repeat with a layer of zucchini slices or noodles, 1/3 of the ricotta filling, 1/3 of the meat sauce and 1/4 cup mozzarella.

6. Repeat a final time with a layer of zucchini slices or noodles, the remaining ricotta filling, the remaining meat sauce and sprinkle with the remaining 1/2 cup mozzarella.

7. Cover with the pan lid or tightly with foil (spray the foil with non-stick spray to prevent the cheese from sticking). Bake for 50-60 minutes. Remove foil and continue baking for 10 minutes until cheese is bubbly and beginning to brown. Remove from oven and allow to rest for at least 10-15 minutes before slicing and serving.

Natural Heaven Hearts of Palm Lasagna Noodles
Nutritional Information per serving made with zucchini (1/6th of recipe): 482 calories, 14 g carbohydrate (3 g dietary fiber, 6.8 g sugars), 36.6 g total fat (15.5 g saturated fat, 0 g trans fat), 120 mg cholesterol, 968 mg sodium, 376 mg calcium, 560 mg potassium, 277 mg Vit A, 1 mg iron, 26.8 g protein. Net carbs per serving: 11 grams

Nutritional Information made with hearts of palm noodles (1/6th of recipe): 478 calories, 10.1 g carbohydrate (1.7 g dietary fiber, 3.4 g sugars), 36.2 g total fat (15.4 g saturated fat, 0 g trans fat), 120 mg cholesterol, 981 mg sodium, 369 mg calcium, 386 mg potassium, 1 mg iron, 708 mg Vit A, 26.4 g protein. Net carbs per serving: 8.4 grams.

Photos and recipe by Kathy Sheehan, copyright 2017, updated 2020
All rights reserved. Please do not duplicate without author's permission.

Saturday, July 18, 2015

Prosciutto Wrapped Zucchini with Pesto and Mozzarella


I've seen many recipes for prosciutto wrapped asparagus spears, but never zucchini.  In this recipe, I created a small hollow down the center of the zucchini and filled it with pesto and firm mozzarella before wrapping it with the prosciutto and sauteing it in a skillet.  The prosciutto becomes crispy and encases the filling nicely.  This makes a wonderful side dish or, if cut into squares, a perfectly delightful appetizer or snack!  If you're looking for another creative way to enjoy your vegetables, I highly recommend you give this recipe a try.

Prosciutto Wrapped Zucchini with Pesto and Mozzarella
Makes 4 side dish servings or about 12 appetizers

1 medium zucchini (about 8" long and not too fat)
2 tablespoons pesto (homemade or store bought)
firm mozzarella, cut into 1/4" x 1/2" sticks
prosciutto slices (about 3-4)
coconut oil (or oil saved from frying bacon)
Optional garnishes for appetizers: basil leaves, grape tomato halves, small mozzarella balls

1.  Wash and dry the zucchini.  Cut a thin portion off one side to create a flat surface (so the zucchini will not roll when placed on that side).  Repeat on the opposite side.  Cut the zucchini lengthwise down the center, between the two flat surfaces.  Set the zucchini halves with the seed sides up and, using a spoon, scrape down the center of each zucchini to remove the seeds and create a hollowed out space.

2.  Spread 1 TB of pesto down the center of each zucchini half in the hollow space.  Top pesto with mozzarella sticks just the length of the hollow space (do not let cheese extend beyond this space).  Wrap each zucchini half with the sliced prosciutto, being careful to overlap and encase the filling completely.

Saute prosciutto wrapped zucchini in skillet
3.  Heat the oil in a skillet to medium-high.  Place the zucchini with seam side down into the pan and saute until the prosciutto is browned and crispy.  Turn over and repeat with second side.  You may also wish to brown edges, as well.  Remove from pan and drain briefly on a paper towel.  Cut each zucchini into serving size pieces.  To serve as a side dish, cut each zucchini half into 2 pieces.  If creating appetizers, cut each zucchini into small squares and top with suggested garnish (as pictured) and secure with a toothpick.

Nutritional Information per side dish serving (1/4 recipe): 106 calories, 2.5 g carbohydrate (0.6 g dietary fiber, 1.5 g sugar), 8.4 g total fat (3.3 g saturated fat, 0 g trans fat), 14 mg cholesterol, 381 mg sodium, 115.3 mg calcium, 128 mg potassium, 6.7 g protein.  Net carbs per serving: 1.9 grams

Recipe by Kathryn Sheehan, copyright 2015

Monday, July 19, 2010

Dilled Salmon with Low-fat Hollandaise Sauce

It seems my creativity can only flow in one direction at a time. For the past several weeks, I've been very busy preparing four new sewing patterns for publication, so I apologize for the infrequent postings lately. But don't worry, I'm still cooking! It's been fun going into the archives and rediscovering some of my old favorite recipes.

My daughter is home from college for the summer and this recipe was partly her creation. She made her seared dill salmon for me one evening and I just happened to have some of my low-fat hollandaise sauce leftover in the fridge. The sauce was the perfect finishing touch to her delightful recipe.

Real hollandaise sauce is made from 2-3 eggs, 2 sticks of butter and lemon juice, which is so loaded with saturated fat I might have a heart attack just thinking about it! My mock hollandaise sauce starts with a convenient dry mix and is less than 1 gram of saturated fat per serving. The packaged dry hollandaise mix, when made according to the directions, can be a bit gravy-like and too dull for me, so I spiced it up with a pinch of cayenne and more lemon. It makes ten low-fat servings, so you'll have plenty leftover for eggs benedict, asparagus or another fish dish later in the week.

Dilled Salmon with Low-fat Hollandaise Sauce
(Makes 2 servings)

1 packet of Hollandaise sauce mix (I use Knorr brand)
1 cup skim milk or Fat-free Hood Calorie Countdown Dairy Beverage
2 tablespoons Smart Balance buttery spread
Pinch of cayenne pepper (or to taste)
2 tablespoons lemon juice
2 center-cut salmon fillets (5 oz. each, no skin)
Salt & freshly ground pepper
Fresh chopped dill or dried
1 tablespoon Canola oil or Grapeseed Oil (for high temp cooking, not olive oil)

1. Mix the milk and sauce mix in a small saucepan until well blended. Heat the hollandaise sauce over medium-low heat according to package directions, except only add 2 tablespoons of buttery spread (instead of ¼ cup butter as the package recommends). After it boils for 1 minute, remove from heat and add cayenne pepper and lemon juice; set aside.

2. Heat a heavy skillet over medium to high heat (I use a cast-iron skillet). Season salmon fillets with salt & pepper on both sides, and season liberally with dill only on one side. Rub the oil on each side. When skillet is very hot, place the oiled salmon in the pan, dill side down and do not disturb for at least 2 minutes until a brown crust has formed. Turn salmon and sear other side for at least two minutes. Turn again and complete cooking to desired doneness. (If you like your salmon on the rare side, the 2 minutes per side should be fine. I like mine cooked through to flaky and no longer pink in center, which takes another 2-3 minutes. Do not overcook, or fish will be dry.) Remove to serving plate and top each serving with 2 tablespoons hollandaise sauce. Serve hot.

Nutritional Information per serving: 274.5 calories, 2.75 g carbohydrate, 9.35 g total fat, 3.8 g saturated fat, 196.5 mg sodium, 0 g fiber, 31.3 g protein.

Original recipe by Maralee and Kathy Sheehan, copyright 2010

Wednesday, May 5, 2010

Herb Gardening

There is nothing easier than growing your own fresh herbs. You don't need to be a skilled gardener and, as a matter-of-fact, you don't even need a garden! My house is surrounded by large trees and my driveway is about the only place that receives enough light for these sun-loving plants. In past years, I've had a few small pots with herbs but, this year for Mother's Day, I asked my husband and daughter to help me set up a BIG container herb garden! Together we chose a beautifully decorated, sturdy, large pot and had a great time choosing all the individual herb plants. We set it on the driveway between the two garage doors where it will get sunlight most of the morning and into the afternoon. It really dresses up the otherwise boring driveway nicely.

If you want to plant your own personal herb garden, pick a spot that receives at least 6 hours of sun a day. You don't need a large container, but some plants need more root space than others. For example, rosemary will do better in a taller pot because it's roots grow straight down. If you're planting in pots, make certain there is a drainage hole in the bottom of the container so the roots don't become waterlogged. If the plant flowers, pinch the flowers off to encourage a longer growing season and greater yield. You can always start from seeds (right now there are herb starter kits available at most gardening centers), but if you can't wait then purchase the plants. Water your potted herbs whenever the soil is dry. In hot weather, you might have to water daily. You can purchase "moisture control" potting soil which contains small pellets that soak up the water and release it slowly, making it possible to water less often. That's about all you need to know -- it's that easy. The best part about having your own herb garden is that all you have to do is step out of your kitchen and pick the herbs you need for a recipe, which makes cooking more exciting and fun!