Showing posts with label side dishes. Show all posts

Sunday, March 29, 2026

Sugar Free Carrot Relish (Hart’s Turkey Farm Copycat Recipe)


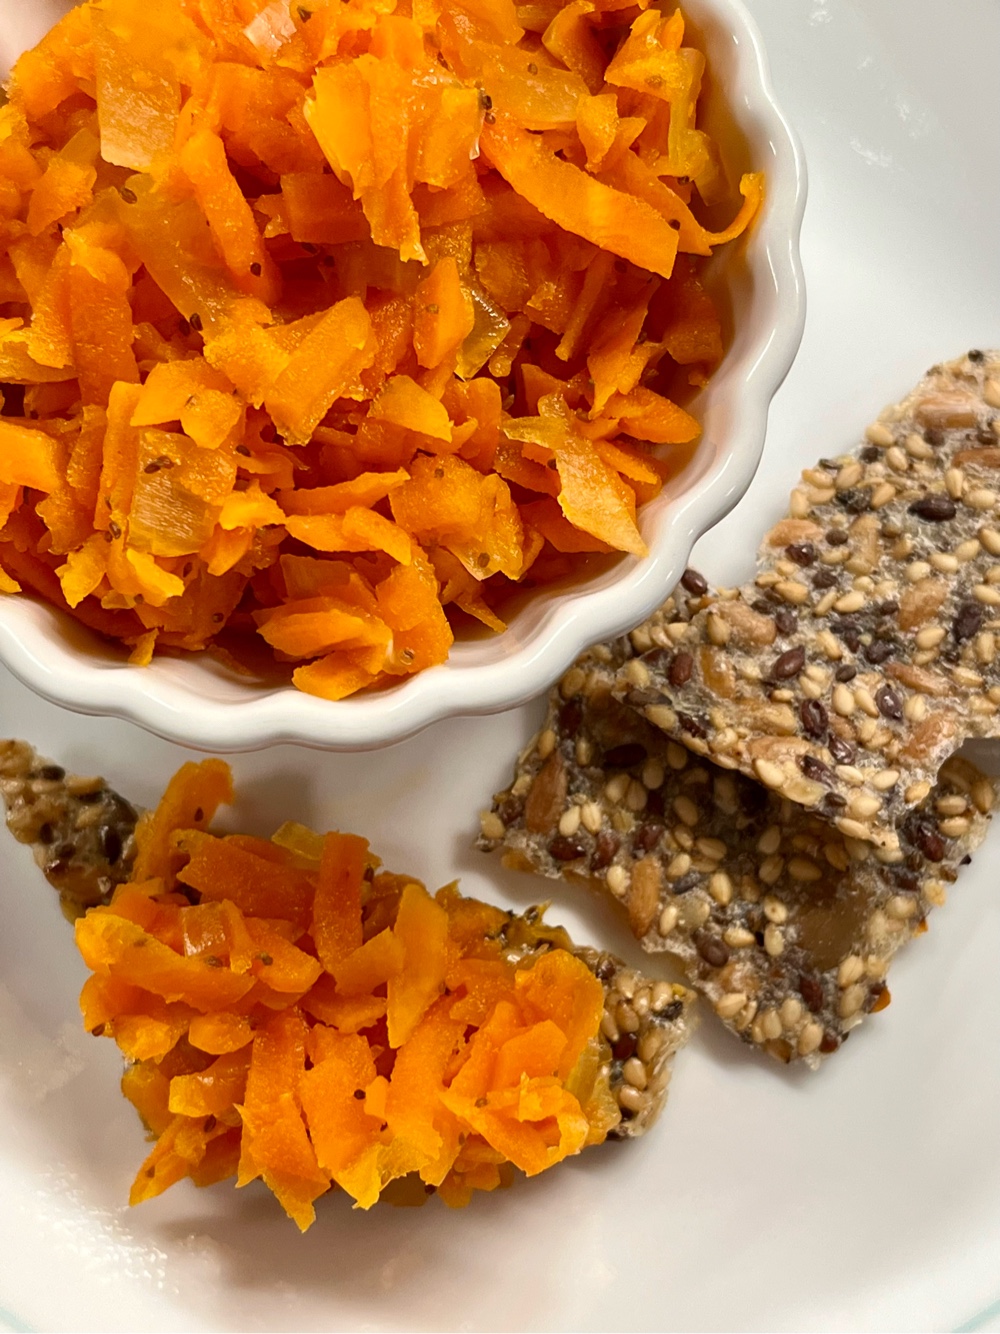
If you have ever been to Hart’s Turkey Farm Restaurant in Meredith, New Hampshire, then you will know of their delicious carrot relish that is served with saltine crackers as an appetizer. Traditionally, carrot relish is overloaded with sugar! This recipe uses allulose/monkfruit as its sweetener, which slashes the carb count significantly. I think you will find this sugar-free version just as delightful as the carrot relish that is so acclaimed at one of my favorite restaurants.

Sugar Free Carrot Relish
Makes 1 pint (32 servings)

3 cups shredded carrots, shredded on the big holes of a box grater
½ onion, chopped
A pinch of ground cayenne (or a dash or two of hot sauce)
1 teaspoon celery seed
½ teaspoon sea salt
1/3 cup allulose Monkfruit sweetener, or to taste
9 tablespoons apple cider vinegar 
1/4 cup water
Low carb crackers to serve

1. Add all the ingredients (except the crackers) to a heavy medium sauce pan. Bring to a boil and simmer for about 30 minutes on medium low heat, stirring occasionally. Simmer until the liquid is absorbed and the vegetables are tender. Spoon into a pint-size glass jar and cool completely before serving.

2. Serve with low carb crackers. Also, this relish is a very nice addition to a cheese platter. Spoon it directly onto a slice of cheddar cheese and enjoy!

Nutritional Information per tablespoon: 7 calories, 1.8 g carbohydrate (0.3 g dietary fiber, 0.6 g sugars), 0 g total fat, 0 mg cholesterol, 15 mg sodium, 5 mg calcium, 37 mg potassium, 520 IU Vit A, 1 mg Vit C, 0 g protein. Net carbs per serving: 1.5 grams

Photo and recipe by Kathy Sheehan, copyright 2026
All rights reserved. Please do not duplicate without the author’s permission.

Thursday, November 2, 2023

Keto Tater Tots


You won’t believe these “tater tots” are potato-free! Their taste and texture is spot on! Crunchy on the outside and tender on the inside. Dip them in sugar free ketchup and relive a taste from your childhood. There are a lot of faux-tato tot recipes out there, and I’ve made quite a few, but this recipe is my favorite, by far. So simple and requiring only a few ingredients, plus some spices you already have in your cabinet. Make dinner fun tonight!!

Keto Tater Tots
Makes 2 servings

6 ounces frozen riced cauliflower (about 2 cups)
½ cup whole milk cottage cheese (4%)
1/4 teaspoon salt
Ground pepper to taste
1/8 teaspoon garlic powder
1/8 teaspoon onion powder
1/8 teaspoon paprika (I used sweet paprika, but smoked paprika would be good too)
2 tablespoons + 1/3 cup pork rind panko

1. Cook riced cauliflower in a skillet over medium heat until thawed and beginning to be tender. Remove to a plate, covered with a paper towel, and allow the excess liquid to wick away.

2. Meanwhile, blitz the cottage cheese in a food processor or blender until smooth. Transfer to a bowl and add the salt, pepper, garlic powder, onion powder, paprika and 2 tablespoons pork rind panko. Stir to combine.

3. Add the cooled cauliflower and stir to combine. Form mixture into tots, roll them in the remaining 1/3 cup pork rind panko that has been spread in a layer on a plate and place them on a baking sheet that has been greased well. Spray the top of each tot with cooking spray or brush lightly with avocado oil.

4. Bake in a 450°F oven for about 20 minutes (in a convection oven or air fryer, cook at 425°F), turning each tot over halfway through cooking. Continue baking until lightly browned. Remove from oven and allow the tots to cool on the baking pan for a few minutes to firm up a bit. Serve with sugar-free ketchup, if desired. Enjoy! 

5. Storage: These are best served immediately, but leftovers can be stored in a covered container in the refrigerator and reheated on a baking sheet in a 375°F oven for 10 to 12 minutes, or until heated through and the pork rind panko coating crisps up.


Nutritional Information per serving (½ recipe): 121 calories, 6.8 g carbohydrates (2.1 g dietary fiber, 3.6 g sugars), 5 g total fat (2.5 g saturated fat, 0 g trans fat), 25 mg cholesterol, 675 mg sodium, 60.9 mg calcium, 6 mg potassium, 65 IU Vit A, 42 mg Vit C, 13.6 g protein. Net carbs per serving: 4.7 grams

Photos and recipe by Kathy Sheehan, copyright 2023
All rights reserved. Please do not duplicate without the authors permission. 

Sunday, November 6, 2022

Sugar Free Cranberry Sauce (Jellied or Whole Berry)

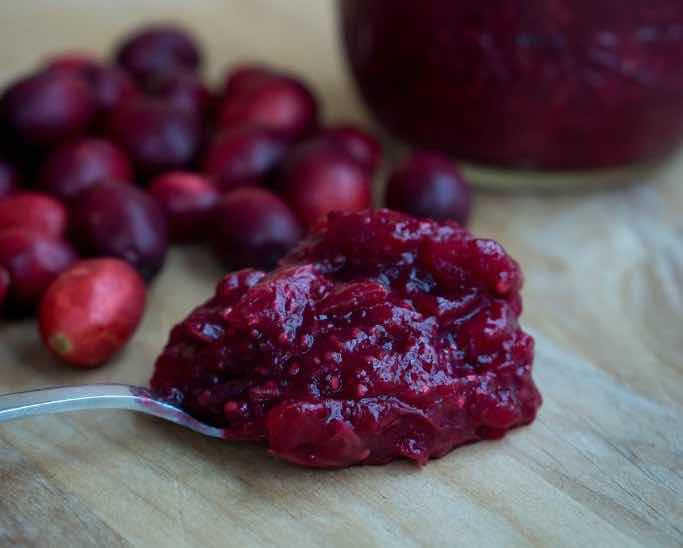
Sugar Free Cranberry Sauce
Thanksgiving is approaching! I really like the taste combination of turkey with tart cranberry sauce. But, have you looked at the nutritional information on the back of a can of cranberry sauce? One-fourth cup contains an astonishing 28 grams of carbohydrate, mostly sugar!! Even a spoonful will derail your low carb plans and send your blood sugar skyrocketing. This recipe tastes just like traditional cranberry sauce, but only has 3.6g net carbs per serving. You can make it ahead, process it in a boiling water bath to seal your jars (which makes them shelf stable for a year), or simply refrigerate or freeze. Great idea for gift-giving to your low carb or diabetic friends and family, too!

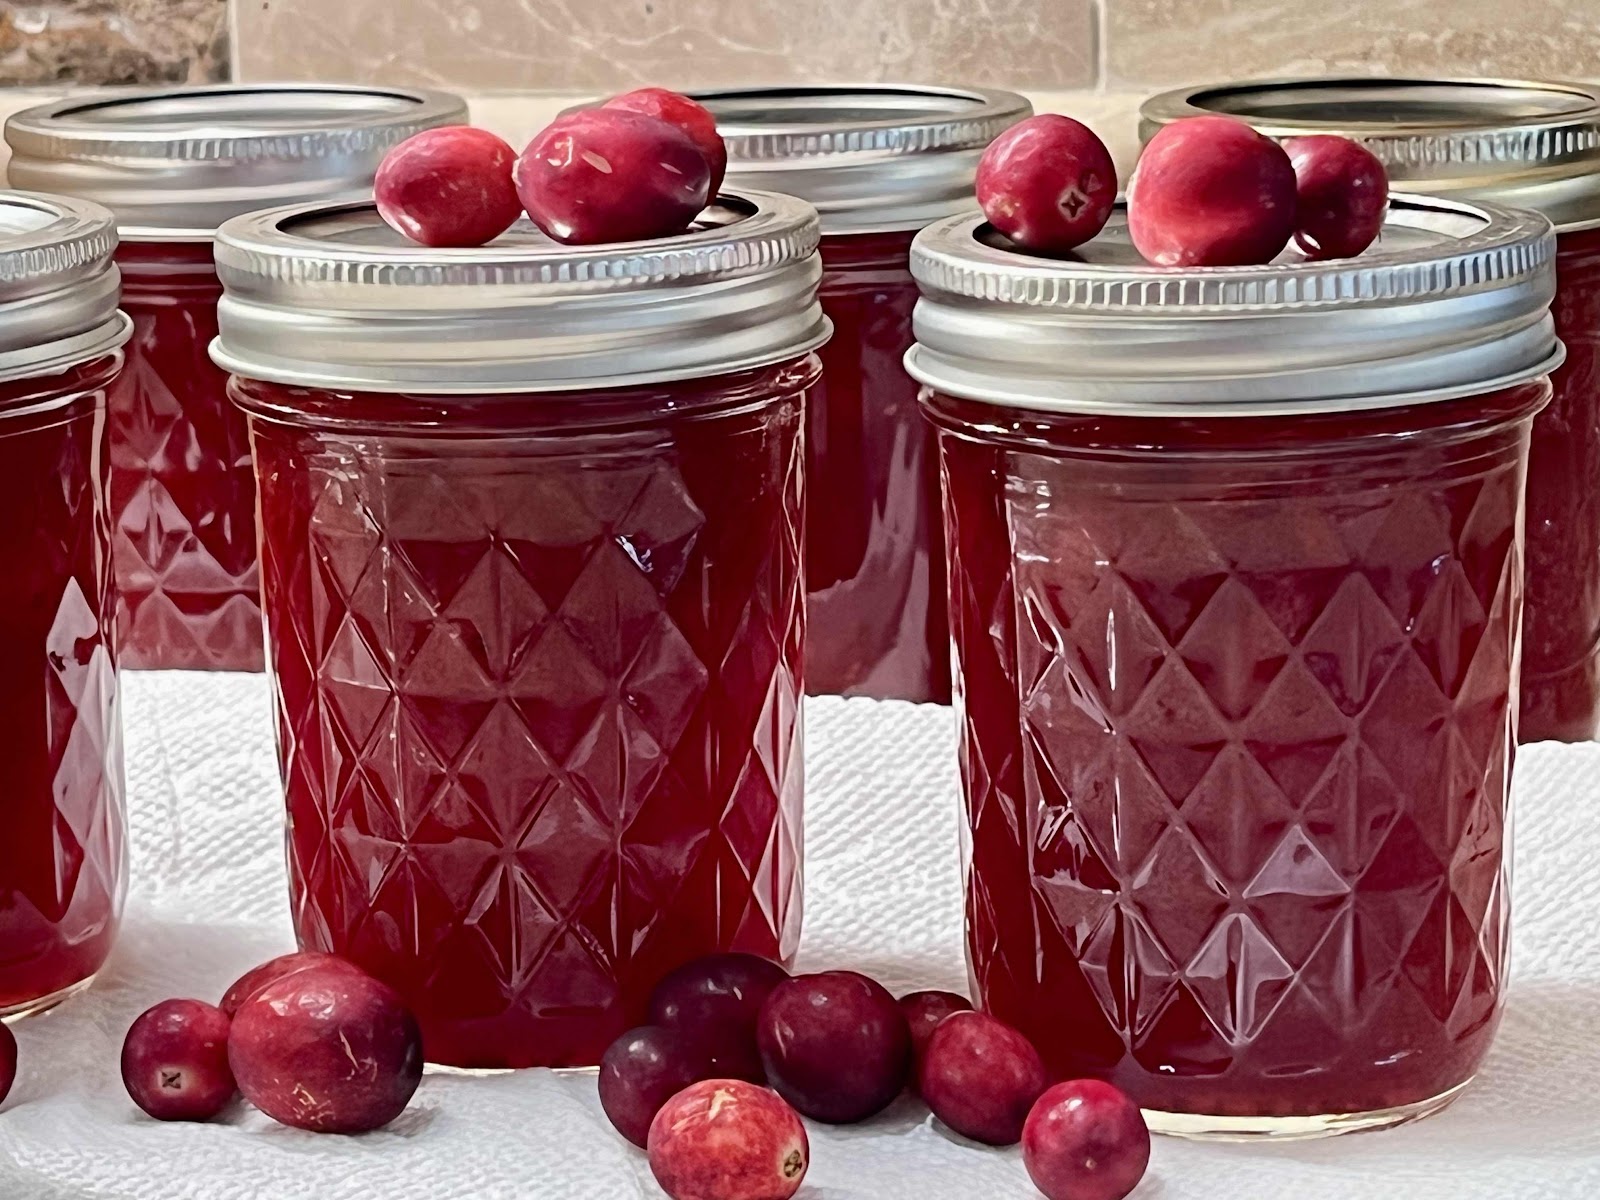
Sugar Free Cranberry Sauce (Jellied or Whole Berry)
Makes three (8 oz) jars or 12 servings

Pulpy Cranberry Juice Ingredients:
12 ounce bag of fresh cranberries (or frozen), washed
1½ cups water

Cranberry Sauce Ingredients:
2 cups pulpy cranberry juice (see Step #3)
1 teaspoon calcium water (see Step #1)
2 tablespoons bottled lemon juice
1/4 cup liquid allulose or allulose honey (if not using, increase granulated allulose by an additional 1/4 cup)
1 teaspoon Pomona’s Universal Pectin
¾ cup granulated allulose sweetener 

1. Before you begin, prepare the calcium water. To do this, combine ½ teaspoon calcium powder (in the small packet in the box of Pomona’s Universal Pectin) with ½ cup water in a small jar with a lid.  Shake well. (Extra calcium water can be stored in the refrigerator indefinitely for future use.)
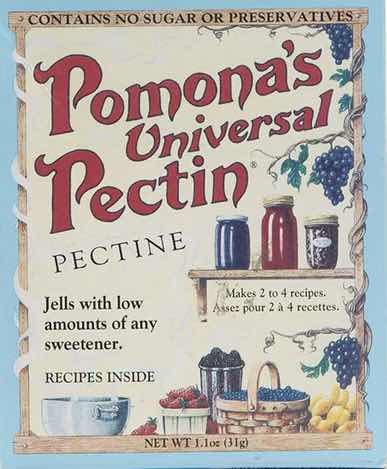
Pomona’s Universal Pectin
2. Wash your canning jars, lids and bands. Placed jars in a stock pot or canner, fill with water about 2/3 full, and bring to a boil. Boil for 10 minutes to sterilize your jars. Turn off the heat, cover, and keep jars in hot canner water until ready to use. Place lids and bands in water in a small sauce pan, cover and heat to simmer. Turn off heat and keep lids in the hot water until ready to use.

3. To make the pulpy cranberry juice that you will use as a base for your sauce, bring a package of cranberries and water to a boil and simmer, covered, on low until the berries burst and soften. Put the mixture through a food mill or strainer to remove all or most of the skins to create pulpy cranberry juice. (Optional, depending how chunky you want your sauce, see notes.*)

4. Measure and place the pulpy cranberry juice from the previous step into a sauce pan. Add 1 teaspoon calcium water and 2 tablespoons bottled lemon juice; mix well.

5. Measure the granulated allulose into a bowl. Thoroughly stir in the pectin powder until no lumps remain. Set aside.

6. Bring cranberry mixture to a full boil. Add the liquid allulose (or allulose honey) and granulated pectin-allulose mixture, stirring vigorously for 1 to 2 minutes to thoroughly dissolve the pectin.

7. Stir while the sauce comes back up to a boil. Once the sauce returns to a full boil that cannot be stirred down, boil for one minute and remove it from the heat. (If needed, skim any foam and discard.)

8. Fill hot jars to 1/4” from top. Wipe rims clean. Place a lid on each jar and then screw on a rim just until finger-tight. Put the filled jars into boiling water to cover. Boil for 10 minutes (add 1 more minute for every 1000 feet above sea level). Turn off heat and allow the jars to rest in the hot water for 5 minutes. (Note: If you don’t want to process the cranberry sauce in a boiling water bath, you can put it in the refrigerator once it is cooled and it will keep for three weeks. You can also freeze the sauce instead of canning it. For freezing, fill jars to 1/2 inch from top. To prevent cracking, freeze glass jars without a lid to allow for expansion, then screw on a lid once frozen. Defrost in the refrigerator before eating.)

9. Remove jars from hot water using a jar lifter tool and place them on a kitchen towel. Let the jars cool undisturbed for 12 to 24 hours. Check seals; lids should be sucked down and not move or click when pressed. Properly sealed jars can be stored at room temperature for one year. Once opened, refrigerate and consume within three weeks.

*Notes: If you want whole berry or chunky cranberry sauce, do not run all of the cooked cranberries through the food mill or strainer.

Nutritional Information for 1/4 cup: 14 calories, 4.9 g carbohydrate (1.3 g dietary fiber, 1.2 g sugars), 0 g fat, 1 mg sodium, 2.5 mg calcium, 5 IU Vit A, 5 mg Vit C, 0.1 g protein. Net carbs per serving: 3.6 grams

Photo and recipe by Kathy Sheehan, copyright 2022
All rights reserved. Please do not duplicate without the author’s permission. 
Sunday, February 6, 2022

Grilled Sauerkraut

Grilled Sauerkraut
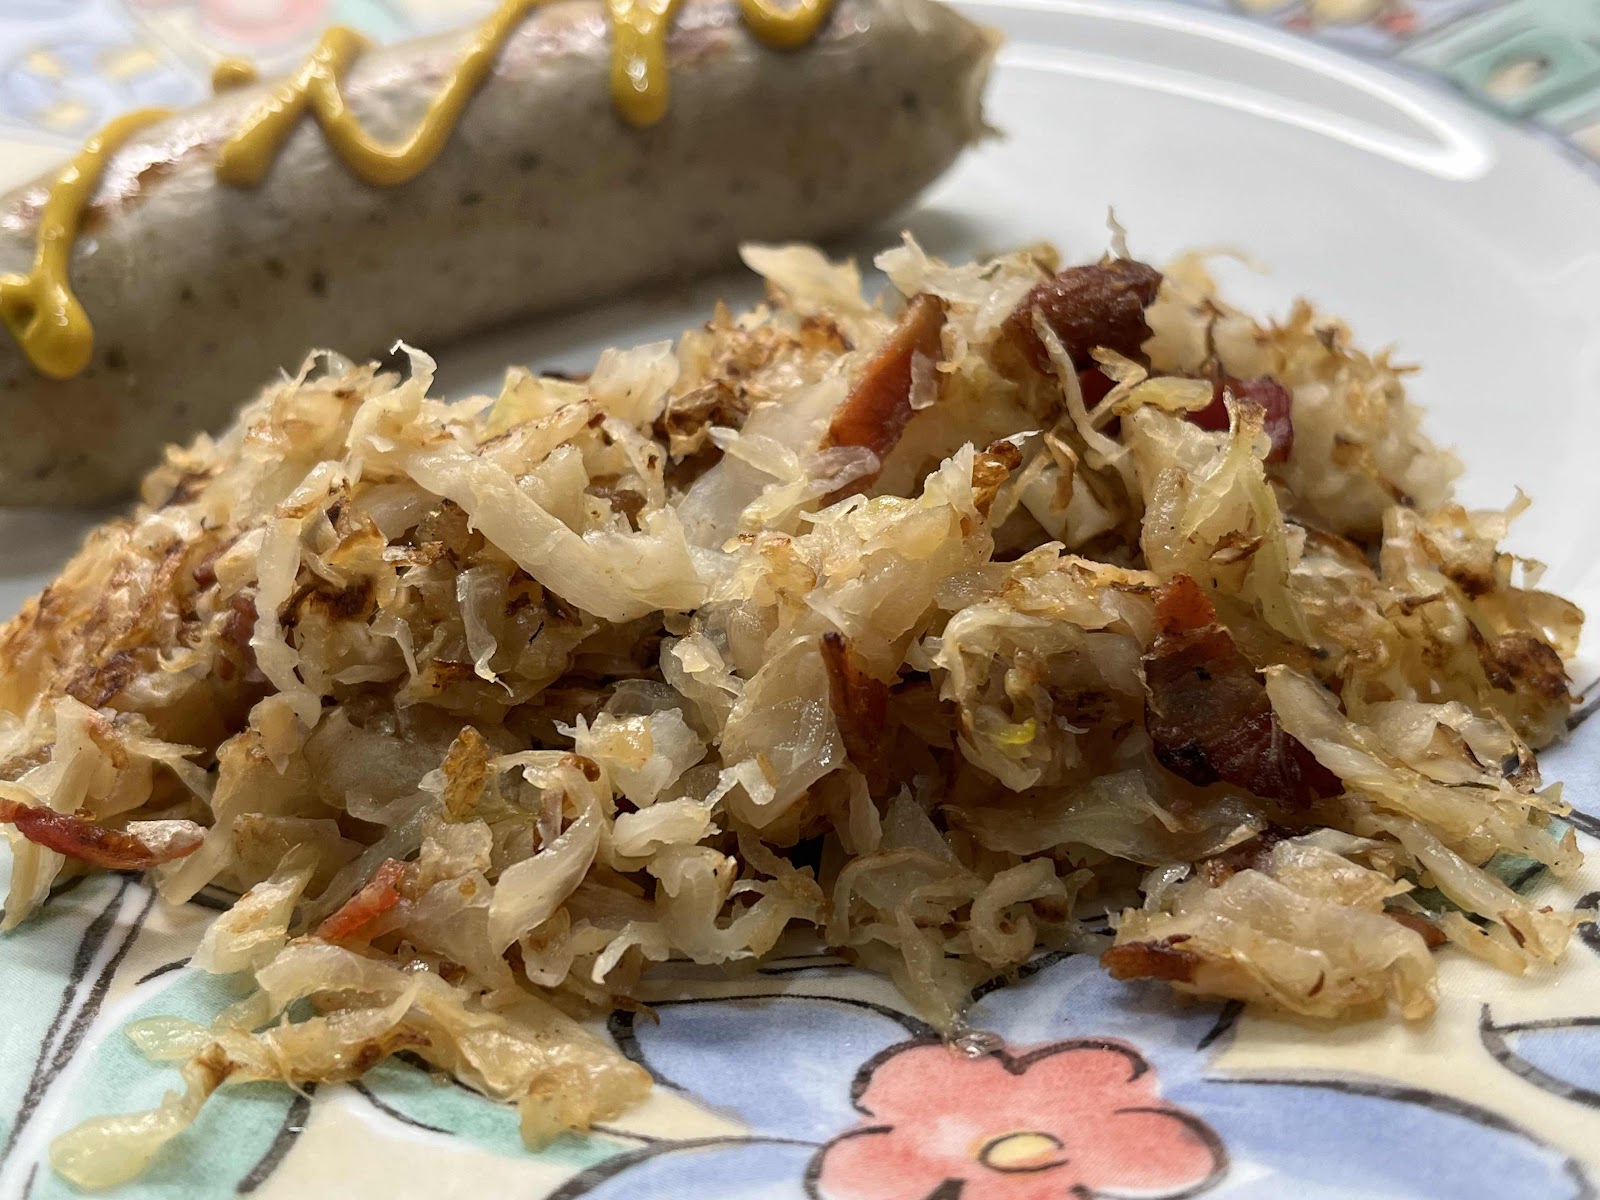
Many years ago, my husband and I had a wonderful meal at Morse’s Sauerkraut, a restaurant in Waldoboro, Maine. Along side the excellent bratwurst and schnitzel, we were served the most unbelievable grilled sauerkraut! This was new to us and it is a dish we have never forgotten, although the restaurant has been closed for several years. This recipe was inspired by this delicious side dish. It’s very quick and simple to make using fresh sauerkraut that you can purchase at the grocery store in the refrigerated section. The result is flavorful, with a touch of sweetness from the caramelized onion. It is one of my favorite side dishes to serve with brats, sausages and kielbasa. 

Grilled Sauerkraut
Makes 2 servings

1/2 onion, thinly sliced
2 slices precooked bacon, chopped
2 tablespoons avocado oil or refined coconut oil
1/2 pound fresh sauerkraut (found in the refrigerated section), drain well and pat dry with paper towels
1 tablespoon unsalted butter
Ground pepper to taste
A pinch of salt, only if needed

1. Heat your pan on medium-high heat. You may use a nonstick or cast iron pan. When it is hot, add the oil and onion, stirring often until softened and starting to brown.

Saute the ingredients until browned and crispy
2. Add the bacon and sauté until beginning to crisp. Stir in the drained sauerkraut, making sure to stir often to prevent burning. When the sauerkraut starts to brown and becomes slightly crisp, add the butter and stir until melted. Continue to cook until the sauerkraut reaches the desired level of browning. Season with pepper and salt to taste. Serve warm.

Nutritional Information per serving: 188 calories, 7 g carbohydrate (4.3 g dietary fiber, 1.2 g sugars), 16.1 g total fat (5.6 g saturated fat, 0 g trans fat), 25 mg cholesterol, 1030 mg sodium, 10.2 g calcium, 95 mg potassium, 54 IU Vit A, 16 mg Vit C, 3.5 g protein. Net carbs per serving: 2.7 grams

Photos and recipe by Kathy Sheehan, copyright 2022
All rights reserved. Please do not duplicate without the authors permission.

Sunday, August 29, 2021

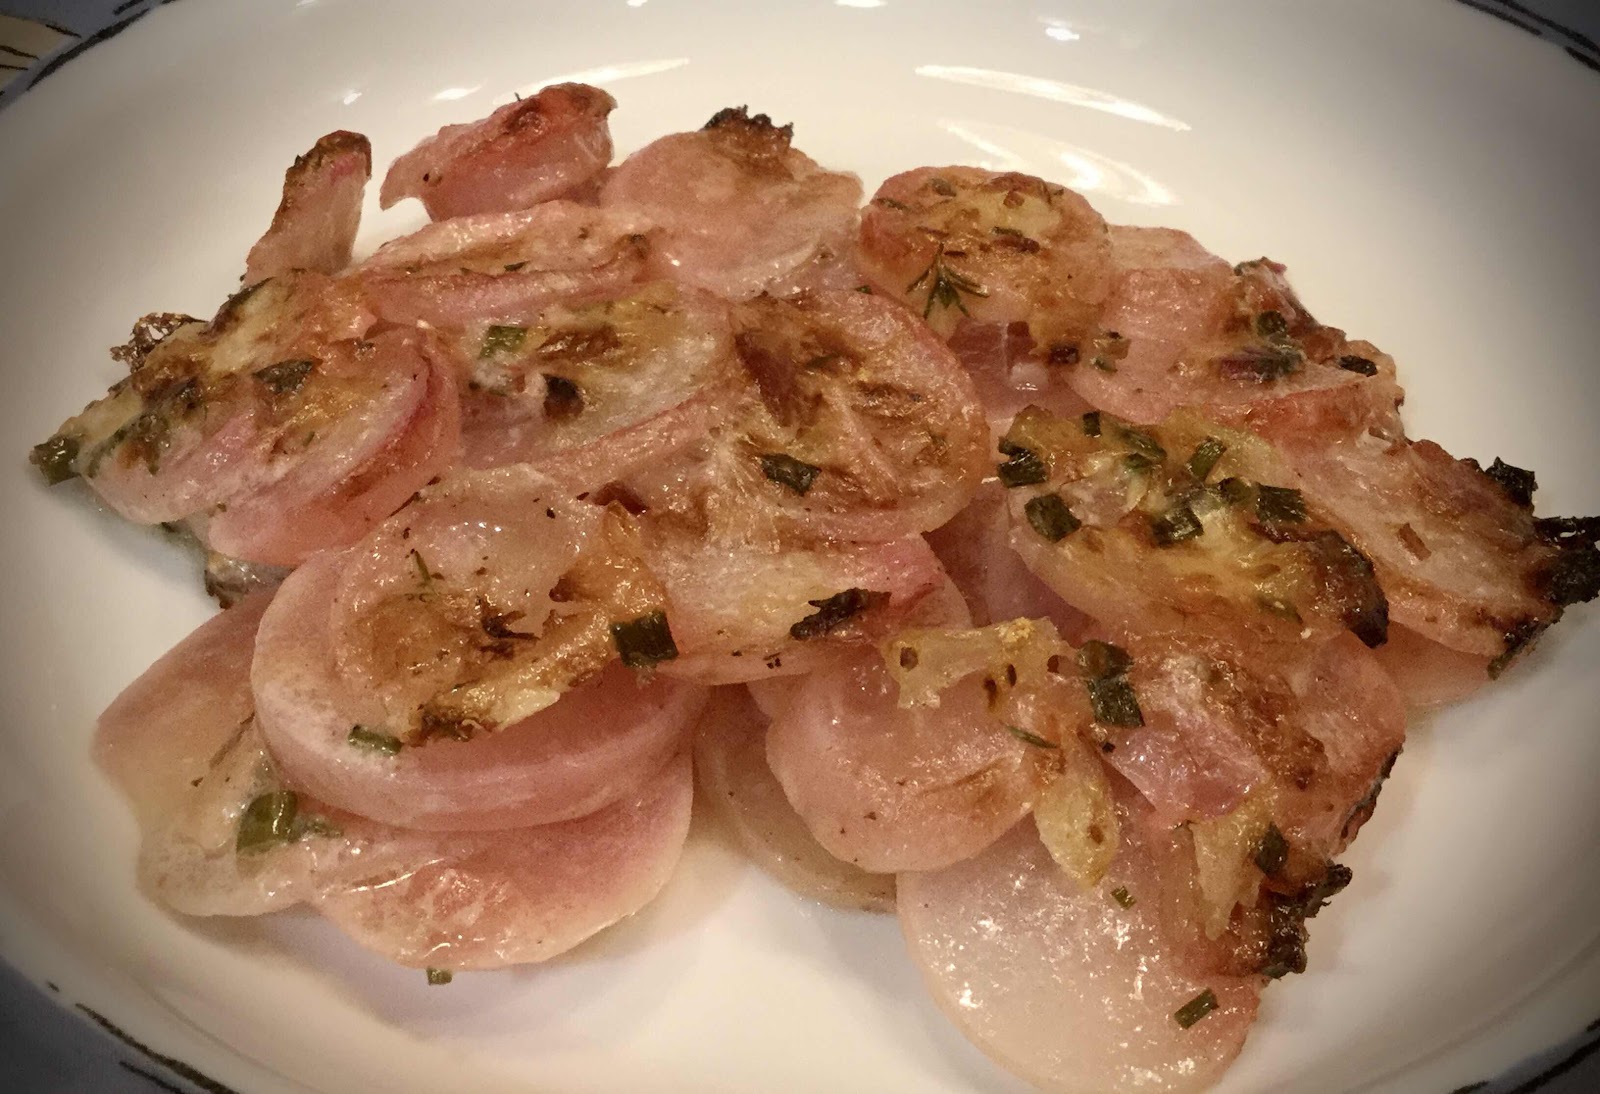
Keto Home Fries

Keto Home Fries
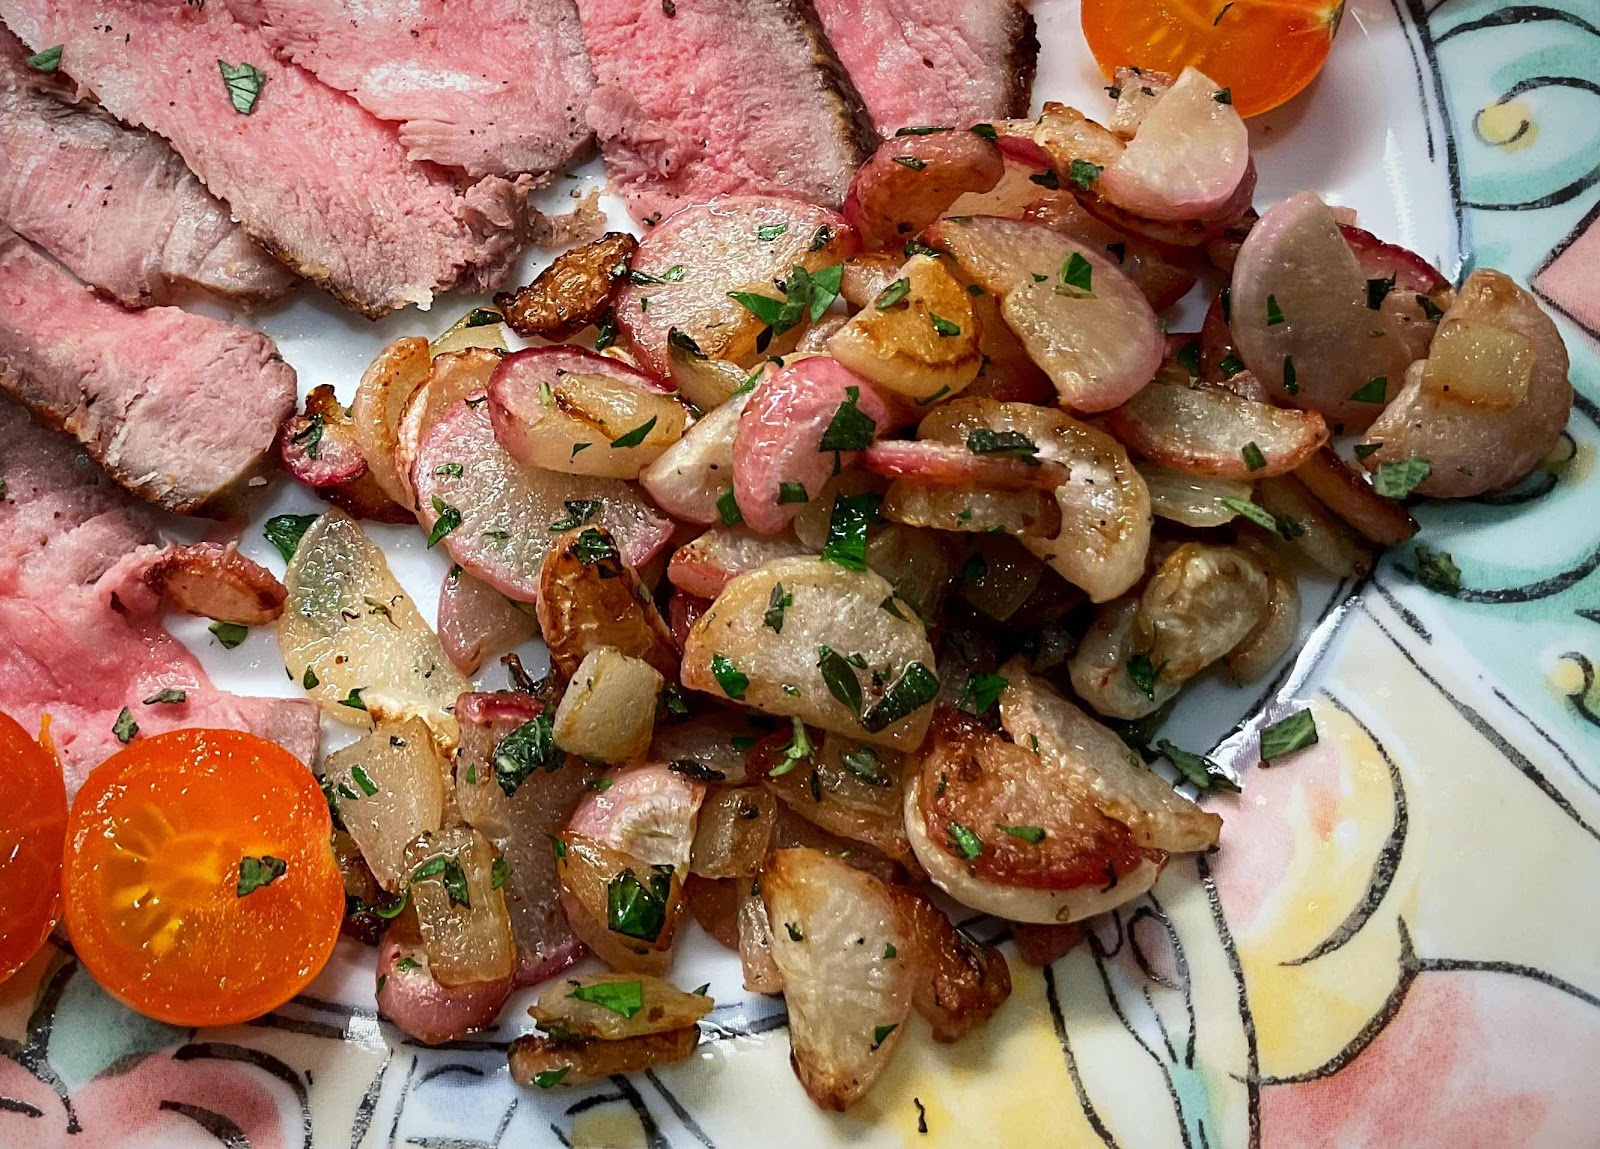
These pan-roasted radishes taste just like home fries! I think the real trick is adding some onion, so the radishes and onions caramelize together. Even my husband, who does not eat keto and is basically a meat & potatoes man, loved them! He commented that they tasted like fried potatoes—and they really do!

Keto Home Fries
Makes 2 servings

1-2 tablespoons avocado oil or bacon grease
2 cups cubed or sliced radishes
1/4 cup onion, cut into chunky pieces
Salt and pepper to taste
Chopped fresh chives and thyme, if desired

1. Place avocado oil or bacon grease into a skillet. Add cubed or sliced radishes and season with salt and pepper. Cover and cook for a few minutes until the radishes begin to release some of their moisture and start to soften.

2. Remove lid and add onion. Sauté uncovered over medium-low heat until the radishes and onions have browned and caramelized, stirring occasionally, making sure the radishes have browned nicely on all sides. Season with additional salt and pepper to taste. Sprinkle with herbs just before serving, if desired.

Nutritional Information per serving (1/2 recipe): 81 calories, 5.8 g carbohydrate (2.1 g dietary fiber, 3.1 g sugars), 6.4 g total fat (2.9 g saturated fat, 0 g trans fat), 6 mg cholesterol, 140 mg sodium, 32.2 mg calcium, 291 mg potassium, 2 IU Vit A, 1 g protein. Net carbs per serving: 3.7 grams

Photo and recipe by Kathy Sheehan, copyright 2021
All rights reserved. Please do not duplicate without the author’s permission. 

Tuesday, March 16, 2021

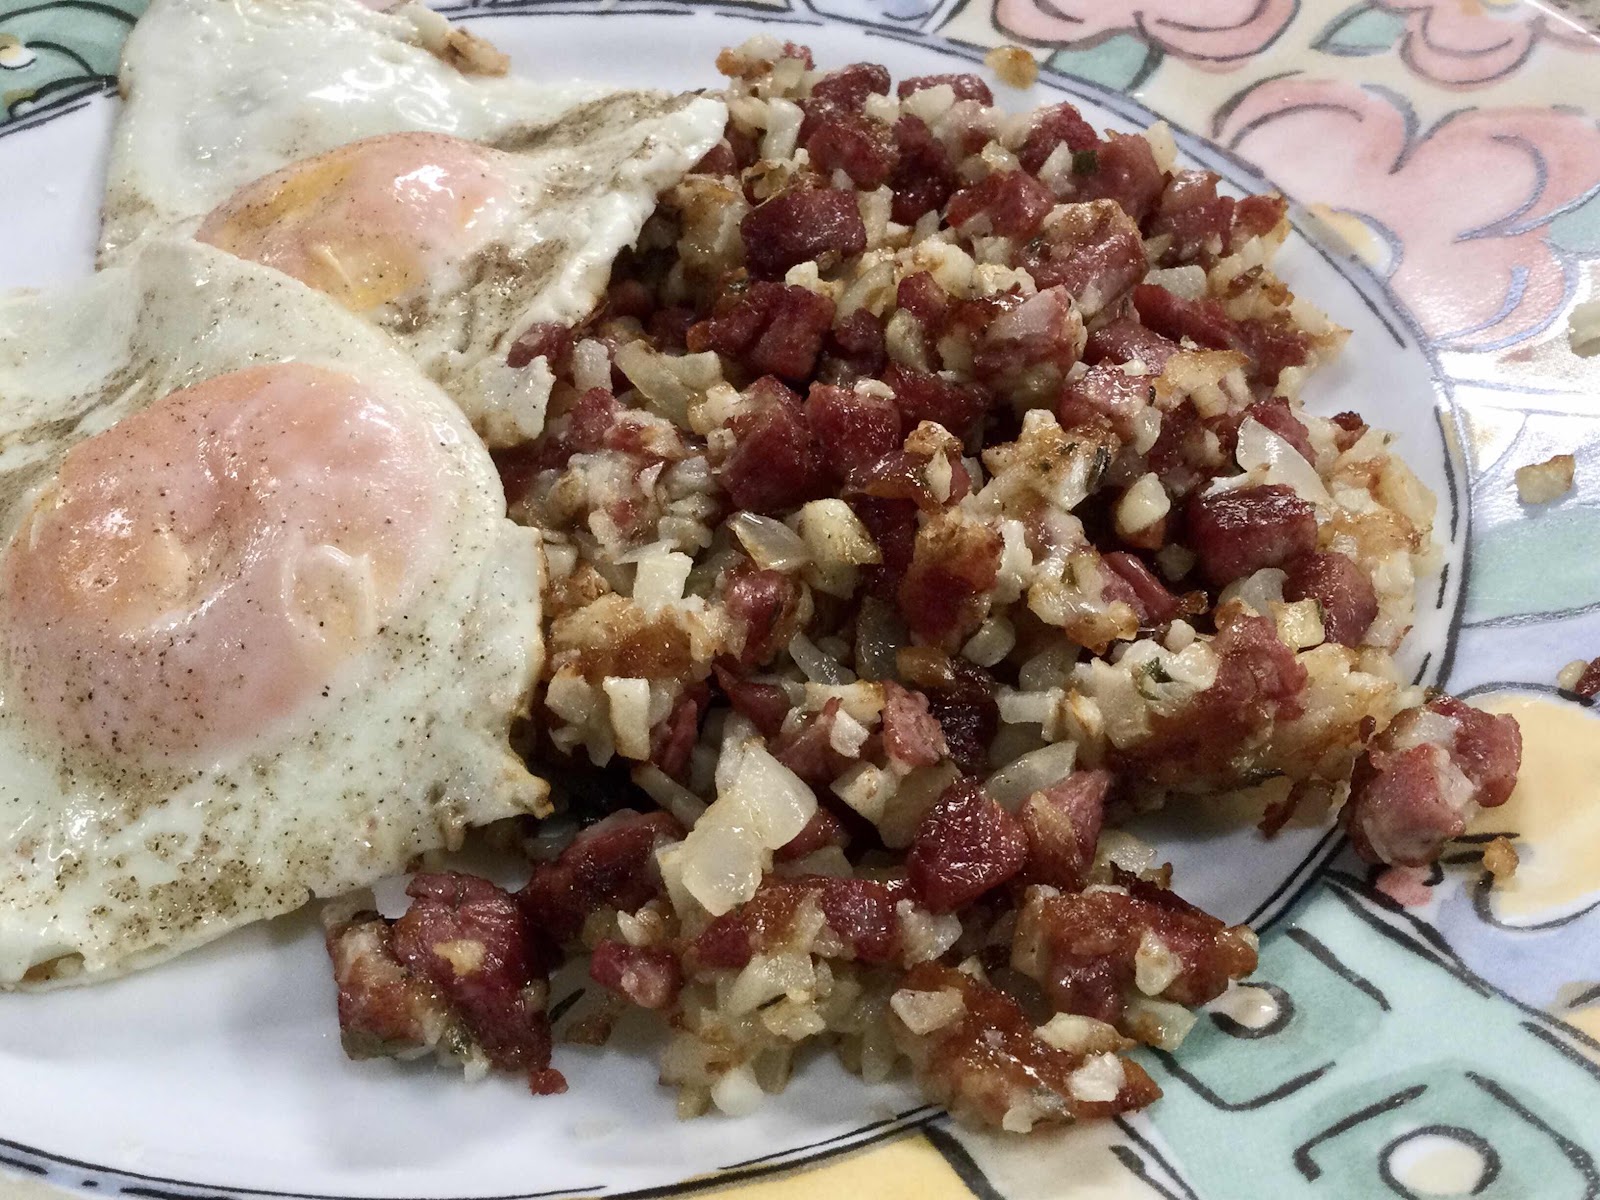
Low Carb Corned Beef Hash

Low Carb Corned Beef Hash
Hash is an easy dish that is typically made with leftover meat and potatoes. In this spectacular recipe, I’ve used riced cauliflower in place of the potatoes and added some shredded cheese to help bind it together. The cheese will brown and get crispy during the cooking and give it an authentic texture. The result is very much like the real thing! I am so please with this recipe, I can’t wait to try it with leftover roast beef next time.

Low Carb Corned Beef Hash
Makes 2 servings

1 tablespoon avocado oil
4 ounces of leftover corned beef, cut into small cubes
2 tablespoons onion, chopped fine
2 ounces mild cheese (such as Monterey Jack), shredded
1-1/2 cup frozen riced cauliflower, thawed
3/4 tsp dried thyme
Salt and pepper to taste

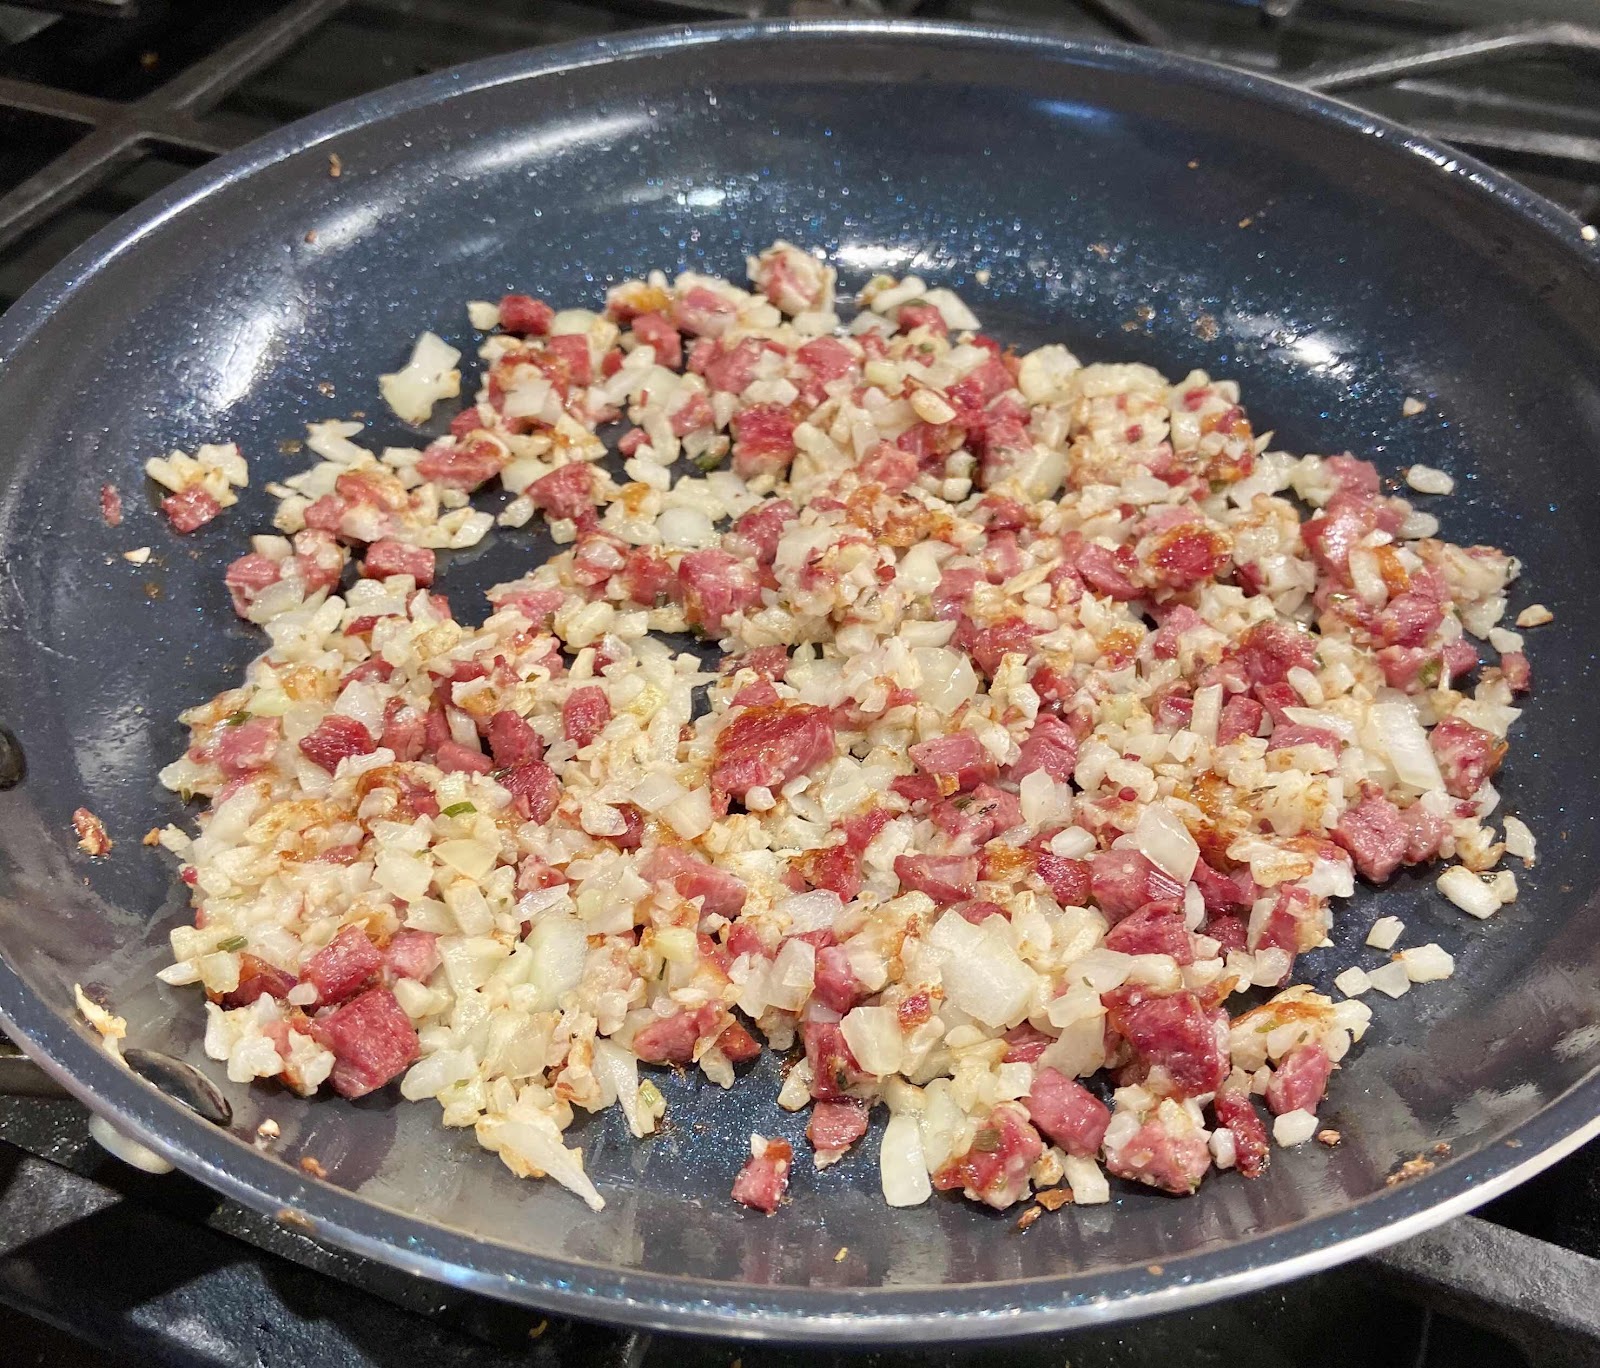
1. Add oil to a non-stick or well seasoned cast iron skillet and heat over medium heat. Add the chopped corned beef and onion and sauté until the onion is translucent, about 2-3 minutes.

2. Sprinkle the shredded cheese over the mixture and allow it to melted and start sizzling. Add the cauliflower and thyme to the pan, but do not stir until the cheese has begun to brown.

Corned Beef Hash made with riced cauliflower
3. With a spatula, turn the mixture over and stir, breaking up the cheese and incorporating it throughout the cauliflower and meat mixture. Press the mixture down with the back of the spatula into one layer and continue cooking for a few minutes, stirring and flipping occasionally, until the hash is nicely browned.

4. Season with salt and pepper to taste. Serve hot. Corned beef hash is excellent served with fried eggs!

Nutritional Information per serving (1/2 recipe): 241 calories, 4.8 g carbohydrate (1.8 g dietary fiber, 1.9 g sugars), 17.5 g total fat (7.5 g saturated fat, 0 g trans fat), 49 mg cholesterol, 789 mg sodium, 225 mg calcium, 18 mg potassium, 2 mg iron, 94 IU Vit A, 32 mg Vit C, 17.5 g protein. Net carbs per serving: 3 grams

Recipe and photos by Kathy Sheehan, copyright 2021
All rights reserved. Please do not duplicate without the author’s permission.

Wednesday, November 25, 2020

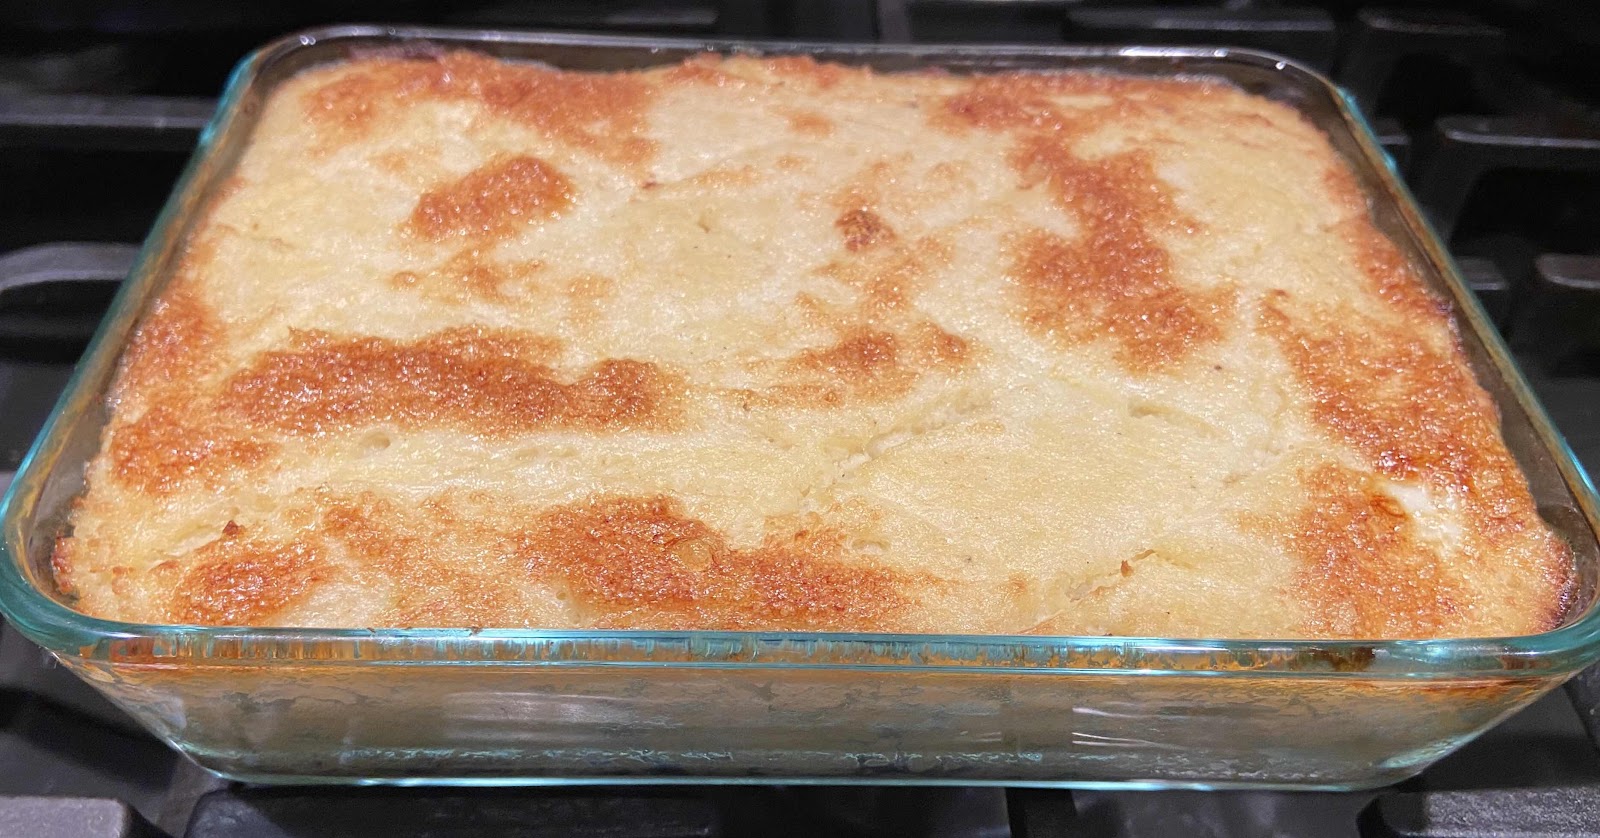
Duchess Cauliflower Casserole

Duchess Cauliflower Casserole
I saw an intriguing recipe on America’s Test Kitchen a few weeks ago for Duchess Potatoes. I immediately thought how delicious it could be made with cauliflower! This low carb recipe is super easy because I started with frozen riced cauliflower. Once baked, a golden brown crust forms on the top of the casserole creating a contrast to the creamy, buttery cauli-mash inside. This side dish is going to be a favorite on my Keto Thanksgiving Buffet this year.

Duchess Cauliflower Casserole 
Makes 6 servings (1/2 cup each)

20 ounces frozen riced cauliflower
2 tablespoons heavy cream 
1 tablespoon unsweetened almond or coconut milk
1 large egg, separated
1/2 teaspoon salt
1/8 teaspoon black pepper
A pinch of nutmeg
4 tablespoons melted unsalted butter, divided

1. Preheat the oven to 450 degrees Fahrenheit. Heat riced cauliflower in a large saucepan until thawed and most of the excess liquid has evaporated. Remove from heat and puree in a food processor until a mashed potato consistency is reached.

2. Whisk together the heavy cream, almond or coconut milk, egg yolk, salt, pepper and nutmeg. Stir this mixture into the mashed cauliflower along with 2 tablespoons of the melted butter until well combined.

3. Grease a small casserole dish and spread the cauliflower mash evenly in the dish.

4. Whisk together the egg white, remaining 2 tablespoons of melted butter and a pinch of salt. Pour 1/2 to 3/4 of the egg white mixture on the top of the cauliflower mash. Tilt the pan and allow the egg white mixture flow into the corners and all over the top until evenly coated. Use the flat side of a sharp knife to carve a diamond pattern into the top of the casserole, pressing only about 1/4 inch into the surface.

5. Place in the preheated oven on the middle rack and bake for 25-30 minutes, turning 1/2 way through cooking. Bake until the crust is a nice golden brown. Remove from oven and allow to rest for about 15-20 minutes before serving.

Nutritional Information per serving (1/2 cup): 120 calories, 4.6 g carbohydrate (2.2 g dietary fiber, 2.3 g sugars), 10.6 g total fat (6.4 g saturated fat, 0 g trans fat), 58 mg cholesterol, 234 mg sodium, 31 mg calcium, 14 mg potassium, 1 mg iron, 47 mg Vit C, 107 IU Vit A, 3.4 g protein. Net carbs per serving: 2.4 grams

Photo and recipe by Kathy Sheehan, copyright 2020
All rights reserved. Please do not duplicate without the author’s permission.

Saturday, September 19, 2020

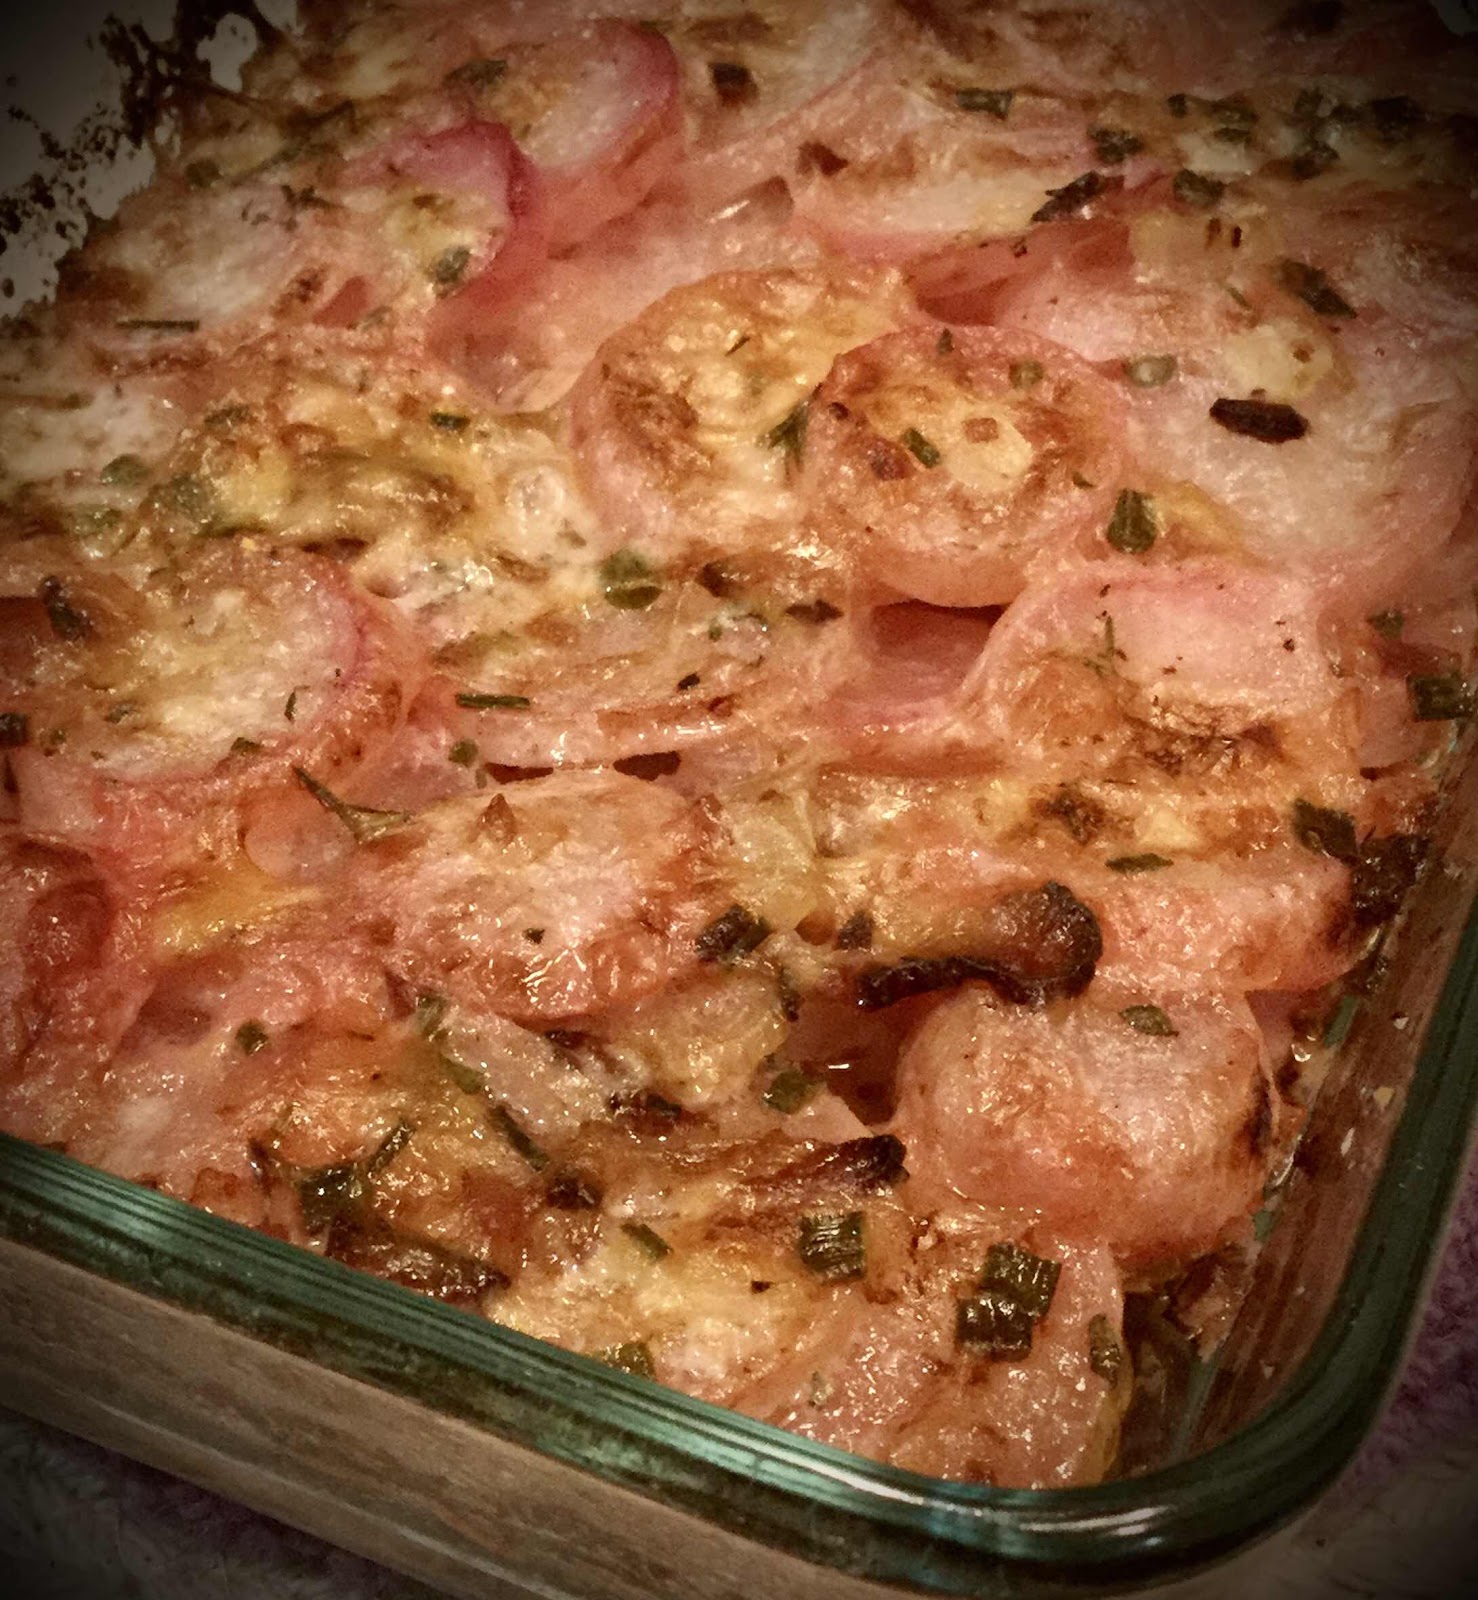
Low Carb Parmesan Radish Gratin

Low Carb Parmesan Radish Gratin
I dislike raw radishes, but LOVE roasted and cooked radishes! In the keto world, radishes and turnips make great substitutes for potatoes in soups and other recipes. The first time I saw a casserole recipe similar to this, it was created for potatoes and contained several high carb ingredients, such as flour and whole milk. I thought it would be worth a try to make a few ingredient substitutions and make it low carb—the result was wonderful! You can make this delicious side dish with red or daikon radishes (or maybe even turnips) and I think you’ll be quite pleased too.

Low Carb Parmesan Radish Gratin
Makes twelve 1/2 cup servings

8 oz. Parmesan cheese
2 slices cooked bacon, crumbled
1 green onion, thinly sliced
1 tablespoon snipped fresh chives
1/2 tablespoon fresh chopped thyme (or use 1 teaspoon dried)
1/2 tablespoon fresh chopped rosemary (or use 1 teaspoon dried)
2 tablespoons unsalted butter, cut into small cubes
6 cups thinly sliced radishes (about 2 lbs, leaves removed)
Salt and pepper
6 tablespoons coconut or almond milk
6 tablespoons heavy cream
1/2 teaspoon xanthan gum
Snipped fresh rosemary and thyme for garnish (optional)

1. Preheat the oven to 325 degrees F and grease a 1.5 quart casserole dish; set aside. Using a wide vegetable peeler, shave the Parmesan cheese (about 2 cups) or use pre-shaved Parmesan; set aside.

2. In a small bowl, combine the crumbled bacon, green onion and chives. Stir to combine. In the prepared baking dish, arrange 1/2 of the radishes to cover the bottom of the dish. Sprinkle with 1/2 teaspoon salt and pepper, half of the bacon mixture and half of the herbs. Top with 1/2 of the Parmesan and dot with half of the butter cubes. Repeat layers.

3. In a medium bowl, whisk together the coconut or almond milk, heavy cream and xanthan gum until the xanthan gum is incorporated and dissolved (you can use a stick blender to make this easier). Pour the cream mixture evenly over the radishes.

4. Bake, covered for 1.5 hours. (If using foil to cover, spray the underside with non-stick cooking spray.) Increase oven temperature to 400 degrees F. Bake, uncovered for 15-20 minutes more or until the radishes are tender and the top is golden brown.

Parmesan Radish Gratin
Nutritional Information per 1/2 cup: 168 calories, 3.7 g carbohydrates (1.3 g dietary fiber, 1.7 g sugars), 14 g total fat (8.5 g saturated fat, 0 g trans fat), 40 mg cholesterol, 400 mg sodium,  264 mg calcium, 206 mg potassium, 1 mg iron, 131 IU Vit A, 12 mg Vit C, 8.3 g protein. Net carbs per serving: 2.4 grams

Photos and recipe by Kathy Sheehan, copyright 2020
All rights reserved. Please do not duplicate without the author’s permission.
Wednesday, May 27, 2020

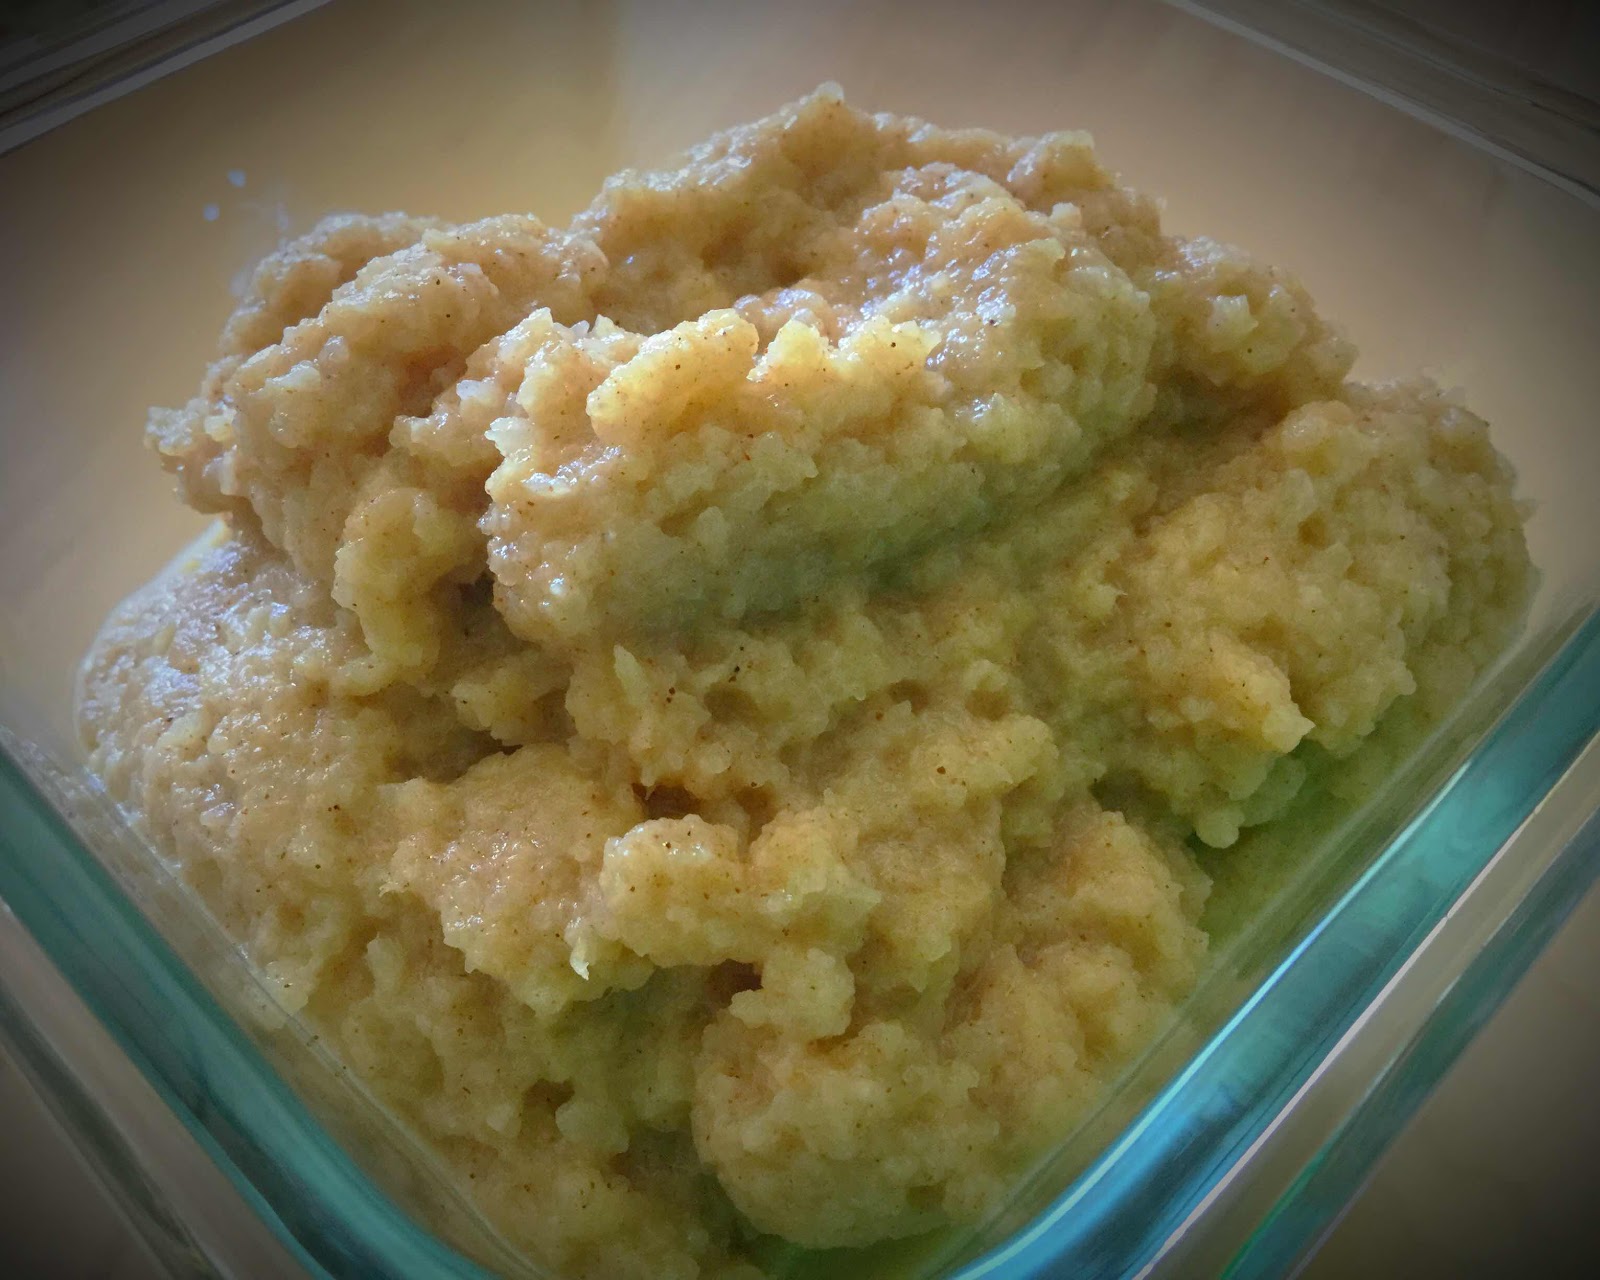
Keto Cinnamon Applesauce

Low Carb Applesauce
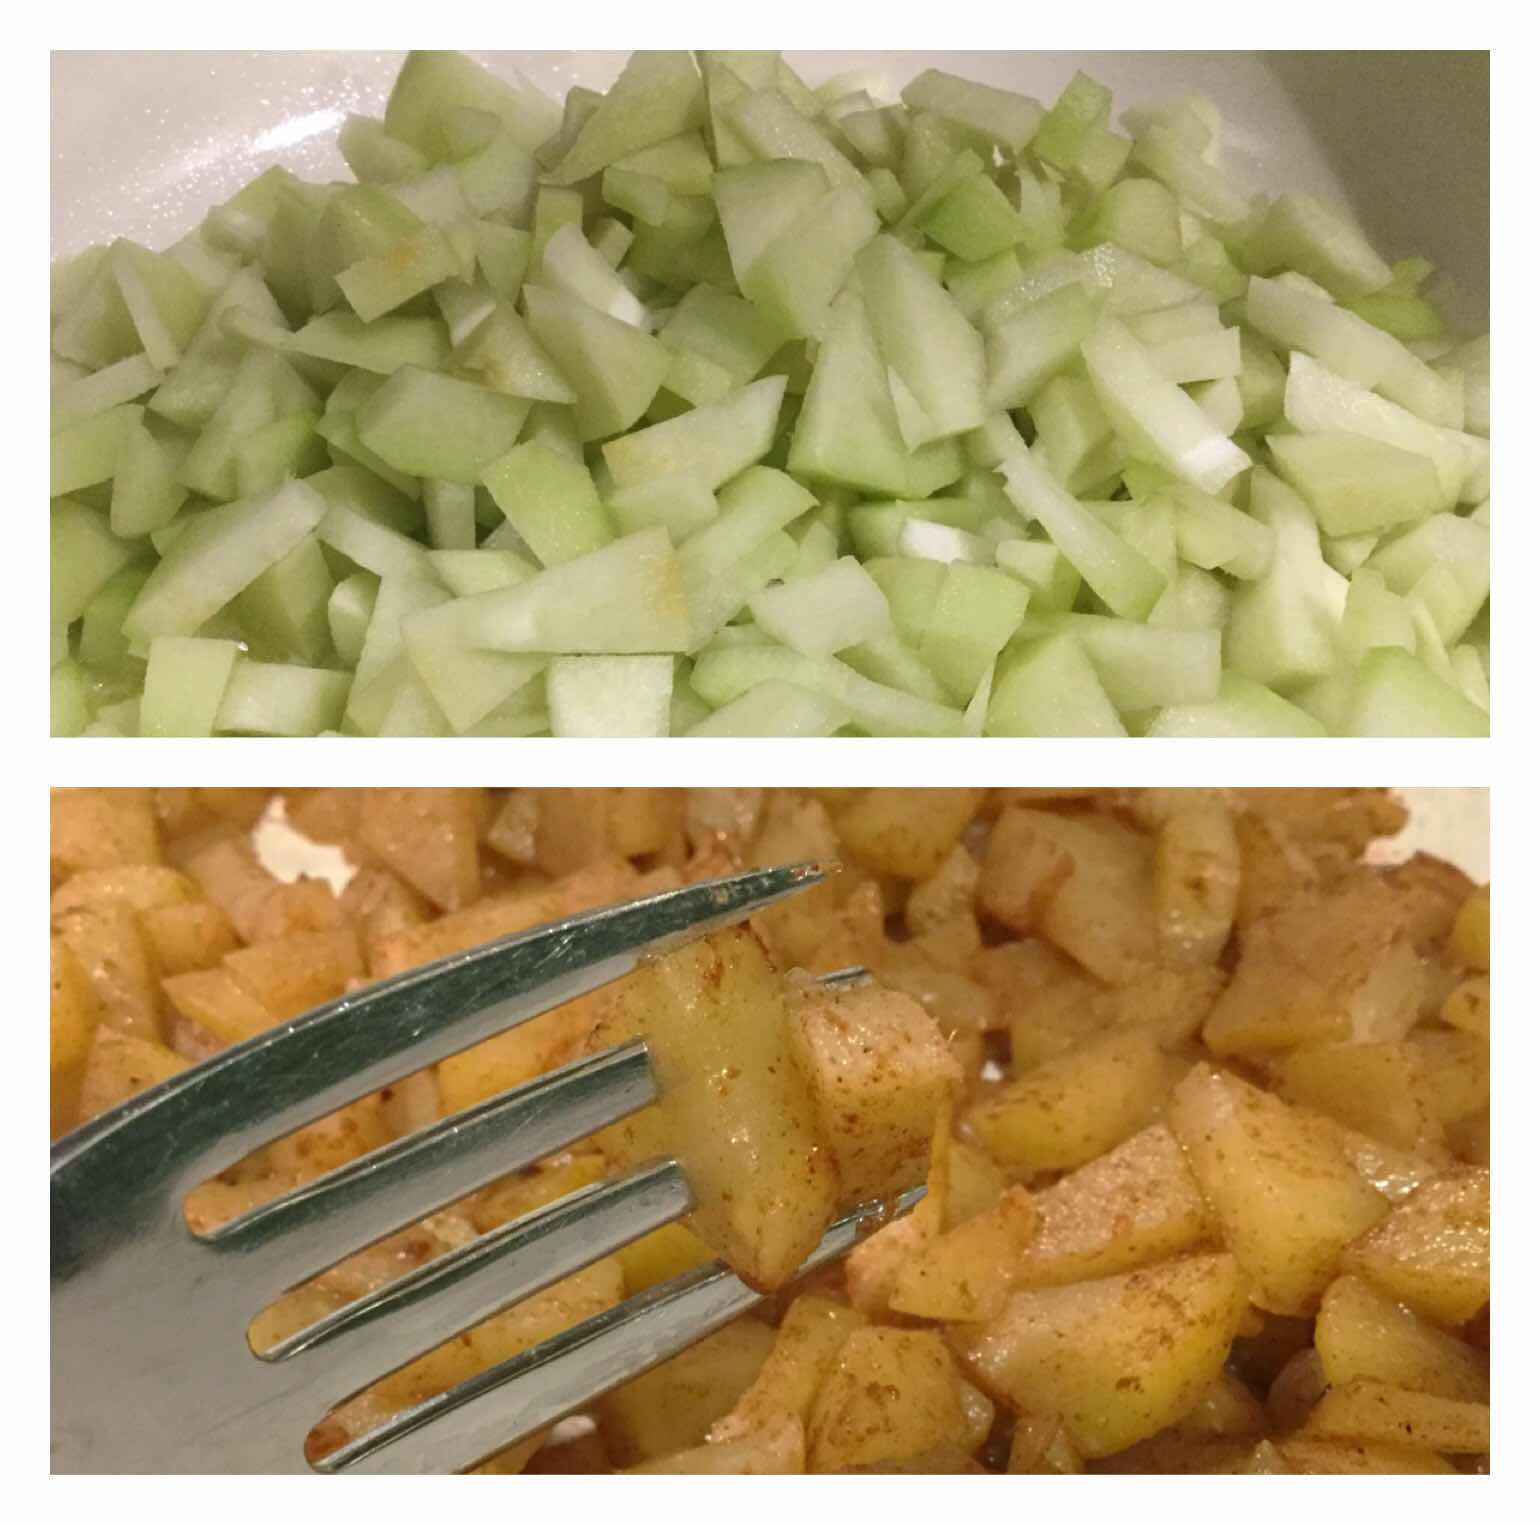
I have always loved applesauce! But, sadly, it’s so high in carbs and sugar that it is completely off limits on my low carb, ketogenic diet. Ordinary applesauce that you buy in the store is 16 carbs for a 1/3 cup serving, all of which is sugar! (That equals 4 teaspoons of sugar!) This “applesauce,” made with chayote squash, tastes just like the real thing and has only 5 carbs per serving (3 net carbs) and is a good source of calcium and potassium! Honestly, you and your kids will not be able to tell the difference. You can make it chunky or smooth and add as much cinnamon as you like. It can be used in recipes, enjoyed over low carb ice cream, in yogurt or eaten by itself. It’s a treat you can feel good about!

Keto Cinnamon “Applesauce” (made with Chayote Squash)
Makes 3 servings

1 tablespoon butter (can be omitted for dairy free)
2 cups chayote squash, peeled, cored and diced fine (2-3 squash, depending on size)
1 tablespoon LaKanto Golden or other brown erythritol sweetener 
1 tablespoon granulated erythritol sweetener (or use all brown)
1 teaspoon ground cinnamon or apple pie spice
2 tablespoons lemon juice
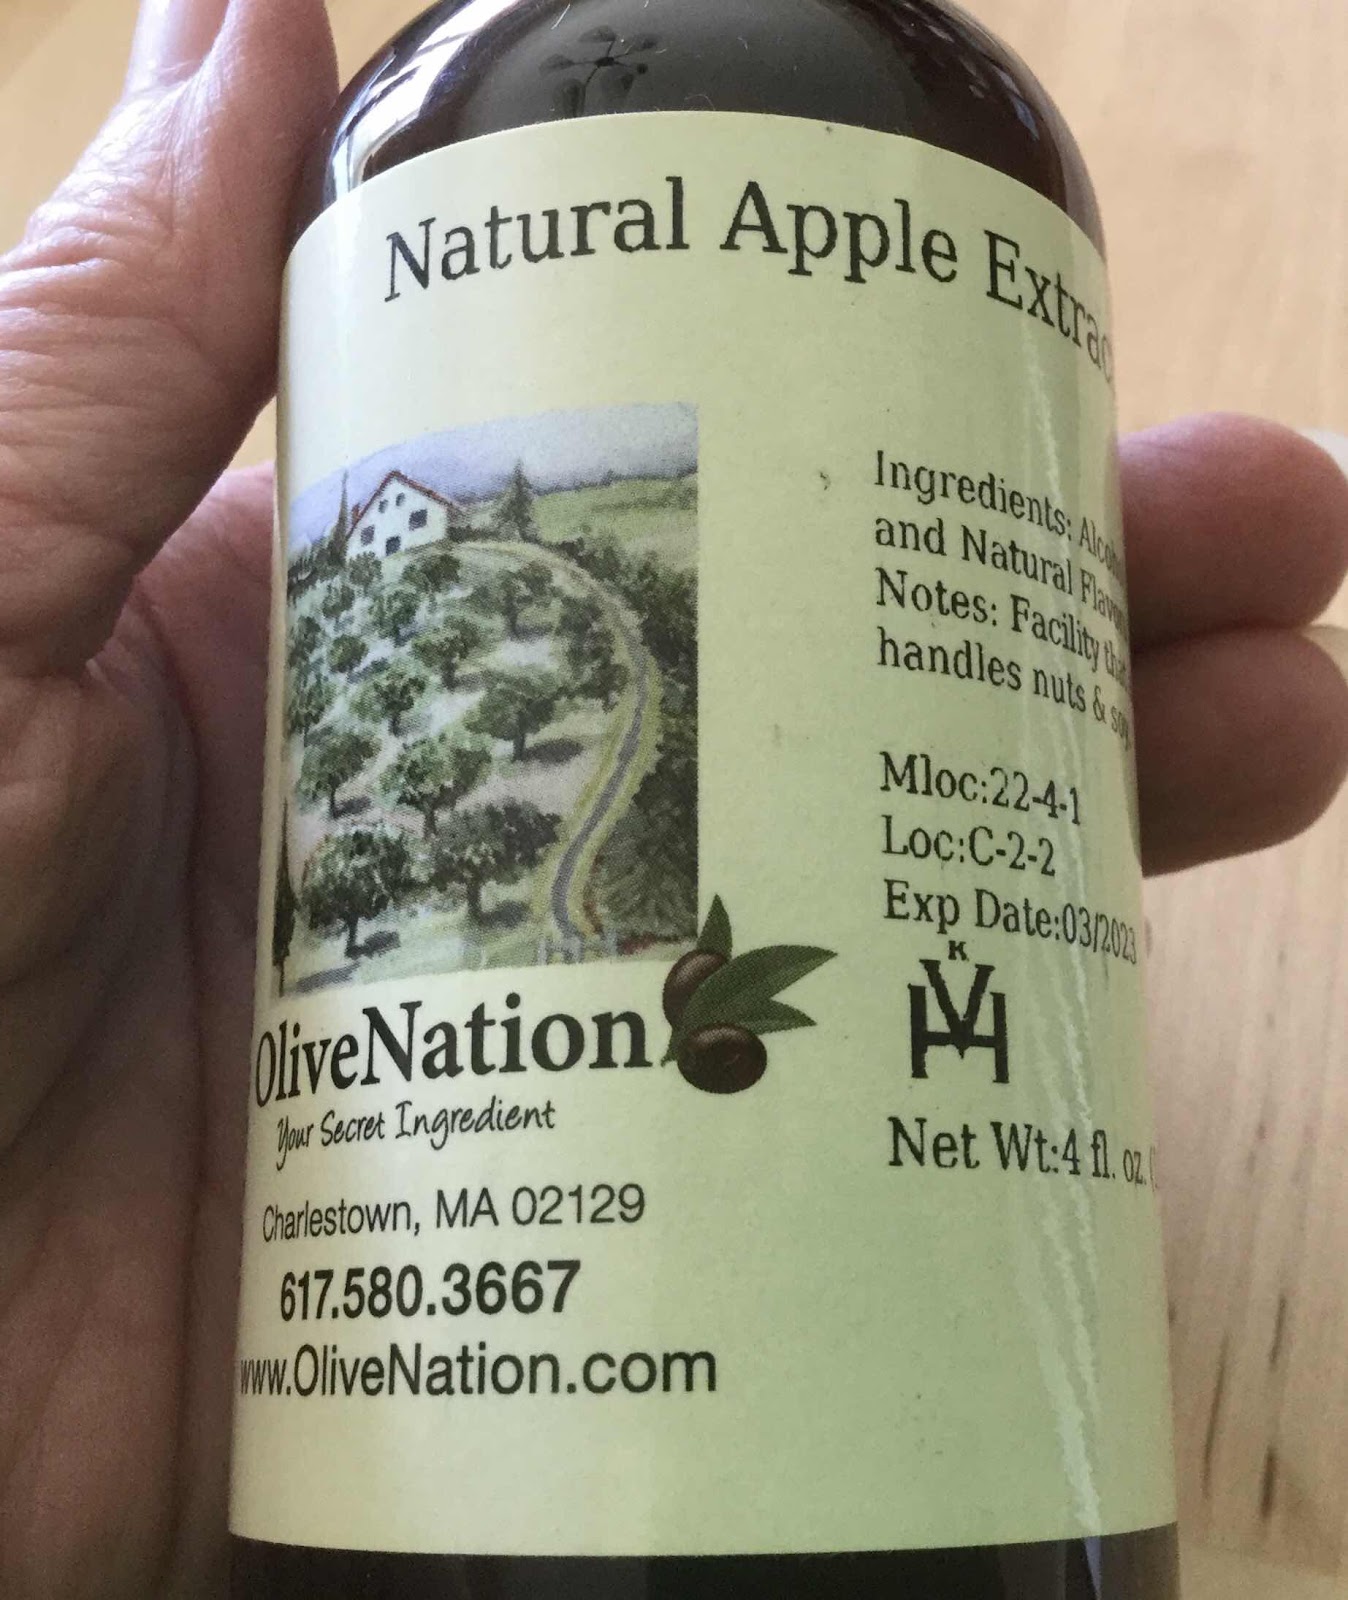
3/4 teaspoon apple extract, or to taste (see photo below)
6-8 drops monkfruit extract or stevia, to taste
3/4 cup water + 2-4 tablespoons water, divided

1. In a non-stick, 10 inch skillet, combine the butter, chayote squash, sweeteners, cinnamon or apple pie spice, lemon juice, apple extract and 3/4 cup of water. Simmer over a low heat, covered tightly, for about 35 minutes or until softened. Stir occasionally and, if the mixture is drying out, add a bit more water and continue simmering until most of the liquid has evaporated and the squash is fork tender, very soft and no longer has any crunch. Add the monkfruit extract or stevia, taste and adjust sweetness, if desired.

Cooking Chayote Squash 2. Remove from heat and allow the squash to sit covered in the warm skillet for at least 10 minutes to allow the flavors to blend. 

3. Spoon the warm “apples” into a food processor. Pulse and then process on low until finely chopped, scraping down the sides of the bowl with a spatula occasionally. Add 2-4 tablespoons of water, one tablespoon at a time, and continue to process until the sauce is smooth and has reached the consistency you desire.

4. The applesauce can be eaten immediately, warm or cold, or can be stored in an airtight container for up to a week. This recipe makes about 1 cup.

OliveNation Apple Extract
Nutritional Information per 1/3 cup: 56 calories, 5 g carbohydrates (2 g dietary fiber, 2 g sugars), 4 g total fat (2.5 g saturated fat, 0 g trans fat), 10 mg cholesterol, 29 mg sodium, 26.3 mg calcium, 129 mg potassium, 1 mg iron, 51 ug Vit A, 12 mg Vit C, 0.8 g protein. Net carbs per serving: 3 grams

Photos and recipe by Kathy Sheehan, copyright 2020
All rights reserved. Please do not duplicate without the author’s permission.

Sunday, January 26, 2020

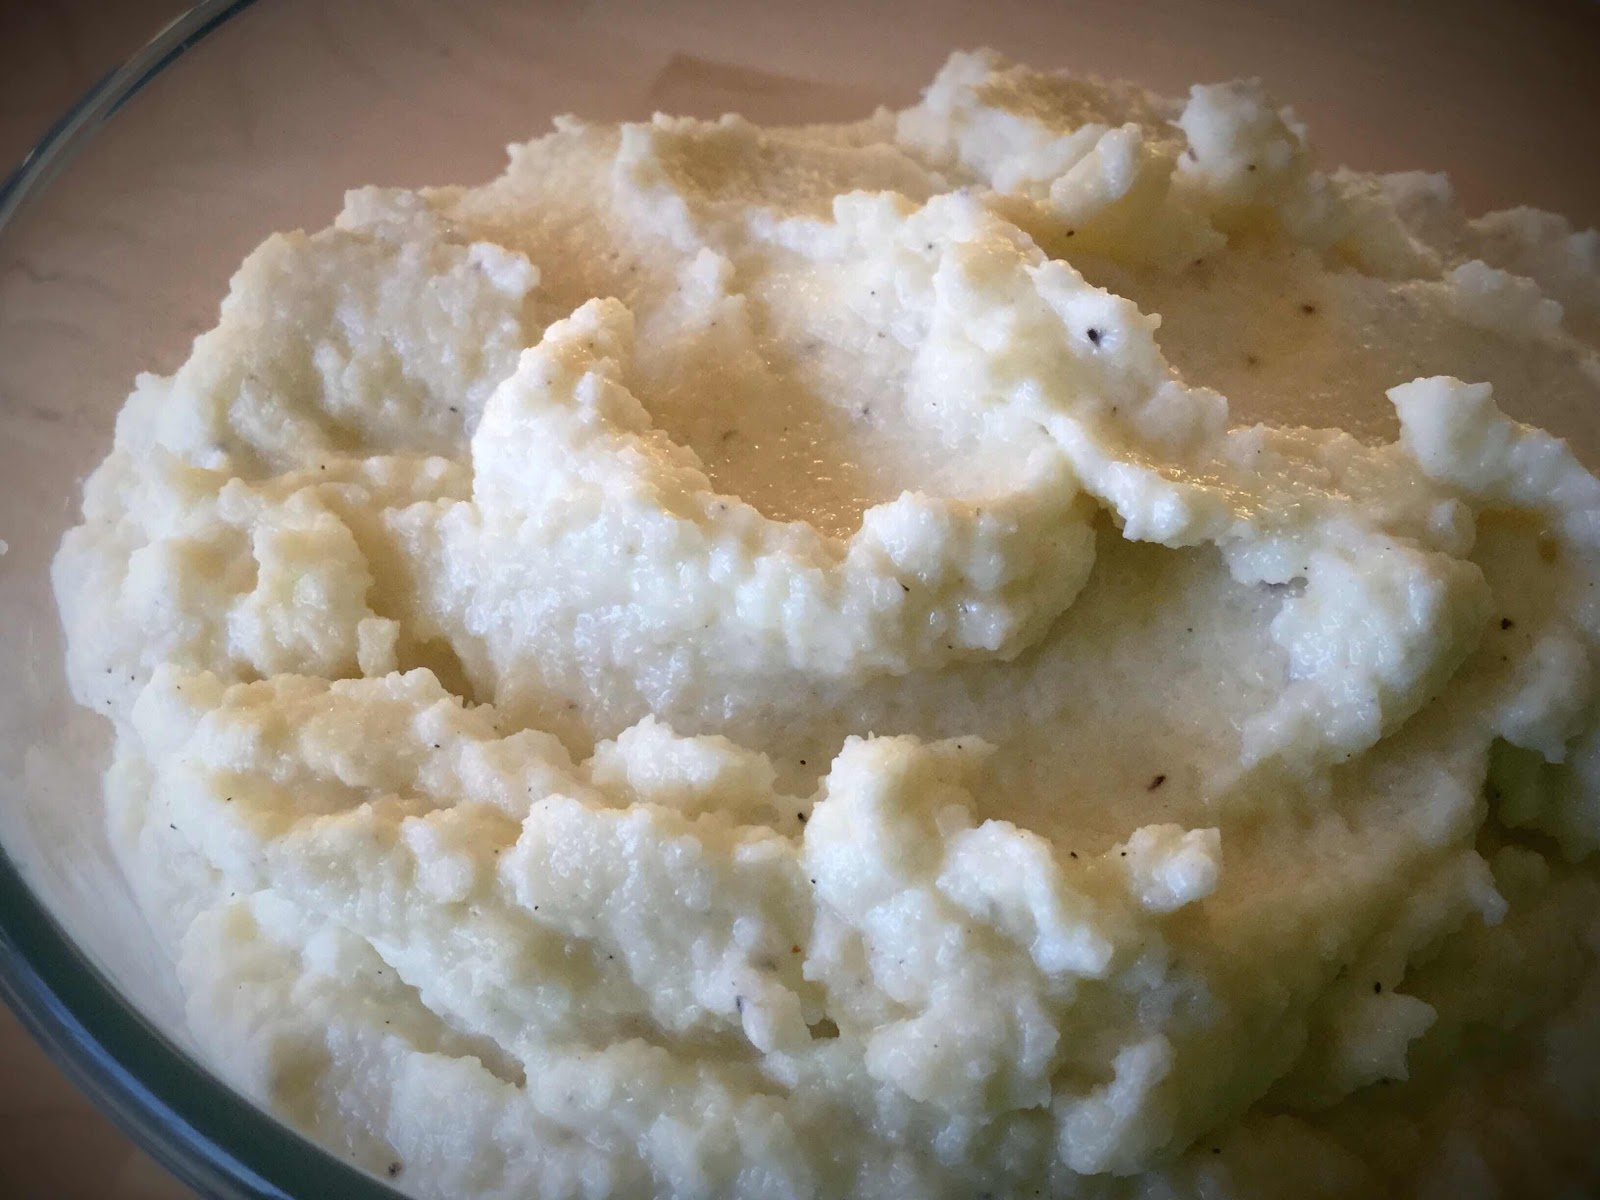
Quick and Easy Mashed Cauliflower

Quick and Easy Mashed Cauliflower
Since I cook almost every meal from scratch, I’m always looking for dishes that are convenient and simple to make. This quick mashed cauliflower recipe takes only about 10 minutes from start to finish and is the best low carb substitute for mashed potatoes that I know. I’ve posted a Perfect Mashed Faux-tato recipe in the past, but that one requires cutting up and steaming a fresh head of cauliflower. This easier recipe calls for a bag of frozen riced cauliflower instead, so most of the work is already done! The best part is that both recipes taste exactly the same. From now on, when I only need a few servings of this favorite low carb side dish to go with turkey, a pot roast or to make “potato” pancakes, this will be the one!

Quick and Easy Mashed Cauliflower
Makes 4 servings (1/2 cup each)

One (10 ounce) bag of frozen riced cauliflower (I used Green Giant)*
3 tablespoons butter, cubed
1 1/2 ounce cheddar cheese, cubed
1/2 teaspoon salt, or to taste
1/4 teaspoon ground black pepper

1. Pour the frozen riced cauliflower into a skillet, cover and heat over low to medium heat until the cauliflower is thawed completely. Remove lid and continue to heat, stirring occasionally, until all visible liquid has evaporated. 

2. Transfer the heated cauliflower to a food processor. Add the cubed butter and cheese and process on low until the butter and cheese has melted and is incorporated. Add salt and pepper to taste and process on high until the mashed cauliflower has reached the consistency you desire.

3. This can be rewarmed and served right away or can be stored in an airtight container in the refrigerator for up to several days.

*Note: You may ask why I don’t just buy the premade mashed cauliflower available in the frozen section of the grocery store. The reason is because the company adds milk, skim milk and modified rice starch, all of which adds carbs and sugars to the finished product. For comparison, one 1/2 cup serving of the premade frozen mashed cauliflower is 7 total carbs per serving (or 5 net carbs) with 3 g of sugar!! My recipe is only 3.4 total carbs or 1.7 net carbs per serving. This recipe is truly low carb/keto, while the premade product is not.

Nutritional Information per 1/2 cup serving: 135 calories, 3.4 g carbohydrate (1.7 g dietary fiber, 1.7 g sugars), 12 g total fat (2.7 g saturated fat, 0 g trans fat), 34 mg cholesterol, 437 mg sodium, 94.9 mg calcium, 4 mg potassium, 114 mg Vit A, 35 mg Vit C, 4.4 g protein. Net carbs per serving: 1.7 grams

Photo and recipe by Kathy Sheehan, copyright 2020
All rights reserved. Please do not duplicate without the author’s permission. 
Tuesday, October 22, 2019

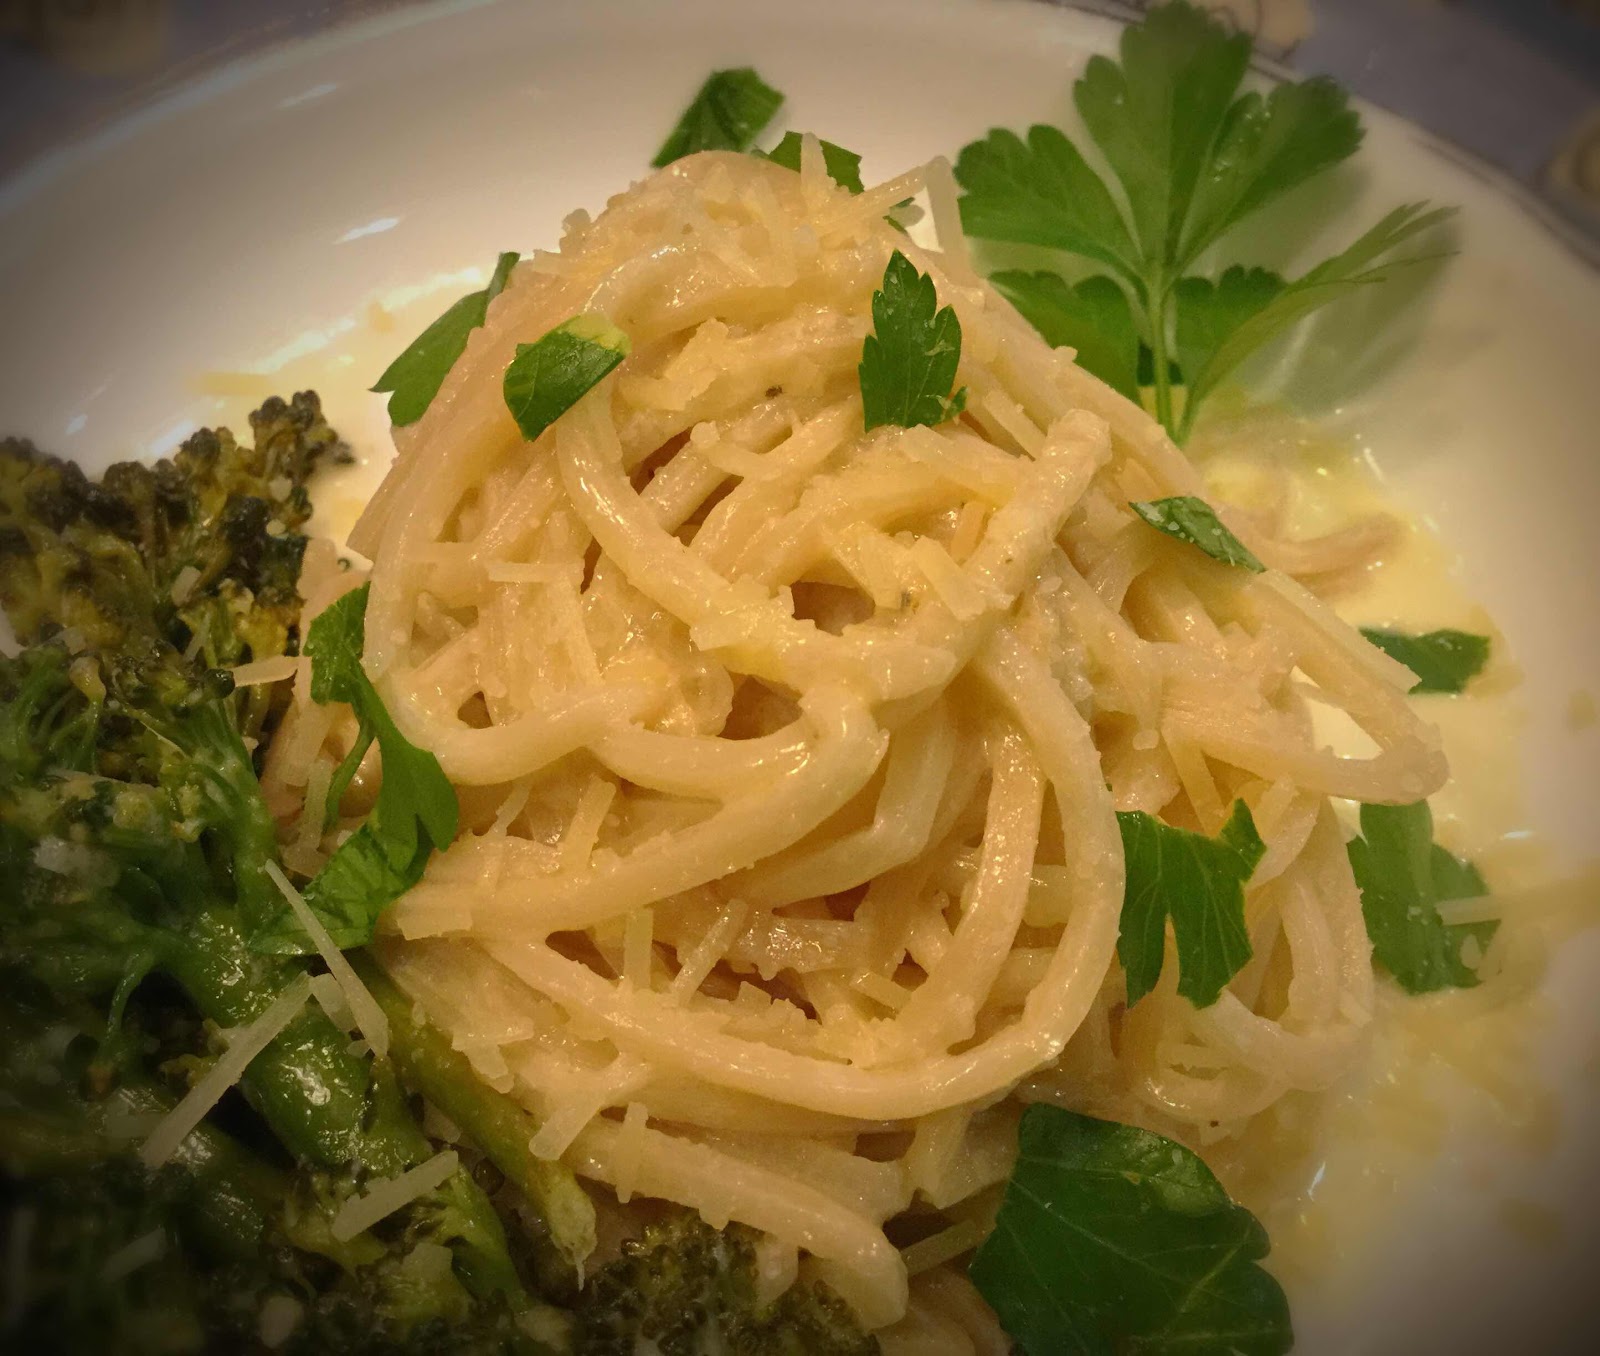
Keto Lemon Pasta

Keto Lemon Pasta
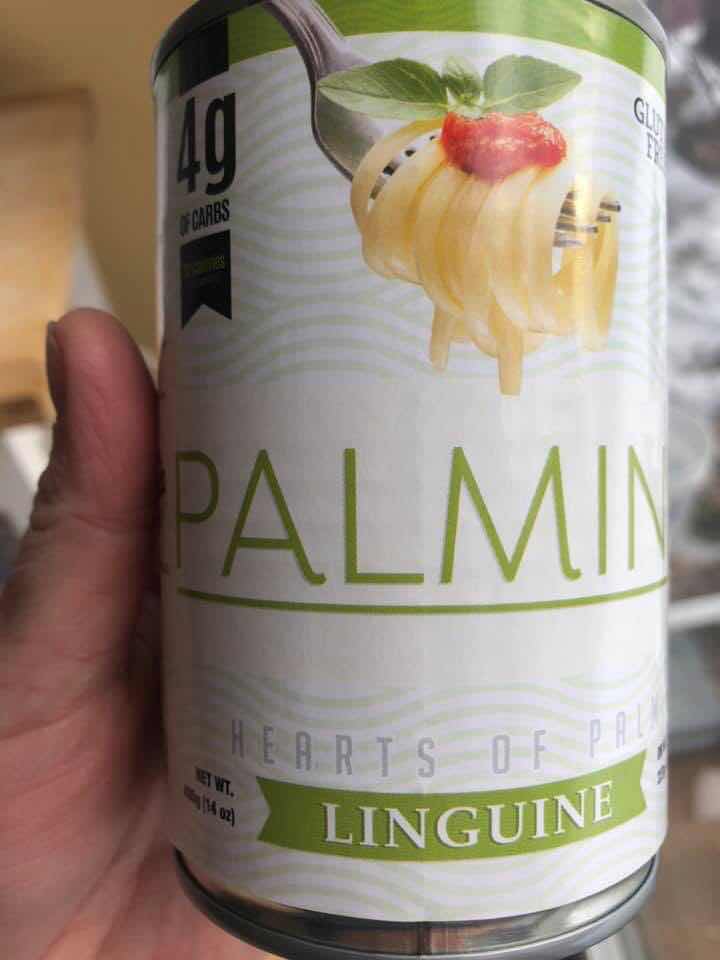
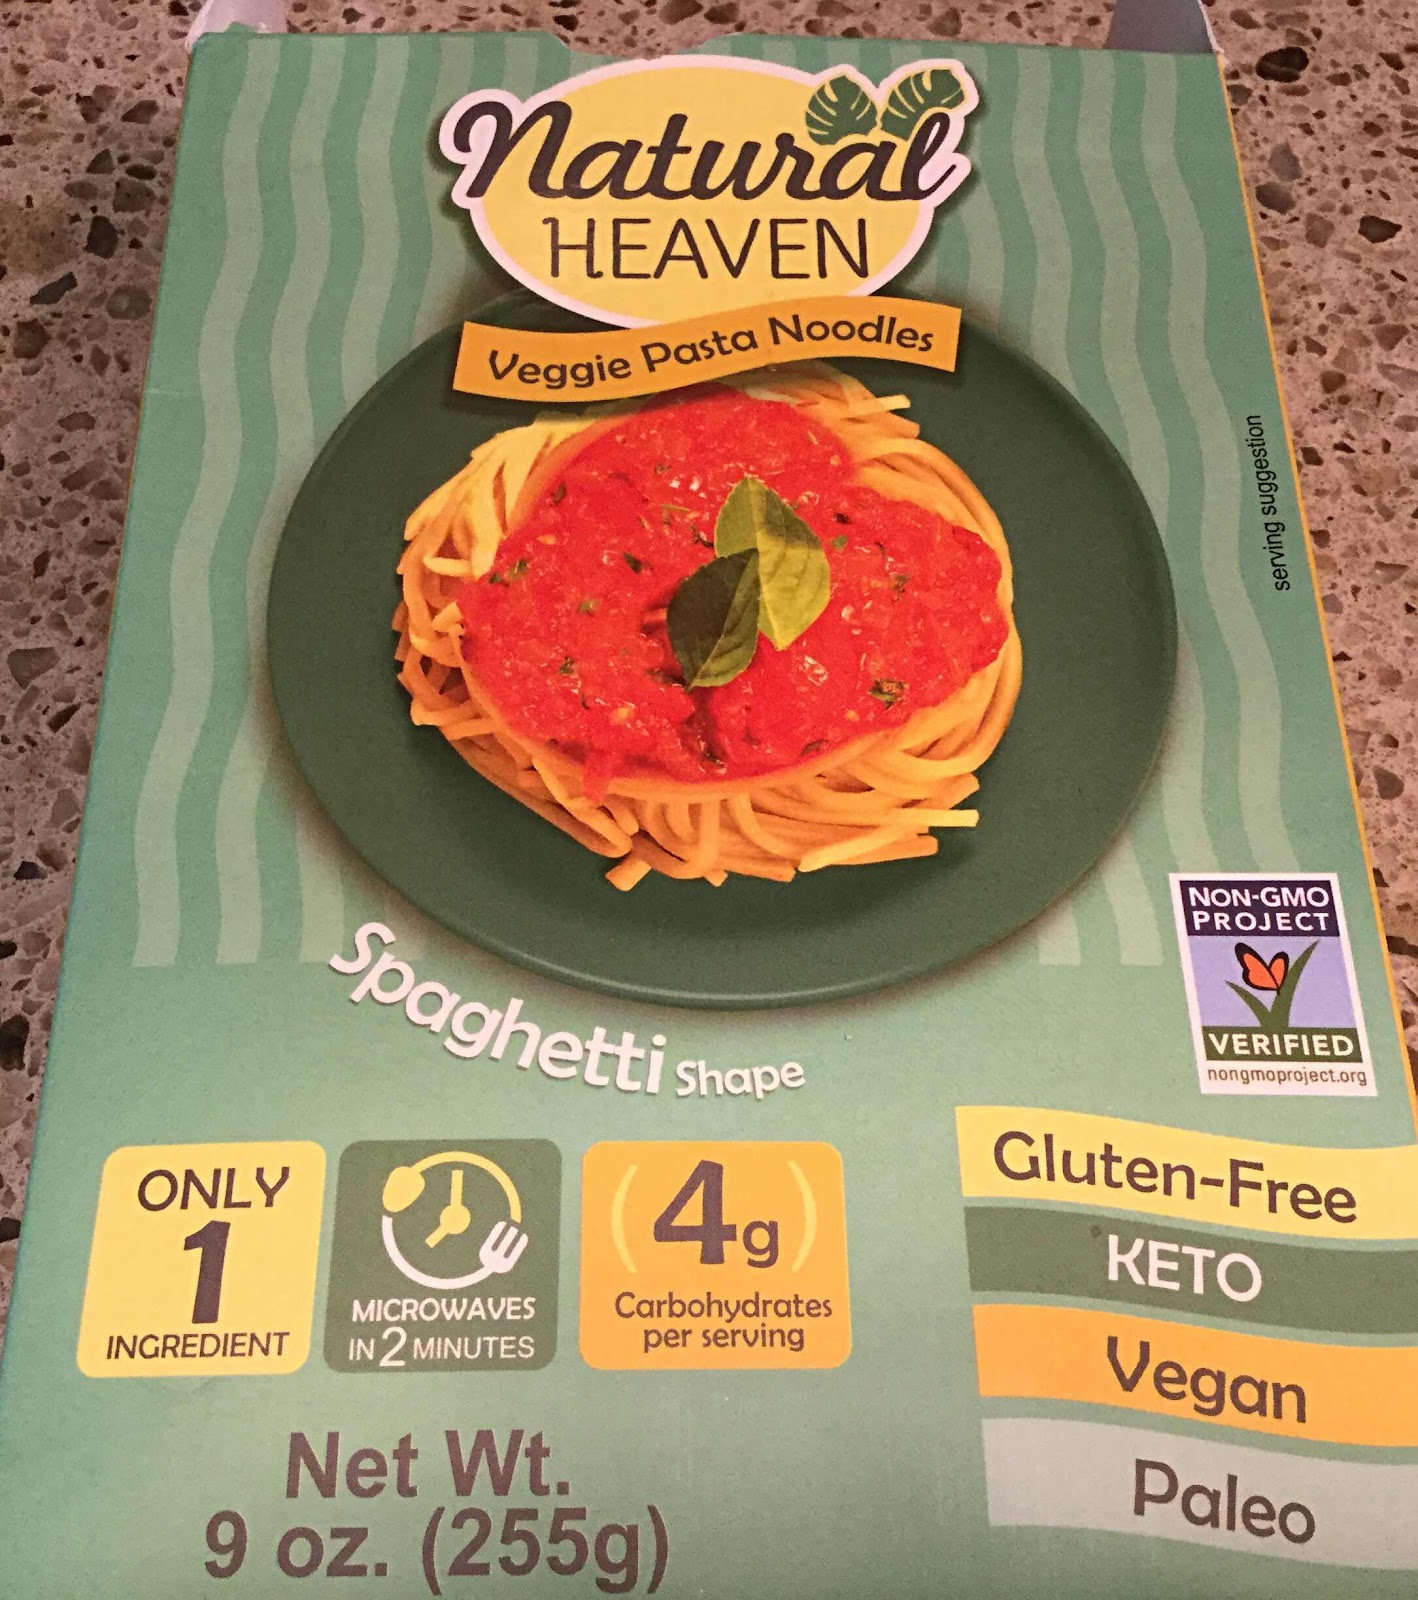
If you’re a diabetic and celiac and love pasta, your options are limited. For many years, I spirialized zucchini to make noodles or used shiritaki noodles, but I’ve since discovered noodles made from hearts of palm that are only 4 grams of carb per serving! They are far superior to any of the low carb options available and now they’re my go-to pasta alternative. There are two brands I recommend: Palmini brand, which can be purchased at WalMart, Costco, Sprouts, some other stores and online. My favorite that comes in spaghetti style is made by Natural Heaven and can be purchased on Amazon or on the company’s website.

Palmini Hearts of Palm Noodles
Natural Heaven Hearts of Palm Noodles
This recipe is excellent served alone as a vegetarian main or side dish, or served with fish or chicken. If you miss pasta, I highly recommend you give hearts of palm noodles a try soon!

Keto Lemon Pasta
Makes 2 servings

Sea salt or freshly ground pepper
1 package hearts of palm spaghetti or linguine noodles (9 oz)
4 tablespoons butter (1/2 stick)
1/4 cup heavy cream
Zest and juice of 1 lemon
Fresh chopped parsley for garnish
Shredded Parmesan cheese for garnish

1. Boil the hearts of palm noodles in salted water for a few minutes to soften.

2. Meanwhile, melt the butter in a large skillet. Add the zest and juice of one lemon, salt and pepper to taste and bring to a simmer. Add the heavy cream and continue to simmer until sauce is reduced and thickened slightly. When the sauce has thickened, strain the noodles and add them to the sauce. Toss the noodles in the sauce until well coated. If needed, continue to simmer until sauce reaches your desired consistency.

3. Divide the noodles and sauce between two serving plates. Garnish each with fresh parsley and parmesan. Serve immediately. (Store leftovers in an airtight container and refrigerate for up to five days. To reheat, gently warm in a covered, oven-proof dish at 350 degrees F for 25-30 minutes.)

Nutritional Information per serving (1/2 recipe): 347 calories, 7.6 g carbohydrate (2.9 g dietary fiber, 2 g sugars), 35.4 g total fat (21.8 g saturated fat), 102 mg cholesterol, 219 mg sodium, 36.5 mg calcium, 183 mg potassium, 352 mg Vit A, 16 mg Vit C, 2.1 g protein. Net carbs per serving: 4.7 grams

Photos and recipe by Kathy Sheehan, copyright 2019
All rights reserved. Please do not duplicate without the author’s permission.
Monday, November 19, 2018

What’s on my Low Carb Thanksgiving dinner plate?

My Thanksgiving Dinner PlateFor me, being diabetic means I never get a free-for-all food holiday. Just because it’s soon to be Thanksgiving doesn’t mean I’m going to ignore my dietary restrictions and “blow it” for the day. I might eat more food than I usually do on an ordinary day, but all of it will be low carb/keto, so my blood glucose doesn’t fly out of control. I’ve planned ahead, have gathered the ingredients and already know exactly what will be on my Thanksgiving dinner plate. Below is a list of my favorite holiday recipes I’d like to share with you. This entire meal, including dessert, is only 17.3 total carbs, not subtracting fiber, so net carbs would be even less!! The best part about this menu is that the mashed cauliflower, cranberry sauce, creamy gravy and herb cauliflower stuffing can be made ahead, so there’s less chaos in the kitchen on Thanksgiving day. Now, this is how you have a happy and healthy Thanksgiving, keto-style!

1. Roasted Turkey (3 oz.) = 0 g carbs, 25 g protein
Note: Use any favorite method of cooking your turkey. The nutritional count provided is for 3 ounces of roasted meat only.

2. Perfect Mashed Cauliflower (1/2 cup) = 1 g carb, 2 g protein.  Click here for Recipe: http://diabeticsrejoice.blogspot.com/2016/06/perfect-mashed-mashed-cauliflower.html

Mashed Cauliflower
3. Creamy Spinach and Parmesan Soufflé (1/2 cup) = 3 g carb, 5 g protein.  Click here for Recipe: https://www.atkins.com/recipes/creamy-spinach-and-parmesan-puff/2180

Creamy Spinach Parmesan Puff
4. Homemade Sugar Free Cranberry Sauce (1/4 cup) = 4 g carb, 0 g protein.  Click here for Recipe: https://www.ketoconnect.net/healthy-cranberry-sauce/

Sugar Free Cranberry Sauce
5. Low Carb Cauliflower Stuffing (1/2 cup) = 5 g carb, 2 g protein.  Click here for Recipe: https://www.delish.com/cooking/recipe-ideas/a50127/cauliflower-stuffing-recipe/

6. Keto Giblet Gravy (about 3 tablespoons) = 0.3 g carb, 2 g protein.  Click here for Recipe: http://cavemanketo.com/keto-giblet-gravy/
Note: In this recipe, I sauté a mixture of vegetables (carrot, onion and celery) until golden in color, add the liquid and simmer until thickened. Then I strain out the vegetables to make a smooth, creamy gravy before adding the cooked giblets.

Keto Giblet Gravy
7. And for dessert: Low Carb Pumpkin Custard baked in a crock pot while the dinner is cooking, topped with whipped cream! (1/2 cup with 2 tablespoons of whipped cream) = 4 g carb, 5 g protein.  Click here for Recipe: https://simplysohealthy.com/low-carb-slow-cooker-pumpkin-custard/
Note: I love this slow cooker recipe because it frees up the stove for the turkey and other dishes!


Post by Kathy Sheehan, copyright 2018
Links to recipes provided and are subject to copyright. Please do not duplicate without the author’s permission. 
Saturday, August 12, 2017

Low Carb Creamy Coleslaw


Sometimes I forget about coleslaw, but it's really the perfect side dish for a cookout, family gathering, picnic or potluck. It's so quick and easy to throw together, it's a shame that I don't make it often. With the help of a food processor, I can shred my own cabbage and carrot in minutes, but you can use a bag of prepackaged coleslaw mix, if you prefer. This recipe is super creamy with just the right amount of tang from the apple cider vinegar. Replace the sugar in a traditional recipe with erythritol or stevia and you have a delicious, low carb coleslaw the whole family will love.

Low Carb Creamy Coleslaw
Makes about 8 servings

1 small head green cabbage, shredded
1 small carrot, finely shredded

Dressing Ingredients:

2/3 cup mayonnaise 
2 tablespoons sour cream
2 tablespoons minced onion
1-2 tablespoons powdered erythritol, to taste (I used Swerve Confectioners)
1.5 tablespoons apple cider vinegar
1/2 teaspoon celery salt
Salt and freshly ground pepper to taste

Combine the shredded cabbage and carrot in a large bowl. In a separate bowl, whisk together the dressing ingredients. Add to the cabbage mixture and stir to coat the cabbage. (Use only the amount of dressing needed to coat the slaw mix. You may have some leftover dressing, which can be stored in the refrigerator for up to 2 weeks.) Mix well to combine. Taste and adjust seasoning, adding more salt, pepper or sweetener if desired. Refrigerate for 45 minutes or more to allow the flavors to blend.

Nutritional Information per serving (about 1/2 cup): 155 calories, 6.4 g carbohydrate (2 g dietary fiber, 3.5 g sugars, 1.9 g sugar alcohols), 14.5 g total fat (2.5 g saturated fat, 0 g trans fat), 8 mg cholesterol, 236 mg sodium, 48 mg calcium, 246 mg potassium, 1230 mg Vit A, 1 mg iron, 1.5 g protein. Net carbs per serving: 4.4 grams

Recipe by Kathy Sheehan, copyright 2017
All rights reserved. Do not duplicate without the author's permission.

Wednesday, February 1, 2017

Sautéed Red Cabbage with Bacon and Onions


Part of my strategy for keeping my blood sugar and weight in check is intermittent fasting. Because the body and metabolism resets itself whenever you're on a calorie restricted diet for a period of time (which explains the weight loss plateaus most dieters hit), it's a good idea to keep the body guessing! Intermittent fasting at irregular intervals makes it easier to lose weight and keep it off. Over the holidays, I regained some weight and, as a result, my blood sugar started creeping up to prediabetic levels again. On January 2nd and continuing for 2 weeks, I began an intermittent fasting schedule of skipping breakfast (to allow for 16-18 hour fast between dinner the night before and my next meal) and eating only within a 6 hour window each day. That worked to bring my blood glucose (BG) down a bit and steadied my weight, but it didn't go far enough or act quickly enough for me. Then for the next two weeks, I only ate one meal a day. That brought greater success! I lost 4 pounds and my fasting BG came down 10 points, but still not low enough and, although progress was slow and steady, I wanted faster results. After reading the book The Complete Guide to Fasting by Dr. Jason Fung MD with Jimmy Moore, I was motivated to try an extended fast. Today I just completed a 3-day total fast that only allowed coffee, tea, broth and water and was completely surprised how easy it was to do! In 3 days, I lost 2 pounds, lost inches around my waist and hips and experienced perfectly normal blood glucose. This morning I woke up to a fasting BG of 78! Even tonight, as I was making dinner, I thought I could have gone on for another day or more! I didn't experience any hunger or discomfort and, as a matter-of-fact, I felt GREAT the whole time! If you're struggling with weight or getting your blood sugar under control, I highly recommend that you get Dr. Fung's book and learn about his successful therapy that includes intermittent fasting for reversing diabetes, sometimes as quickly as a couple of weeks.


I wanted to share my break-fast meal, which was really, really delicious after having not eaten for 3 days! In this sweet and sour red cabbage sauté, I replaced the sugar of a traditional recipe with my favorite erythritol sweetener, LaKanto Monkfruit sweetener, and the result was perfection. My non-diabetic husband loved it too. It paired beautifully with an award-winning white wine and herb sausage I bought at my local Whole Foods. This low carb side dish is quick and easy to make and will become favorite of your family, too!

Sautéed Red Cabbage with Bacon and Onions
Makes 4 servings

3 slices of organic bacon, sliced into narrow strips (reserve grease)
1/2 cup onion, thinly sliced
4 cups red cabbage, thinly sliced (about 1/2 head)
3 tablespoons apple cider vinegar
1/2 teaspoon kosher or sea salt
2 teaspoons dried rosemary
3-4 teaspoons LaKanto Monkfruit sweetener, or to taste (or another erythritol sweetener)

1. In a large enameled pot or pan (not cast iron because the vinegar may react with the pan), sauté the bacon until crispy. Remove to drain on a paper towel and reserve bacon grease in the pan. Sauté the onion in the fat. When it is transluscent, add the cabbage and cook, covered and stirring frequently, until the cabbage has begun to soften.

2. Add the vinegar, rosemary and salt. Allow the cabbage mixture to continue cooking until soft and can be pierced with a fork.

3.  Add the sweetener. Start with 3 teaspoons and add more if needed to reach your desired sweetness. Add a tablespoon or two of water if the mixture becomes too dry. Add the bacon back into the pan. Stir and serve.

Nutritional Information per serving (1/4 recipe): 72 calories, 9 g carbohydrate (2.4 g dietary fiber, 4.3 g sugars, 4 g sugar alcohols), 2.9 g total fat (0.9 g saturated fat, 0 g trans fat), 52.8 mg calcium, 461 mg sodium, 287 mg potassium, 1013 mg Vit A, 52 mg Vit C, 1 mg iron, 3.8 g protein. Net carbs per serving: 6.6 grams

Recipe by Kathy Sheehan, copyright 2017
All rights reserved. Please do not duplicate without author's permission.

Monday, December 5, 2016

Old Fashioned Gluten Free, Low Carb Cornbread


Before I found out I had celiac disease (an intolerance to gluten), I often would bake lower carb goodies by substituting almond flour for most of the wheat flour in a recipe and that worked out well. For the most part, I now avoid all grains (GF or not) to keep my blood glucose steady. Tonight though, I wanted to serve cornbread with a Navy Bean and Bacon Soup because the flavor combination is so perfect together. This amazing, low carb recipe is the result of my kitchen experimentation and it turned out great!  I couldn't be more pleased; it tastes like the real thing to me! Traditionally prepared cornbread is about 29 grams of carbohydrate per serving, which is far beyond my limit.  My recipe clocks in at a low 7.3 net carbs per slice and has all the flavor and texture of the original. I know you'll be as pleased as I am when you taste my delicious bread.  Try it with this creamy Navy Bean Soup and stay happy and warm this winter, no matter the weather outside: http://www.skinnytaste.com/navy-bean-bacon-and-spinach-soup-pressure-cooker-slow-cooker-or-stove-top/

Old Fashioned Gluten Free, Low Carb Cornbread
Makes 8 servings

1/2 cup coarsely ground certified gluten free cornmeal (non-GMO or organic is best)
1/2 cup blanched almond flour, finely ground
1/4 teaspoon kosher salt
1/2 teaspoon baking soda
1 teaspoon baking powder
1 tablespoon LaKanto Golden Monkfruit sweetener (or other erythritol sweetener)
1 egg at room temperature, beaten
2 tablespoons butter, melted
3/4 cup plain milk kefir, at room temperature (can substitute sour cream, plain yogurt or buttermilk)

1. Preheat oven to 400 degrees Fahrenheit. Grease an 8-inch cast iron skillet (preferred) or an 8-inch round pan and set aside.

2. In a large bowl, place the cornmeal, almond flour, salt, baking soda, baking powder, and LaKanto Monkfruit sweetener and whisk to combine and break up any lumps. In a separate bowl or measuring cup, mix the egg, melted butter and kefir (or sour cream, yogurt or buttermilk) and whisk vigorously to combine.  Create a well in the center of the dry ingredients and add the wet ingredients. With a whisk or fork, combine ingredients until just combined. Pour batter into the greased pan.  Bake for 20-30 minutes (about 20-25 minutes if using a cast iron skillet) or until lightly browned, the edges are brown and crispy and a toothpick inserted into the center comes out clean.

3. This bread is best when sliced and served warm.  (If allowed to cool, I suggest reheating in a 350 degree oven for about 10 minutes to crisp up the top.)

Nutritional Information per serving (1/8 of recipe): 120 calories, 8.7 g carbohydrate (1.4 g dietary fiber, 0.9 g sugars, 1.5 g sugar alcohols), 7.7 g total fat (2.4 g saturated fat, 0 g trans fat), 36 mg cholesterol, 211 mg sodium, 59.8 mg calcium, 98 mg potassium, 3.9 g protein. Net carbs per serving: 7.3 grams

Recipe by Kathy Sheehan, copyright 2016
All rights reserved. Please do not duplicate without permission from the author.

Saturday, June 18, 2016

Faux-tato Pancakes!


Growing up in the mid-West, potato pancakes were a leftover side dish we often were served after having had mashed potatoes the previous night. I loved them! Crispy on the outside, but still obviously soft and creamy mashed potatoes on the inside. My husband, who is not diabetic, often makes potato pancakes for himself from his leftover (and famous) mashed potatoes. He's really quite an expert at making them. Since I choose to no longer eat white potatoes because they spike my blood sugar, I have not indulged in this delicacy for many years, but look on from afar with just a touch of envy. One day, he wondered aloud if I might be able to make "faux-tato" pancakes from the wonderful mashed cauliflower that I eat in place of potatoes. Using some leftover mashed cauliflower I just happened to have in the refrigerator, we were able to put his idea to the test...and the result was spectacular!! The taste and consistency closely matches my memory of this favorite childhood dish. The mid-Western girl in me is very happy and satisfied by this new discovery!

"Faux-tato" Pancakes!
Makes 3 large pancakes

1 cup mashed cauliflower, seasoned to your liking (see my recipe here)
1 large egg, slightly beaten
1 tablespoon ghee or coconut oil

Extra add-ins or toppings (optional): chopped chives, crumbled bacon, cooked crumbled sausage, finely chopped spinach, frozen petite peas (thawed), chopped herbs, finely chopped onions, shredded cheese, sour cream or gluten-free gravy (use these as toppings only).

1. Mix the mashed cauliflower and egg until thoroughly combined. Heat a skillet to medium heat, add ghee or oil and spoon out large dollops of the mashed cauliflower and egg mixture, and flatten slightly with the back of a spoon to form the pancakes.


2. Allow the pancakes to fry in the pan until brown and crispy. (Don't be in a hurry or try to flip the pancakes too soon or they will fall apart. This step may take several minutes. Just watch carefully and turn down the heat if the pancakes are browning too quickly.) 


3. When the first side has browned nicely and the cauliflower mixture has begun to solidify a bit, carefully turn the pancakes with a spatula and continue cooking the second side until brown and crispy.  Serve immediately.

Nutritional Information per pancake (not including any optional add-in or topping): 79 calories, 4.2 g carbohydrate (1.9 g dietary fiber, 1.8 g sugars), 5.5 g total fat (2.9 g saturated fat, 0 g trans fat), 73 mg cholesterol, 76 mg sodium, 26.6 mg calcium, 247 mg potassium, 4.3 g protein. Net carbs per serving: 2.3 grams

Recipe by Kathy Sheehan, copyright 2016

Monday, June 6, 2016

Perfect Mashed Faux-tatoes (Mashed Cauliflower)


Perfect Mashed Cauliflower
Mashed potatoes have always been one of my favorite side dishes but, because I want to keep my blood sugar normal without diabetic medication, I made the choice to stop eating white potatoes a few years ago. It was an easy choice and the benefit to my health has been worth it! A few weeks ago, my husband was making his famous mashed potatoes and it motivated me to perfect my mashed cauliflower recipe. Too often, mashed cauliflower can end up more like a cauliflower smoothie than the consistency of mashed potatoes! Here is my secret for making PERFECT mashed "faux-tatoes" every time.

Cut florets from a large head of cauliflower.

Perfect Mashed "Faux-tatoes" (Mashed Cauliflower)
Makes about 8 servings (1/2 cup each)

1 large head cauliflower
2-3 tablespoons butter
1/3 cup sharp cheddar, shredded or cubed
Salt and pepper to taste

1.  Cut the florets off a large head of cauliflower and discard the leaves and core.

2.  Place the florets in a steamer basket over boiling water and steam covered for about 12-15 minutes, or just until the cauliflower is tender and can be pierced with a fork.  (This is the trick to perfect mashed cauliflower: DO NOT overcook the cauliflower! The longer you steam it, the more water is absorbed and the wetter the finished product will be. So be watchful and remove the cauliflower from the heat as soon as it can be pierced with a fork, but is not too soft.)

Steam florets for 12-15 minutes. DO NOT OVERCOOK!

3.  Using a food processor* with the chopping blade, process the cauliflower WITHOUT adding any liquid until it begins to have the consistency of mashed potatoes. (You may need to do this in batches.) Stop the food processor occasionally and break up and incorporate any larger pieces before continuing to process.

4.  When the mashed cauliflower has begun to reach the proper consistency, add 2-3 tablespoons of salted butter, 1/3 cup shredded or cubed sharp cheddar, salt and pepper to taste.  Continue to process until butter, cheese and seasonings are incorporated and the mixture is smooth or has reached the consistency you desire.  Serve immediately or store covered in the refrigerator for up to 3 days.

*This could be done in a blender in very small batches with frequent stopping and scraping down, although it may be difficult to get the mixture completely smooth.

Nutritional Information per 1/2 cup: 83 calories, 6 g carbohydrate (3 g dietary fiber, 2.6 g sugars), 5.8 g total fat (3.6 g saturated fat, 0 g trans fat), 16 mg cholesterol, 78 mg sodium, 25.8 mg calcium, 336 mg potassium, 3.3 g protein.  Net carbs per serving: 3 grams

Recipe by Kathy Sheehan, copyright 2016

Saturday, July 18, 2015

Prosciutto Wrapped Zucchini with Pesto and Mozzarella


I've seen many recipes for prosciutto wrapped asparagus spears, but never zucchini.  In this recipe, I created a small hollow down the center of the zucchini and filled it with pesto and firm mozzarella before wrapping it with the prosciutto and sauteing it in a skillet.  The prosciutto becomes crispy and encases the filling nicely.  This makes a wonderful side dish or, if cut into squares, a perfectly delightful appetizer or snack!  If you're looking for another creative way to enjoy your vegetables, I highly recommend you give this recipe a try.

Prosciutto Wrapped Zucchini with Pesto and Mozzarella
Makes 4 side dish servings or about 12 appetizers

1 medium zucchini (about 8" long and not too fat)
2 tablespoons pesto (homemade or store bought)
firm mozzarella, cut into 1/4" x 1/2" sticks
prosciutto slices (about 3-4)
coconut oil (or oil saved from frying bacon)
Optional garnishes for appetizers: basil leaves, grape tomato halves, small mozzarella balls

1.  Wash and dry the zucchini.  Cut a thin portion off one side to create a flat surface (so the zucchini will not roll when placed on that side).  Repeat on the opposite side.  Cut the zucchini lengthwise down the center, between the two flat surfaces.  Set the zucchini halves with the seed sides up and, using a spoon, scrape down the center of each zucchini to remove the seeds and create a hollowed out space.

2.  Spread 1 TB of pesto down the center of each zucchini half in the hollow space.  Top pesto with mozzarella sticks just the length of the hollow space (do not let cheese extend beyond this space).  Wrap each zucchini half with the sliced prosciutto, being careful to overlap and encase the filling completely.

Saute prosciutto wrapped zucchini in skillet
3.  Heat the oil in a skillet to medium-high.  Place the zucchini with seam side down into the pan and saute until the prosciutto is browned and crispy.  Turn over and repeat with second side.  You may also wish to brown edges, as well.  Remove from pan and drain briefly on a paper towel.  Cut each zucchini into serving size pieces.  To serve as a side dish, cut each zucchini half into 2 pieces.  If creating appetizers, cut each zucchini into small squares and top with suggested garnish (as pictured) and secure with a toothpick.

Nutritional Information per side dish serving (1/4 recipe): 106 calories, 2.5 g carbohydrate (0.6 g dietary fiber, 1.5 g sugar), 8.4 g total fat (3.3 g saturated fat, 0 g trans fat), 14 mg cholesterol, 381 mg sodium, 115.3 mg calcium, 128 mg potassium, 6.7 g protein.  Net carbs per serving: 1.9 grams

Recipe by Kathryn Sheehan, copyright 2015

Thursday, August 7, 2014

Faux Colcannon


Colcannon is a traditional Irish dish usually made with mashed potatoes and cabbage (or kale).  It can also contain other ingredients, such as leeks, onions, or chives.  It is often eaten with Irish bacon or boiled ham.  During a recent trip to Ireland, I watched my non-diabetic husband eat this comforting dish time and time again.  It was pure torture!  The traditional recipe is extremely high in carbohydrate, so far beyond my carb allowance for a meal.  I came home determined to create a low carb version with the same creamy texture and combination of flavors.  This recipe does exactly that!  Tonight, when we're eating our bangers and mash, I'll be able to join in without the guilt or the telltale blood sugar spike that is normally associated with the eating of this favorite Irish side dish.

Faux Colcannon
Makes four 3/4 cup servings

1 large head cauliflower
4 slices of bacon
2 teaspoons ghee* (or butter), divided
1/2 leek, sliced into half moons
1 cup chopped cabbage (or chopped coleslaw mix)
2 tablespoons dairy free cream cheese* (or regular)
1-4 tablespoons chicken stock*
Salt and pepper to taste

1.  Remove the outer leaves from the cauliflower and cut off florets.  Place in a steamer basket over an inch or two of water.  Cover pot and steam for 15 minutes. Turn off heat and remove cover; set aside.

2.  Meanwhile, slice bacon into 1/2-inch pieces.  Heat in a large skillet, stirring occasionally, until bacon is crispy.  Remove bacon from pan with a slotted spoon and drain on paper towels; set aside.

3.  After bacon has cooked, drain skillet of all but 1 tablespoon of the bacon fat.  Add 1 teaspoon of ghee.  Add leek, a pinch of salt and steamed cauliflower to the skillet and saute over medium-low heat, stirring frequently, for about 10 minutes or until leek is translucent and cauliflower has dried out a bit.  Place this mixture and the dairy-free cream cheese into a food processor or blender.  Add one tablespoon of chicken stock at a time to the mixture as it is processed until it reaches the consistency of mashed potatoes.  (You may need to stop the food processor or blender occasionally and stir down the mixture to incorporate all the ingredients.)  Remove this mixture to a serving bowl and set aside.

4.  Add 1 teaspoon of ghee to the skillet and, over medium heat, saute chopped cabbage until softened.  Add the cooked cabbage and crispy bacon to the cauliflower mixture and stir to combine.  Season with salt and pepper to taste.  Serve warm.

Nutritional Information per serving: 141 calories, 11.7 g carbohydrate (4.3 g dietary fiber, 4.6 g sugar), 8 g total fat (3.7 g saturated fat, 0 g trans fat), 13 mg cholesterol, 49.2 mg calcium, 560 mg potassium, 768 mg sodium, 7 g protein.  Net carbs: 7.4 grams

*Notes for those with food sensitivities: To create a lactose and casein free dish, use ghee instead of butter and a dairy-free cream cheese.  I used Daiya brand Plain Cream Cheese Style Spread which is gluten free, dairy free, nut free and soy free.  It is free of the top eight food allergens.  Also, if gluten is an issue for you, choose a chicken stock that is certified gluten free.  I used Kitchen Basics brand.

 Original recipe by Kathy Sheehan, copyright 2014

Monday, March 31, 2014

Healthy Free Stuff!

I've had a lot of questions about how to use the Spiral Slicer I spoke of in my earlier post to make veggie noodles, so I made this video to demonstrate:  https://www.youtube.com/watch?v=pMBhRKW9FjI


RECIPE IDEA:  To cook the Vegetable Noodles, either simmer them in your favorite marinara sauce for 8-10 minutes until they reach the desired consistency or heat 1 TB. ghee (clarified butter) in a large saucepan on medium heat, add vegetable noodles and stir to coat with the butter.  Add salt and pepper to taste.  Add 1/4 cup chicken or vegetable broth to pot and cover.  Steam until vegetable noodles are softened to desired consistency.  Remove cover and simmer over medium until liquid has evaporated.  Eat as a side dish or top with your favorite sauce, as you would with any pasta.

FREE COOKBOOK EXCERPT:  Also, I want to tell you about the excellent Daniel Plan Cookbook by Rick Warren.  Below is a FREE PDF download with a sampling of recipes!  I've been using this cookbook a lot lately in the three Daniel Plan support groups that I facilitate in my community.  My favorite recipes are the Caramelized Onion Burgers and the Fish Tacos with Creamy Chipotle Lime Dressing - YUM!  I recently orgaznized a Taco Bar for a healthy potluck luncheon at my church and used some of these recipes.  This cookbook includes many excellent recipes that real people would eat!  I highly recommend!  Check the book out from your local library or it can be purchased online or in any bookstore.

http://files.faithgateway.com.s3.amazonaws.com/freemiums/The-Daniel-Plan-Cookbook-Sampler.pdf

Have a great day!  Enjoy!   ~ Kathy