Wednesday, September 30, 2020

Low Carb Candy Corn Glazed Donuts

Low Carb Candy Corn Glazed Donuts
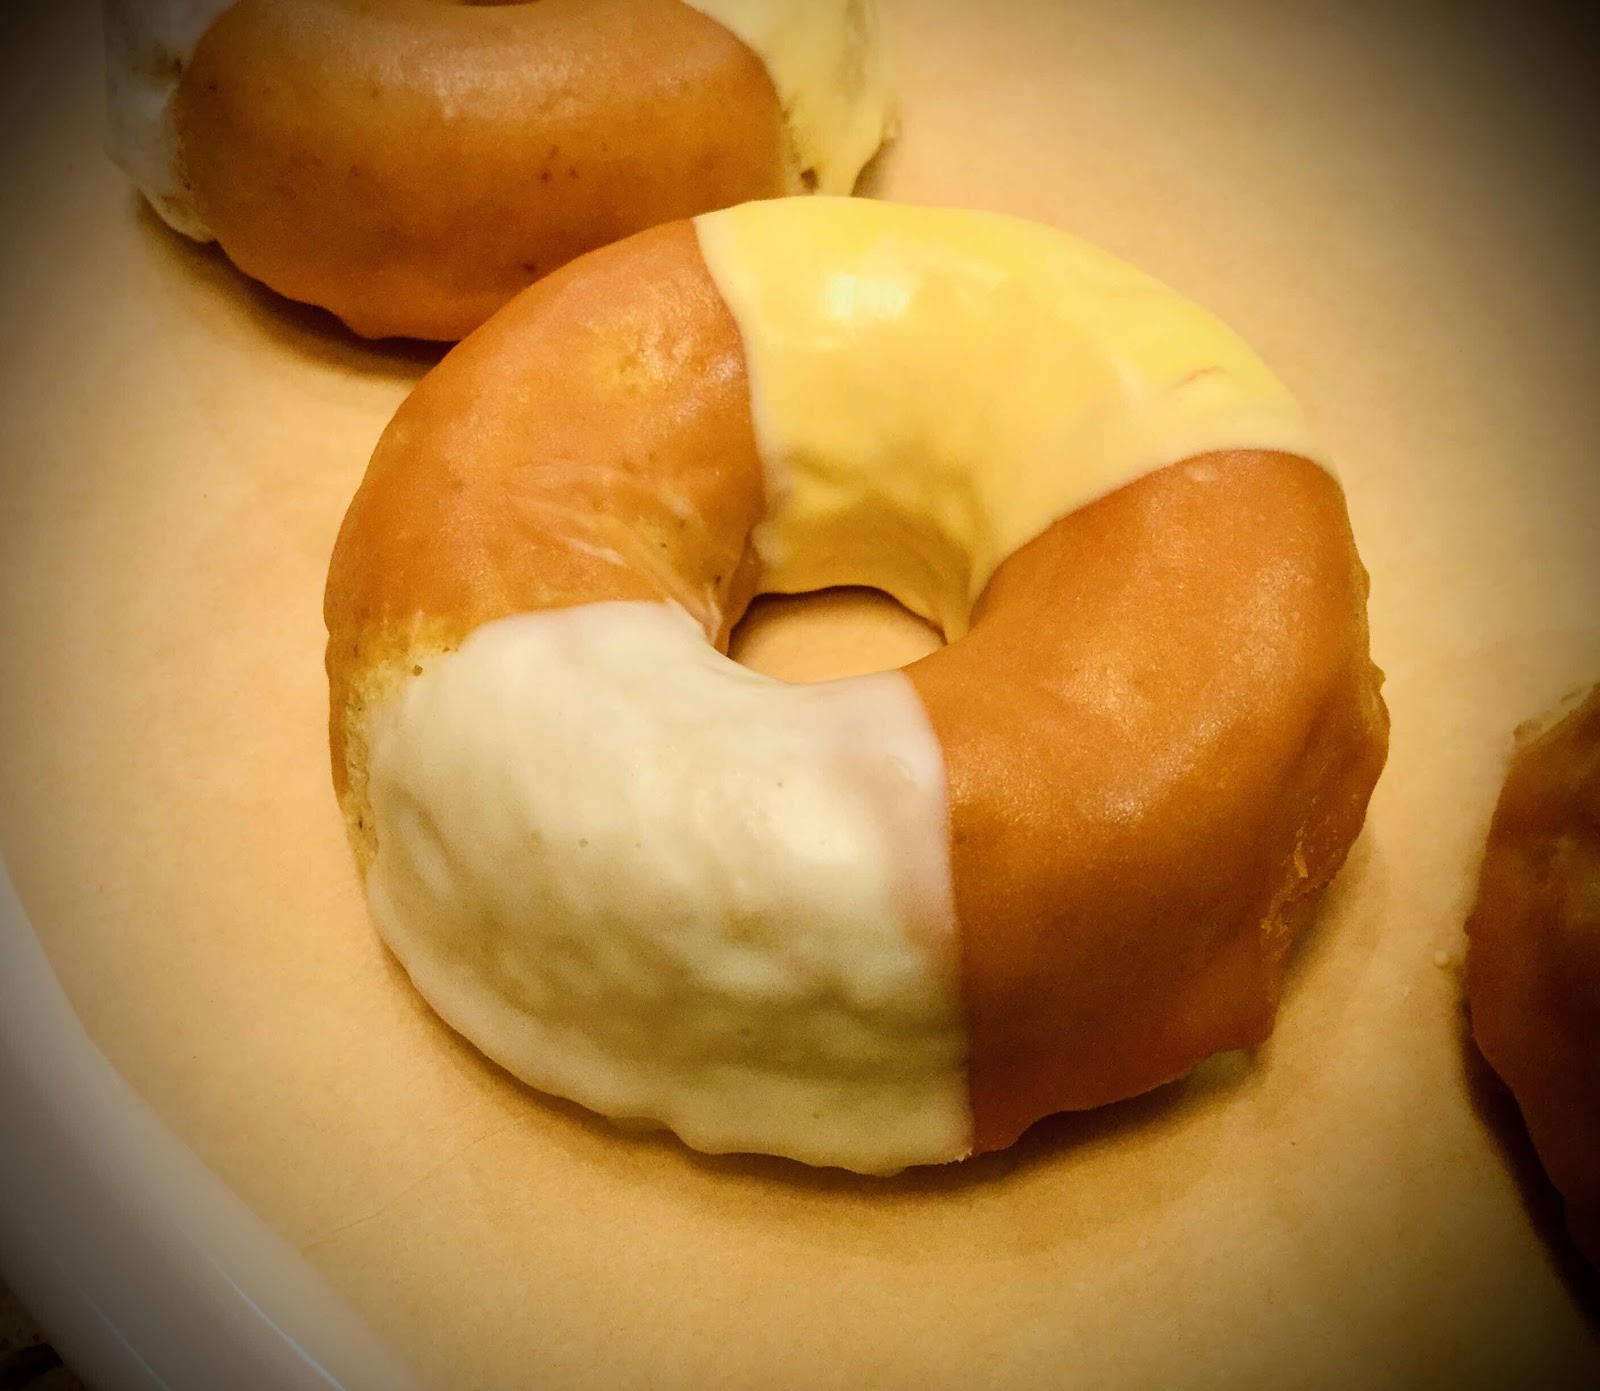
Fall is here! Pumpkins, potted mums and Halloween decor are already decorating the lawns and porches in my neighborhood and bags of Halloween candy line the store shelves. One autumn favorite is Candy Corn.  These donuts mimic the classic three-banded candy with its colors of yellow, orange and white glaze. These festive donuts are great fun to serve for breakfast or to bring to a party!
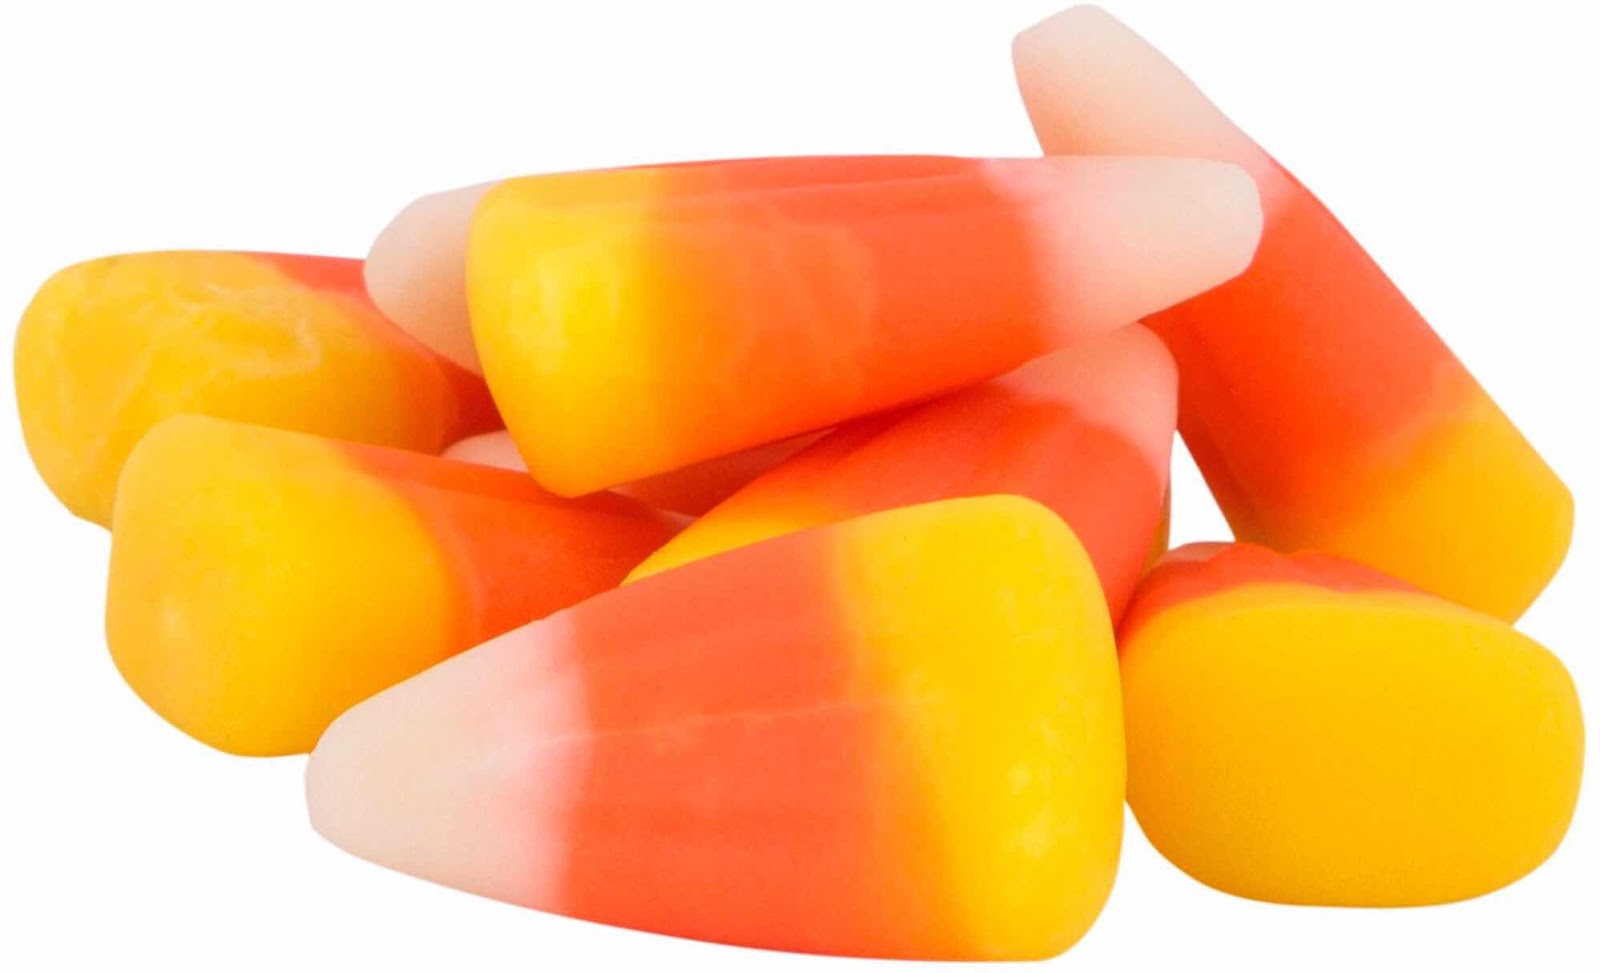
Candy Corn
Low Carb Candy Corn Glazed Donuts
Makes about 12 donuts (more or less, depending on the size of your pan)

Donuts:
1/2 cup + 2 tablespoons coconut flour, lightly scooped and leveled
6 tablespoons granulated erythritol sweetener
1-1/2 teaspoons baking powder
1/4 teaspoon vanilla powder (optional)
1/4 teaspoon salt
5 large eggs
1/4 cup unsalted butter, melted
1/2 cup unsweetened coconut or almond milk
1/2 teaspoon butterscotch extract
1/4 teaspoon caramel extract
1/4 teaspoon vanilla extract

Candy Corn Glaze:
2/3 cup heavy cream, divided
1/2 cup sugar free white chocolate chips
1/2 cup sugar free butterscotch baking chips (or substitute more white chocolate chips and tint with orange food coloring)
Gel Food Coloring: yellow and orange

1. Preheat the oven to 325 degrees Fahrenheit. Spray a donut pan with non-stick cooking spray or grease well; set aside.

2. In a large bowl, whisk together the coconut flour, sweetener, baking powder, vanilla powder (if using) and salt until no lumps remain.

3. In another bowl, beat the eggs, melted butter, coconut or almond milk and extracts. Add the wet ingredients all at once to the dry ingredients and whisk quickly and vigorously until a smooth, but thick, batter forms and all of the dry ingredients are incorporated. 

4. Fill each well of your donut pan 3/4 full and bake 16-18 minutes or until the tops are firm to the touch and the edges are just golden brown. Remove from oven and cool 5 minutes in the pan, then flip them out onto a wire rack to cool completely. 

5. Widely space your cooled donuts on a wire rack with parchment or plastic wrap underneath to catch the drips. (It’s easier to glaze the donuts if there is a little space between them.)
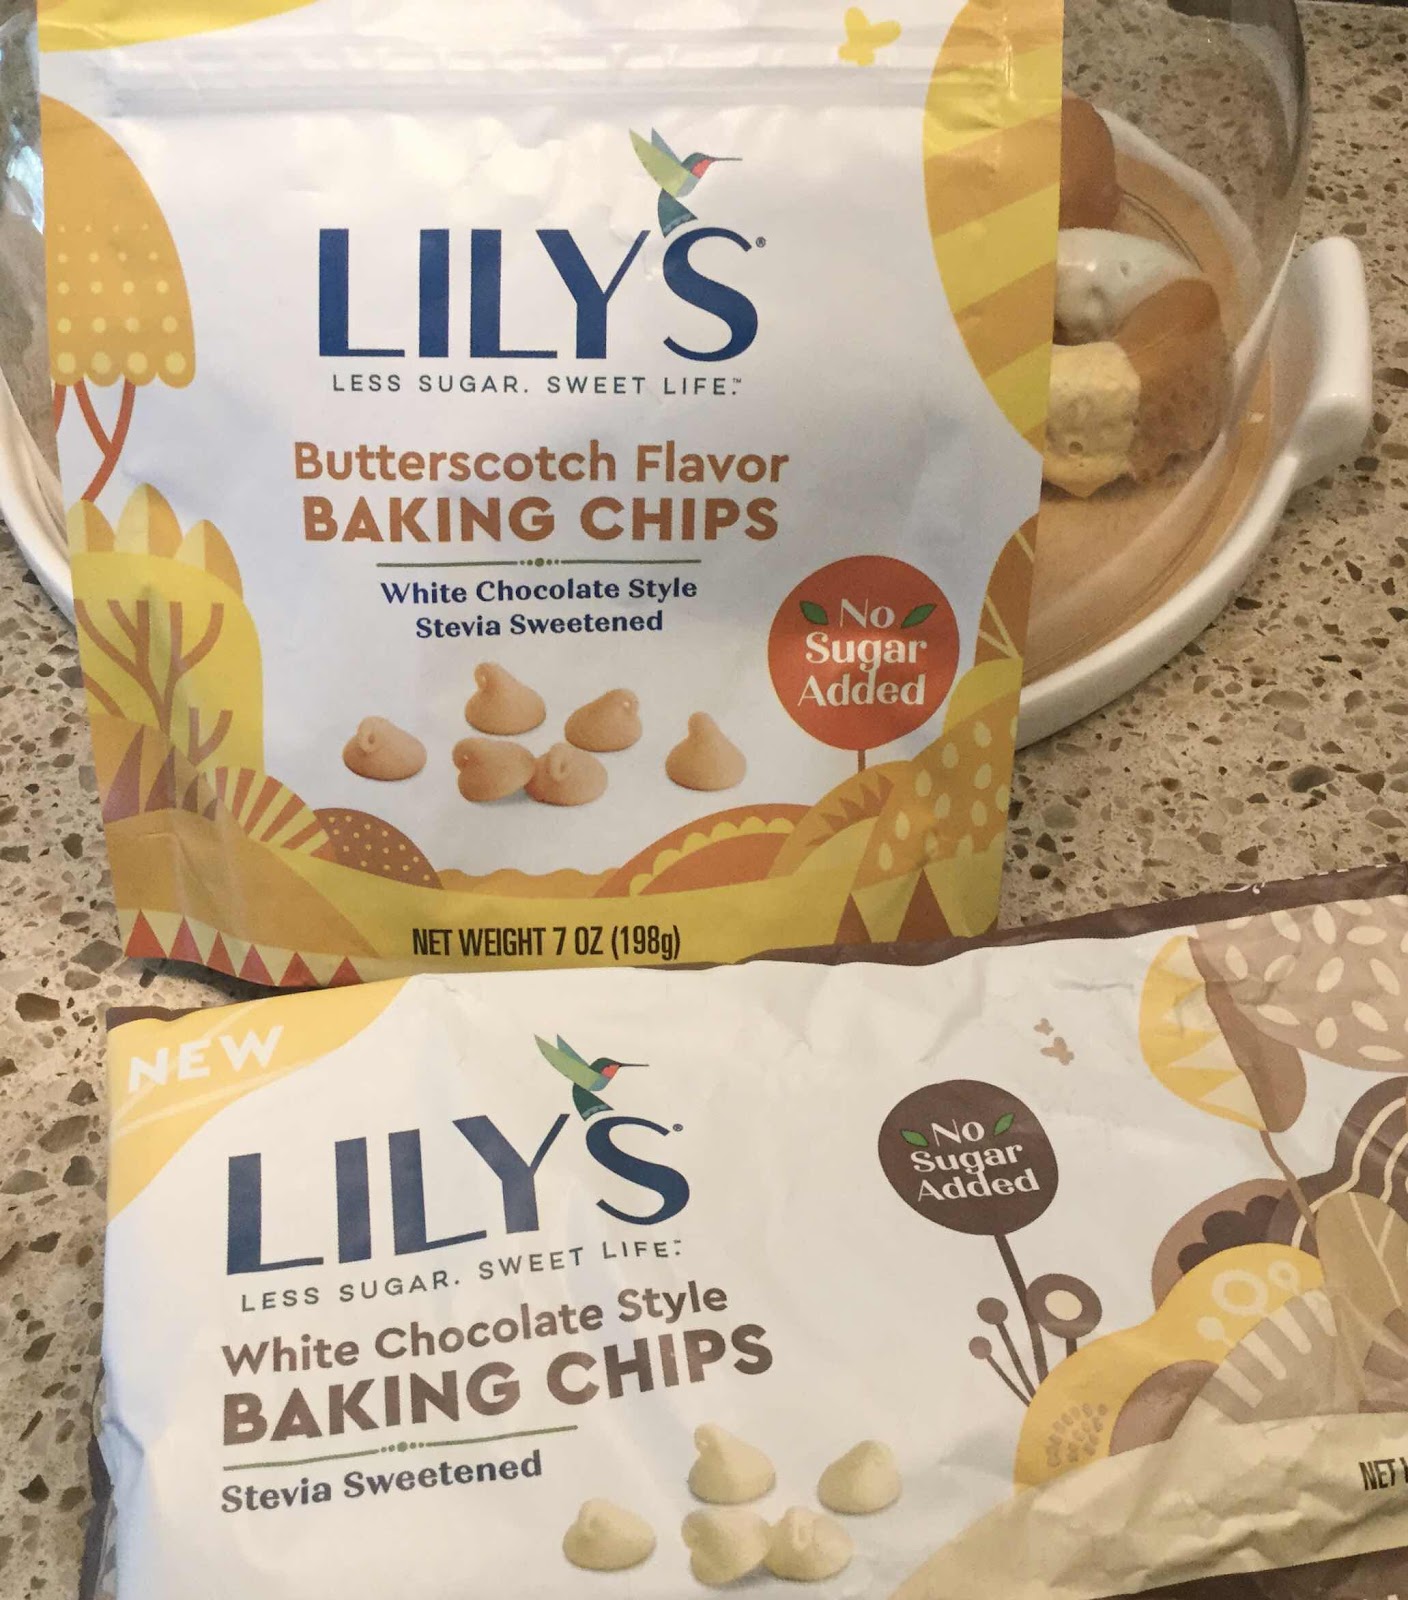
Sugar Free Lily’s Baking Chips
6. First, heat 1/3 cup of heavy cream in a small microwaveable bowl for 30 seconds or until the cream is bubbly. (You can also heat the cream in a small saucepan on the stove.) Add the 1/2 cup butterscotch chips, allow to stand for a few minutes, then whisk until smooth and all the baking chips have melted. If desired, you can add a couple of drops of orange gel food coloring and stir. Allow the glaze to stand for 5-10 minutes until it has thickened, but is still pourable. With a spoon, drizzle the glaze in the middle and on both sides of the hole of the donut to create the middle orange band of color.
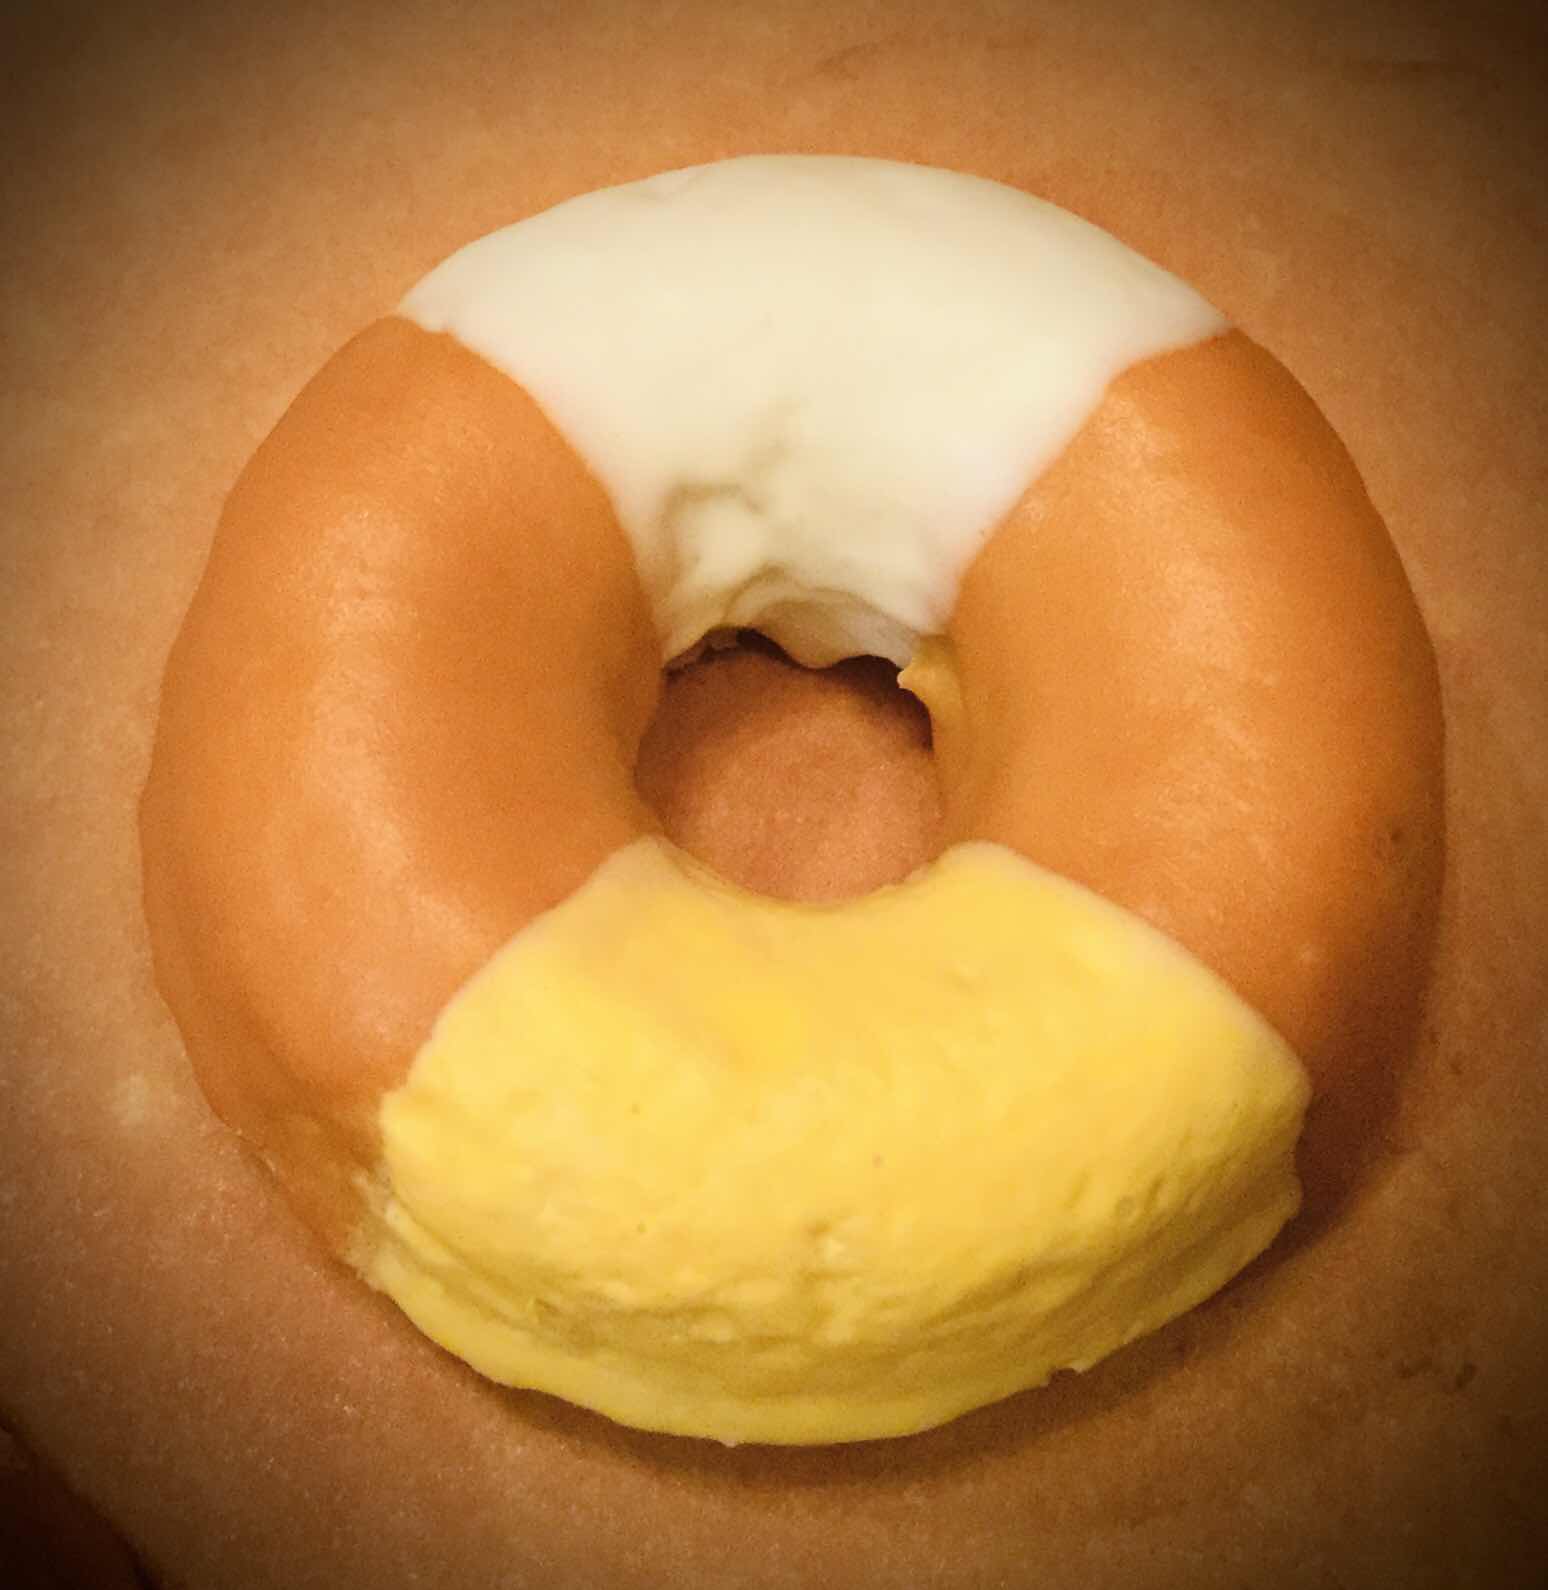
How to Glaze a Candy Corn Donut
7. Next, repeat with the remaining 1/3 cup of heavy cream and 1/2 cup white chocolate chips. Once melted and smooth, pour this mixture into two small bowls, equally dividing it as best you can, and tint one with a couple of drops of yellow food coloring. Allow the glaze to stand for 5-10 minutes until thickened, but still pourable.

8. With clean spoons, drizzle the top third of each donut with white glaze and the bottom third of each donut with yellow glaze. Allow the donuts to sit until no longer dripping. Place them, while still on their wire racks, into the refrigerator for about 25 minutes to set the glaze before removing them to a serving plate. Enjoy and Happy Fall!

Nutritional Information per donut: 139 calories, 5.3 g carbohydrate (2.6 g dietary fiber, 0.7 g sugars), 12.3 g total fat (7.3 g saturated fat, 0 g trans fat), 98 mg cholesterol, 134 mg sodium,  59.4 mg calcium, 56 mg potassium, 1 mg iron, 120 IU Vit A, 3.3 g protein. Net carbs per serving: 2.7 grams

Recipe and donut photos by Kathy Sheehan, copyright 2020
Stock photo of Candy Corn candies
All rights reserved. Please do not duplicate without the author’s permission.

Saturday, September 19, 2020

Low Carb Parmesan Radish Gratin

Low Carb Parmesan Radish Gratin
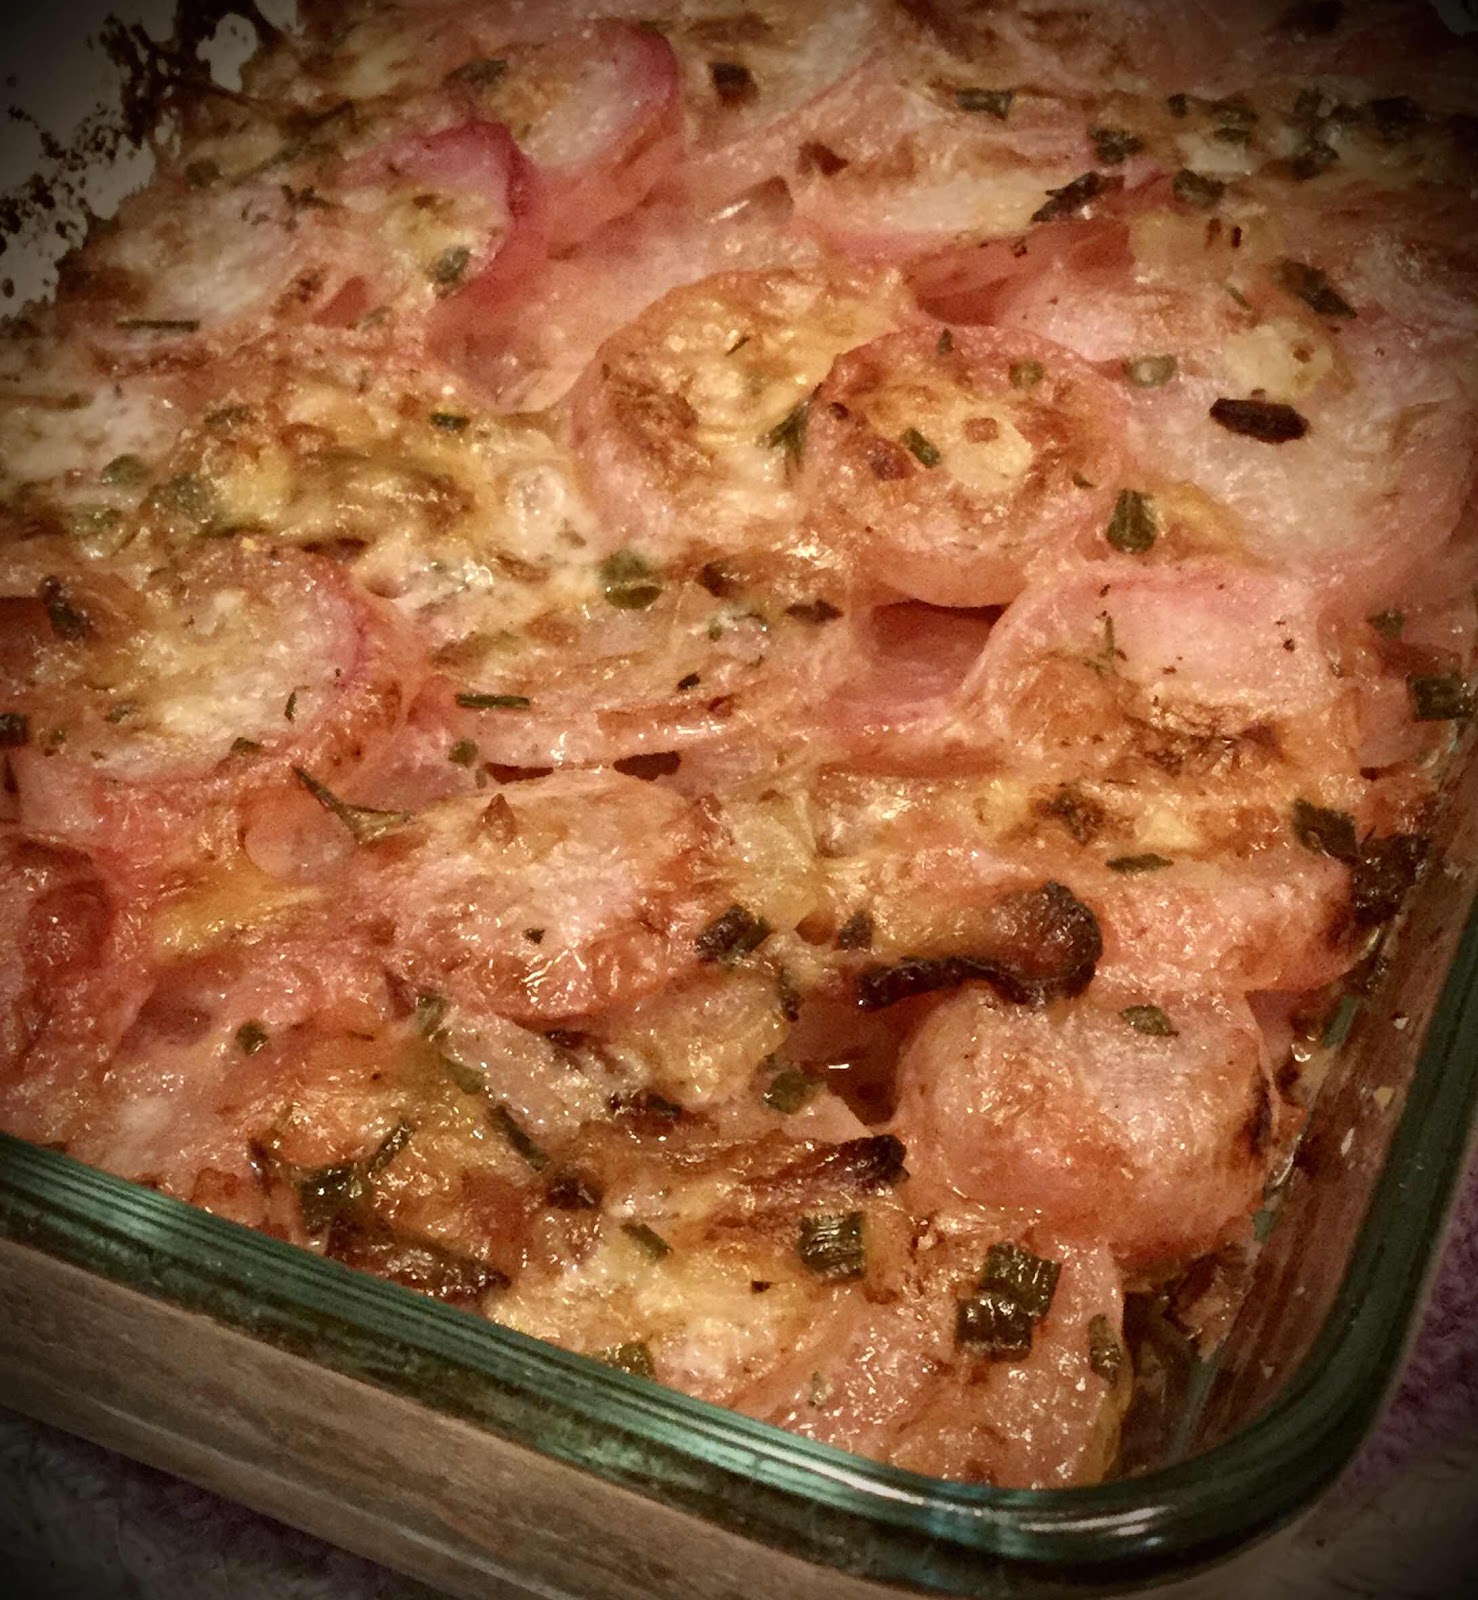
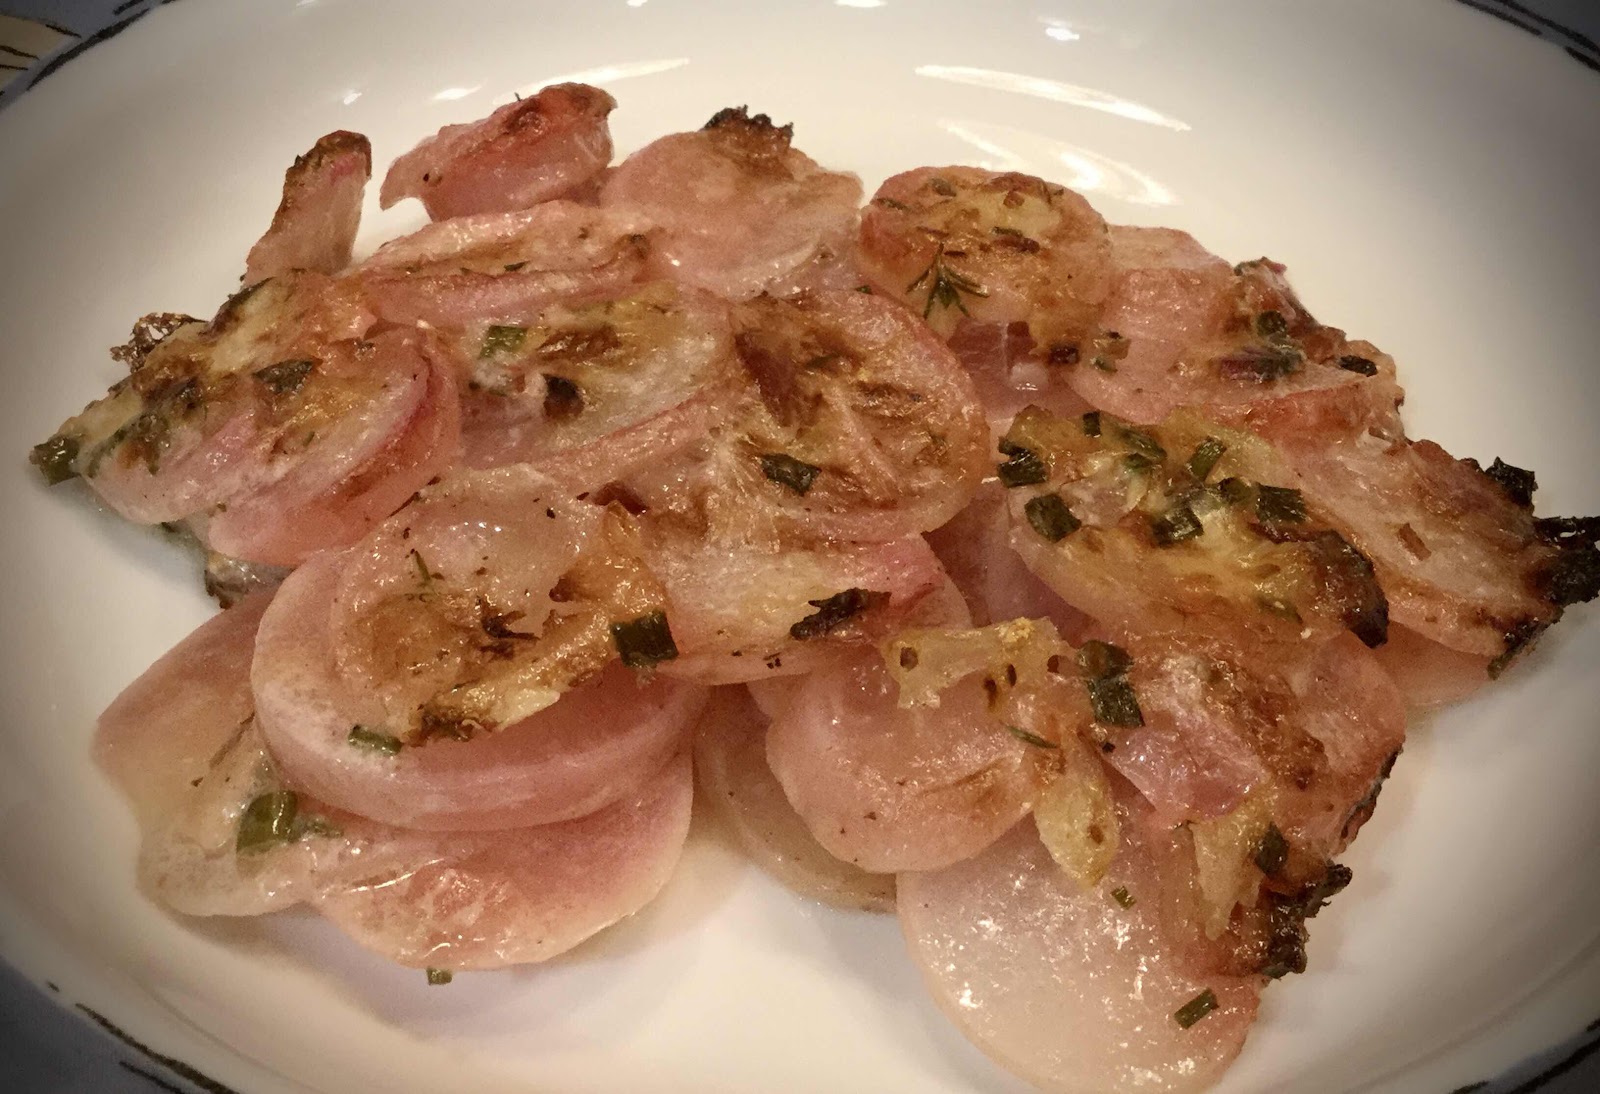
I dislike raw radishes, but LOVE roasted and cooked radishes! In the keto world, radishes and turnips make great substitutes for potatoes in soups and other recipes. The first time I saw a casserole recipe similar to this, it was created for potatoes and contained several high carb ingredients, such as flour and whole milk. I thought it would be worth a try to make a few ingredient substitutions and make it low carb—the result was wonderful! You can make this delicious side dish with red or daikon radishes (or maybe even turnips) and I think you’ll be quite pleased too.

Low Carb Parmesan Radish Gratin
Makes twelve 1/2 cup servings

8 oz. Parmesan cheese
2 slices cooked bacon, crumbled
1 green onion, thinly sliced
1 tablespoon snipped fresh chives
1/2 tablespoon fresh chopped thyme (or use 1 teaspoon dried)
1/2 tablespoon fresh chopped rosemary (or use 1 teaspoon dried)
2 tablespoons unsalted butter, cut into small cubes
6 cups thinly sliced radishes (about 2 lbs, leaves removed)
Salt and pepper
6 tablespoons coconut or almond milk
6 tablespoons heavy cream
1/2 teaspoon xanthan gum
Snipped fresh rosemary and thyme for garnish (optional)

1. Preheat the oven to 325 degrees F and grease a 1.5 quart casserole dish; set aside. Using a wide vegetable peeler, shave the Parmesan cheese (about 2 cups) or use pre-shaved Parmesan; set aside.

2. In a small bowl, combine the crumbled bacon, green onion and chives. Stir to combine. In the prepared baking dish, arrange 1/2 of the radishes to cover the bottom of the dish. Sprinkle with 1/2 teaspoon salt and pepper, half of the bacon mixture and half of the herbs. Top with 1/2 of the Parmesan and dot with half of the butter cubes. Repeat layers.

3. In a medium bowl, whisk together the coconut or almond milk, heavy cream and xanthan gum until the xanthan gum is incorporated and dissolved (you can use a stick blender to make this easier). Pour the cream mixture evenly over the radishes.

4. Bake, covered for 1.5 hours. (If using foil to cover, spray the underside with non-stick cooking spray.) Increase oven temperature to 400 degrees F. Bake, uncovered for 15-20 minutes more or until the radishes are tender and the top is golden brown.

Parmesan Radish Gratin
Nutritional Information per 1/2 cup: 168 calories, 3.7 g carbohydrates (1.3 g dietary fiber, 1.7 g sugars), 14 g total fat (8.5 g saturated fat, 0 g trans fat), 40 mg cholesterol, 400 mg sodium,  264 mg calcium, 206 mg potassium, 1 mg iron, 131 IU Vit A, 12 mg Vit C, 8.3 g protein. Net carbs per serving: 2.4 grams

Photos and recipe by Kathy Sheehan, copyright 2020
All rights reserved. Please do not duplicate without the author’s permission.
Friday, September 11, 2020

Low Carb, Low Oxalate Maple Cinnamon Granola

Low Carb, Low Oxalate Maple Cinnamon Granola
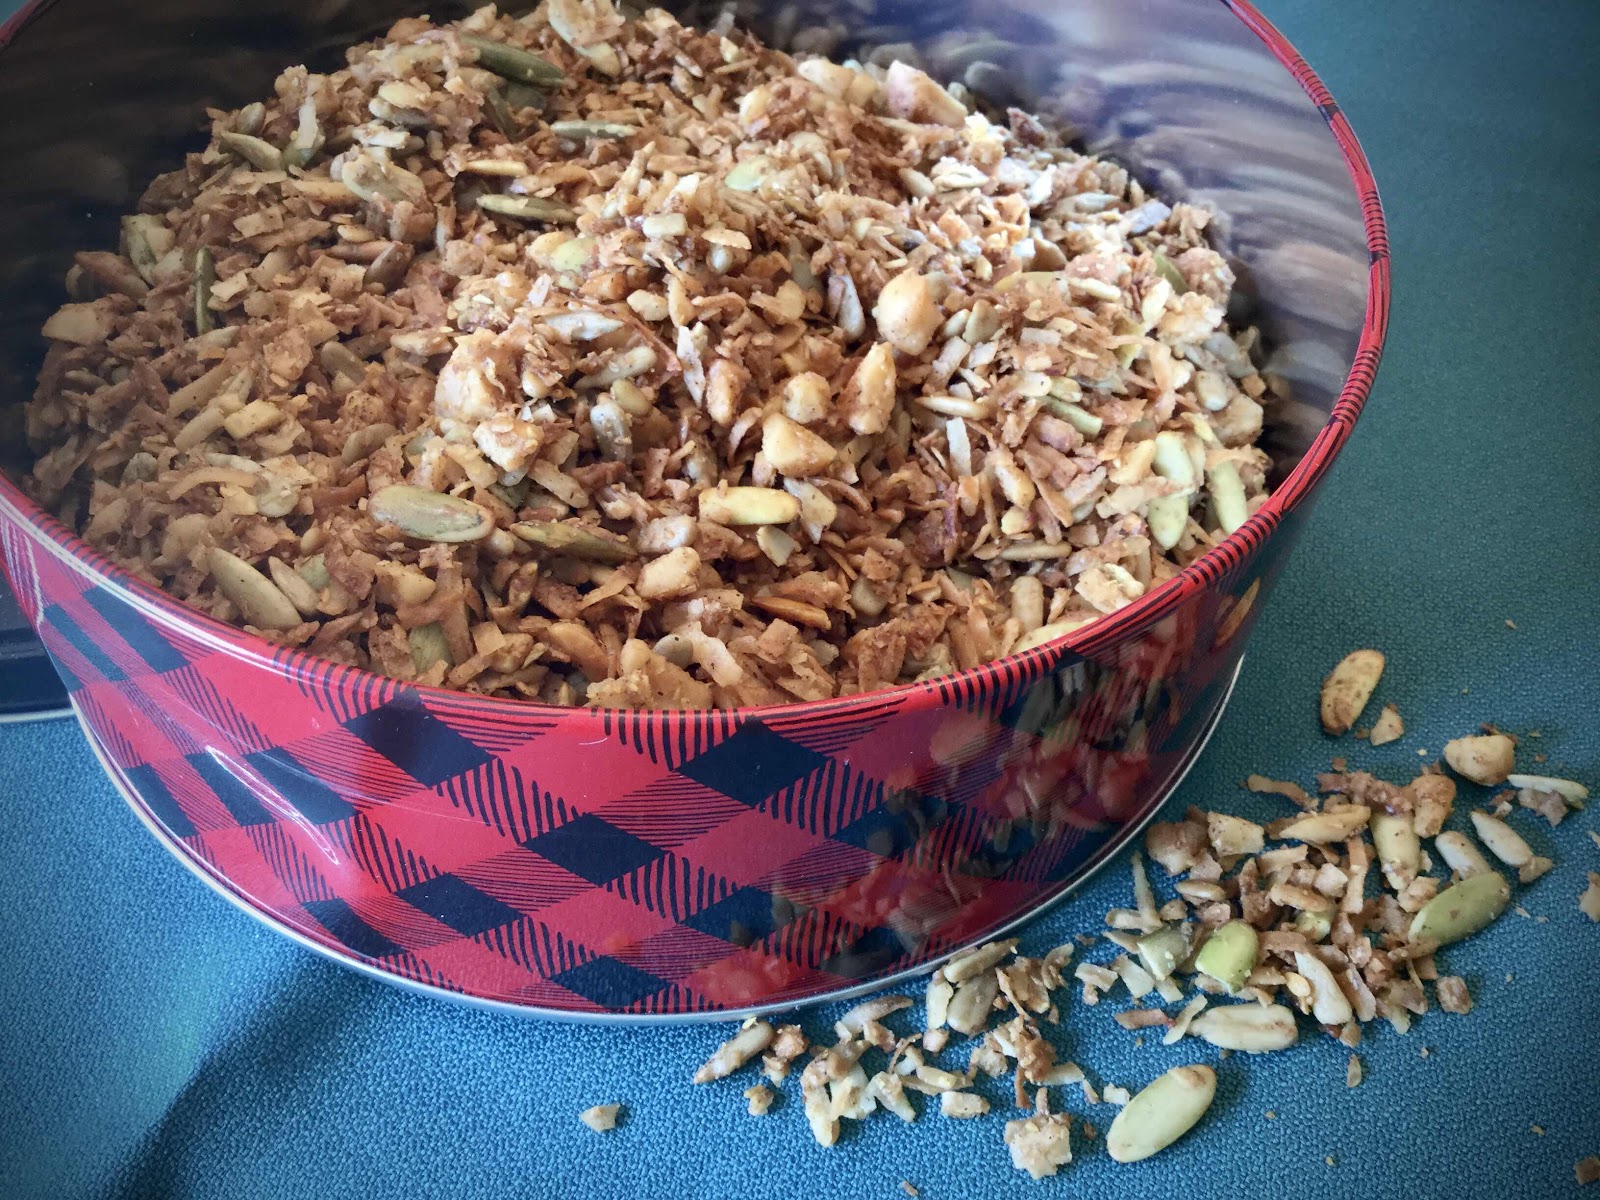
Granola is the easiest thing to make! Simply mix all the ingredients together, spread onto a baking sheet and bake...it’s really that simple! I have other granola recipes on my blog but, now that I have to reduce the oxalate in my diet (due to reoccurring kidney stones), the nuts most often used to make granola are extremely high in oxalates and are no longer an option (almonds are the worst!). I love sprinkling granola on my homemade yogurt, eating it as a snack or even as breakfast cereal, so I was perplexed as to how I could still have granola without the oxalates...thus this recipe was born! Macadamia nuts are moderate oxalate, but when you divide the amount called for into 12 servings, you’re really getting very little. Pumpkin seeds, sunflower seeds and coconut are all low oxalate. The other trick is to use cinnamon extract, not ground cinnamon which is shockingly high in oxalate. The result is an excellent and delicious granola that I can feel good about eating!

Low Carb, Low Oxalate Maple Cinnamon Granola
Makes 12 servings (1/4 cup each)

1-1/2 cups unsweetened shredded coconut
1/3 cup pumpkin seeds (pepitas)
1/3 cup sunflower seeds
1/2 cup macadamia nuts, roughly chopped
1/4 cup flaxseed meal
1/2 teaspoon ground ginger
A pinch of salt
1 egg white
2-3 tablespoons granulated erythritol sweetener, to your taste
2 tablespoons sugar free maple syrup
1/2 teaspoon vanilla or pumpkin spice extract
3/4 teaspoon cinnamon extract, or to taste
2 tablespoons coconut oil, melted

1. Preheat the oven to 350 degrees F. Place all of the coconut, pumpkin seeds, sunflower seeds and macadamia nuts in a food processor and pulse until coarsely chopped and the mixture has the texture of oatmeal. Place the mixture into a large bowl and add the flaxseed meal, ginger and salt. Stir to combine.

2. In a separate small bowl, whisk together the egg white, sweetener, sugar free maple syrup and extracts until frothy. Add the coconut oil and whisk again to combine. 

3. Add the egg white mixture to the nut/coconut mixture and stir. Mix thoroughly, making sure all of the mixture is lightly coated. 

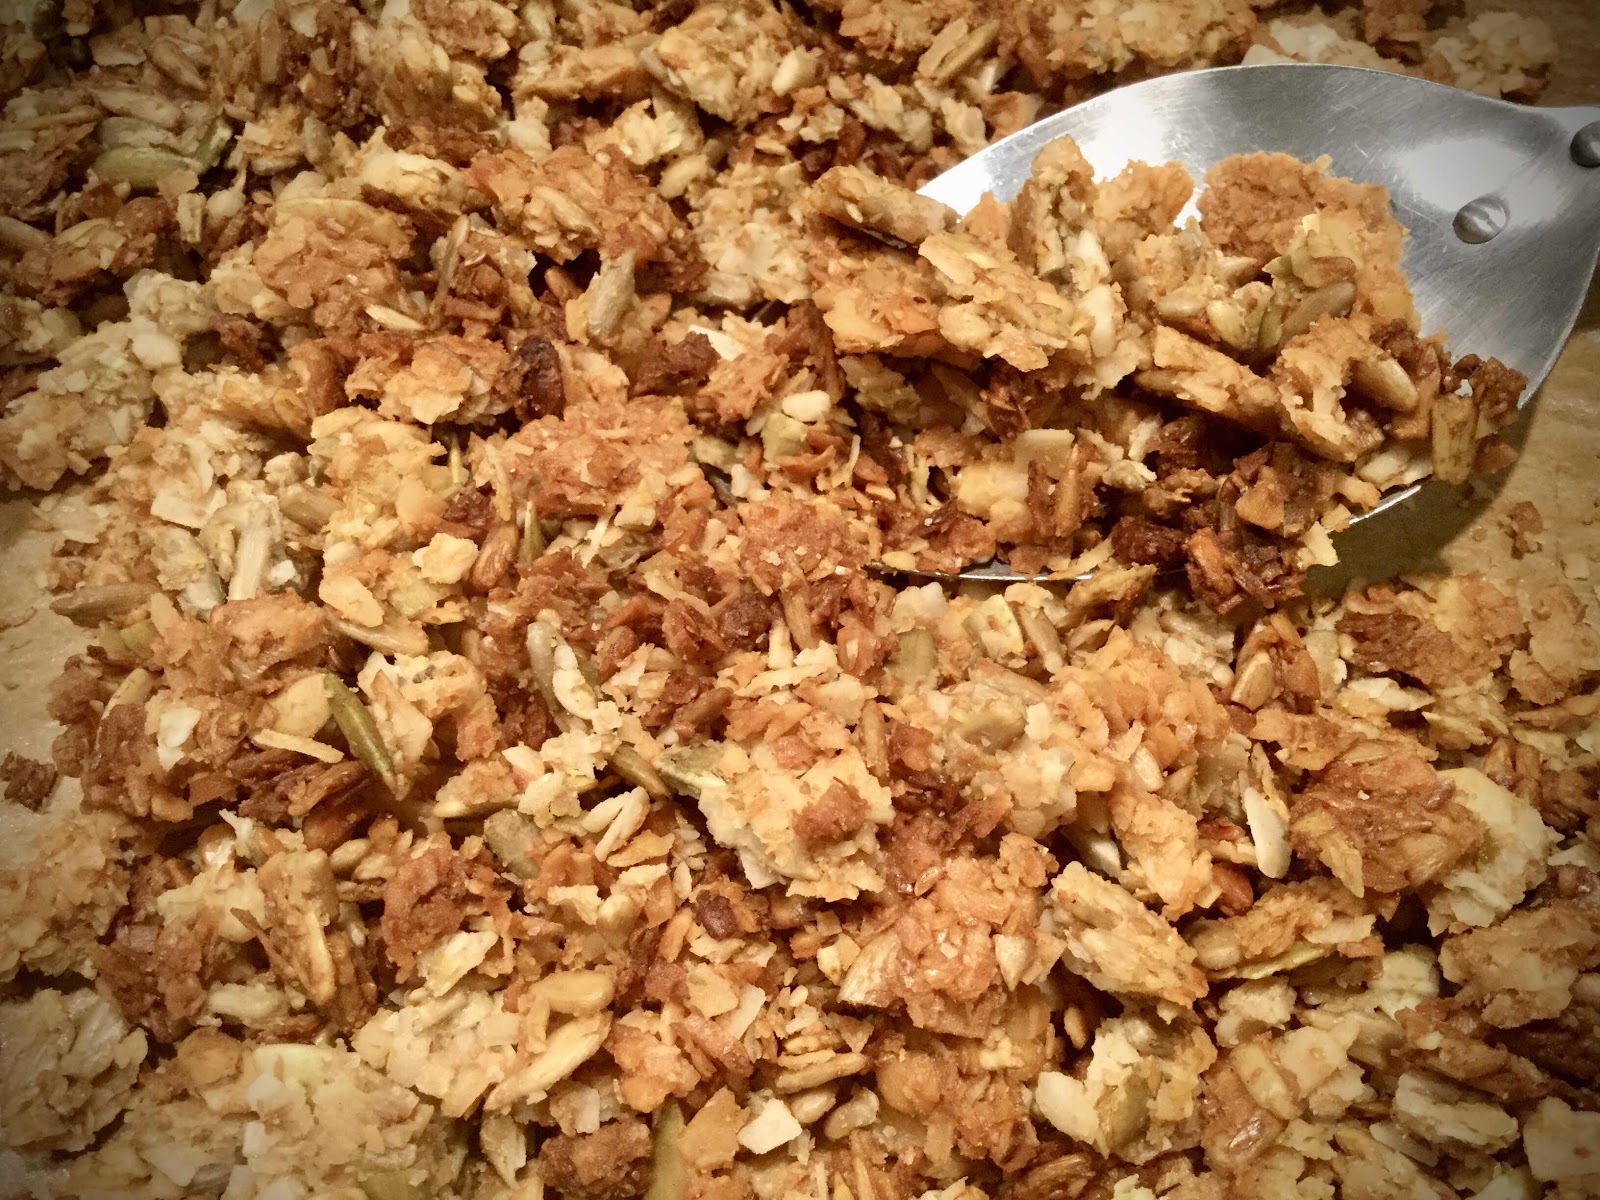
4. Pour the mixture onto a cookie sheet (lined with parchment paper for easier clean up) and spread into an even, thin layer. Bake for a total of 15-18 minutes, turning and lightly breaking up with a spatula after about 10-12 minutes. Continue baking, but watch carefully for the last 5-8 minutes because it can turn dark and burn quite quickly. It is ready when the granola is toasty brown in color. 

5. Remove from the oven and cool completely on the cookie sheet. The granola will crisp up as it cools. Break apart any larger chunks and store in an airtight container at room temperature for up to 2 weeks. 

Low Carb, Low Ox Granola
Nutritional Information per 1/4 cup serving: 177 calories, 5.1 g carbohydrate (2.8 g dietary fiber, 0.7 g sugars), 16.5 g total fat (9 g saturated fat, 0 g trans fat), 0 mg cholesterol, 18 mg sodium, 12 mg calcium, 70 mg potassium, 1 mg iron, 3.2 g protein. Net carbs per serving: 2.3 grams

Total Oxalate per serving is 3.71mg, Soluble oxalate is 2.03mg

Photos and recipe by Kathy Sheehan, copyright 2020
All rights reserved. Please do not duplicate without the author’s permission. 
Monday, August 31, 2020

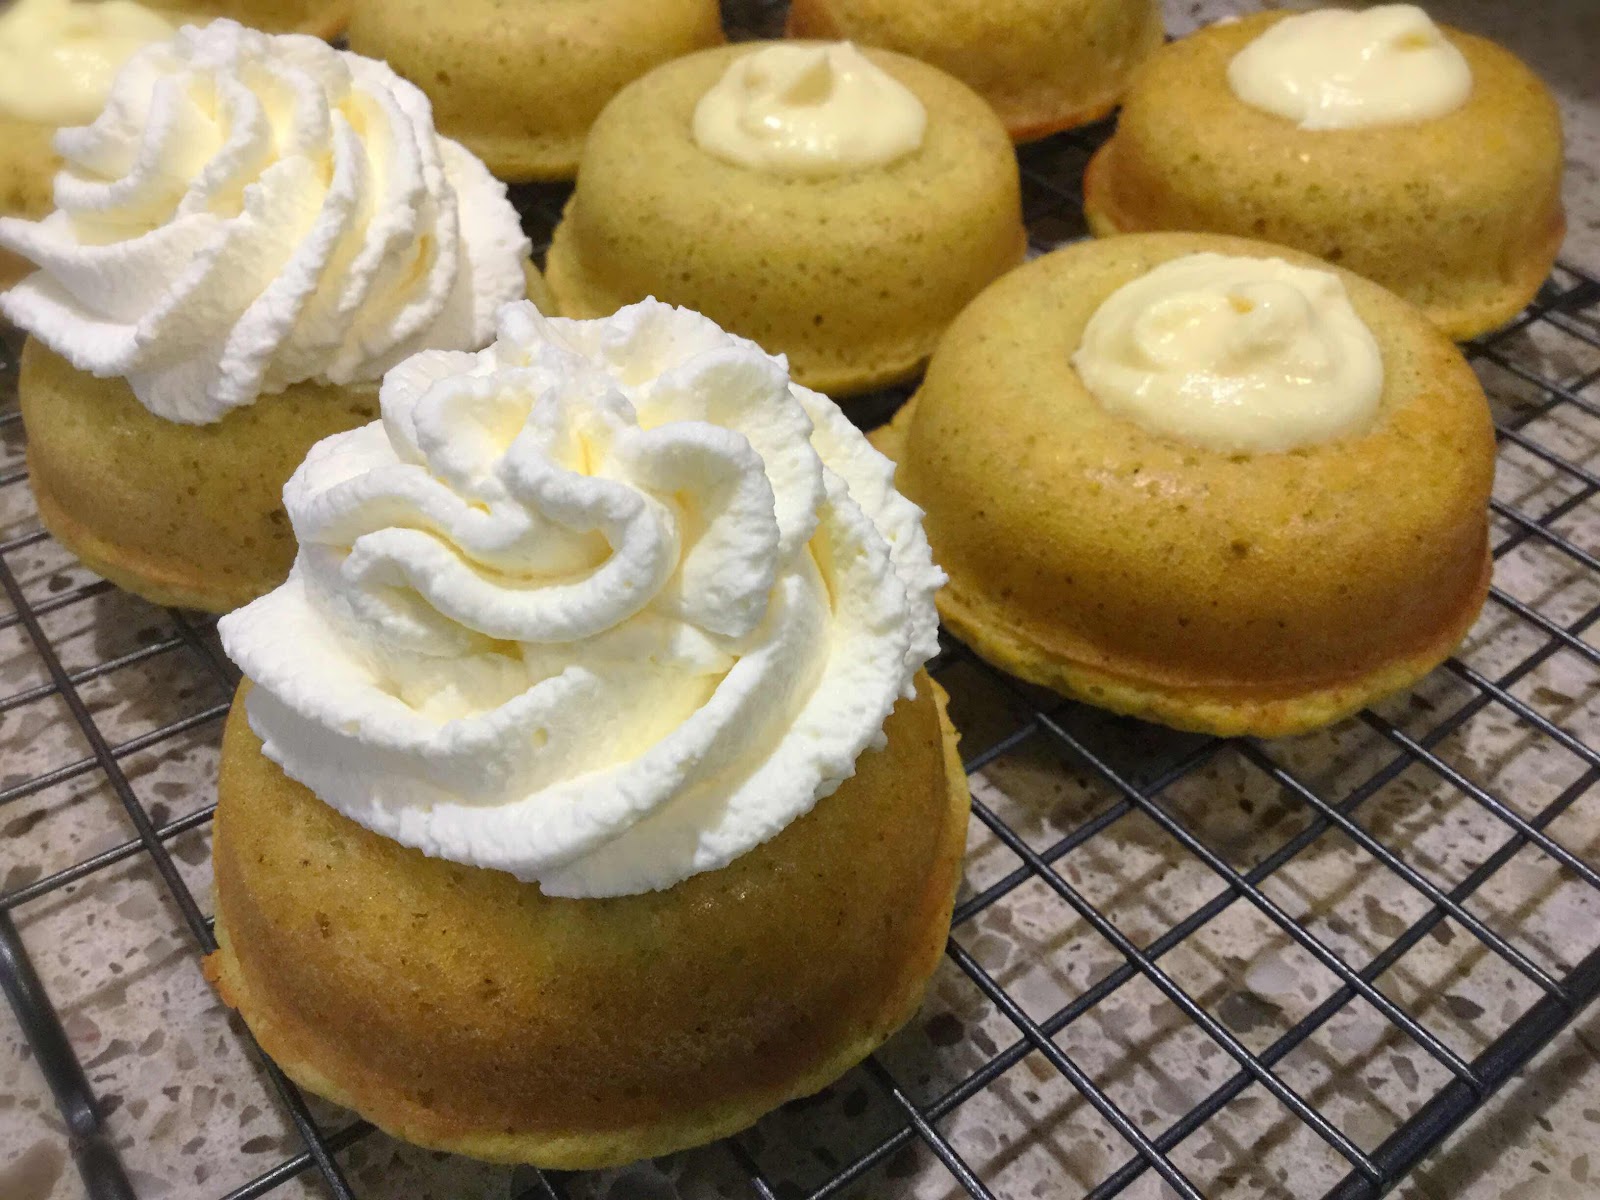
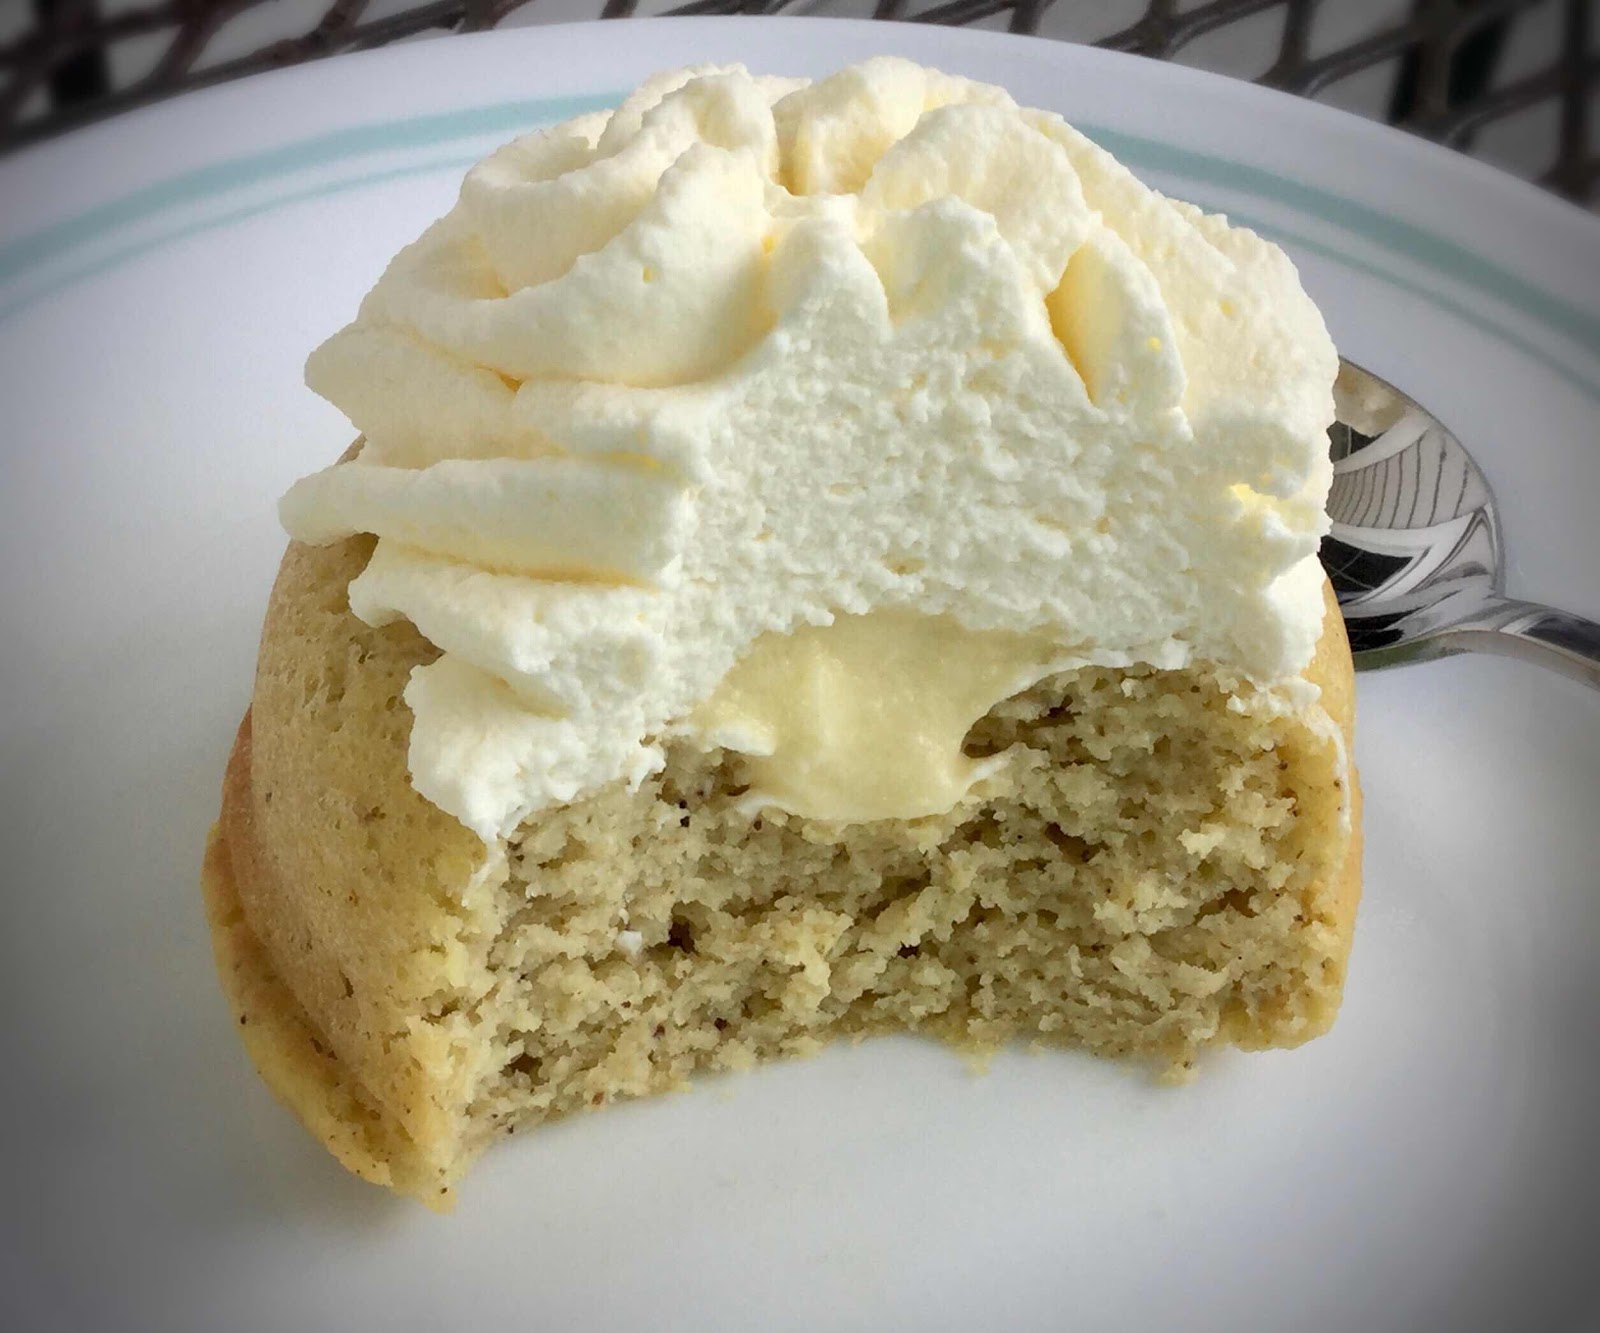
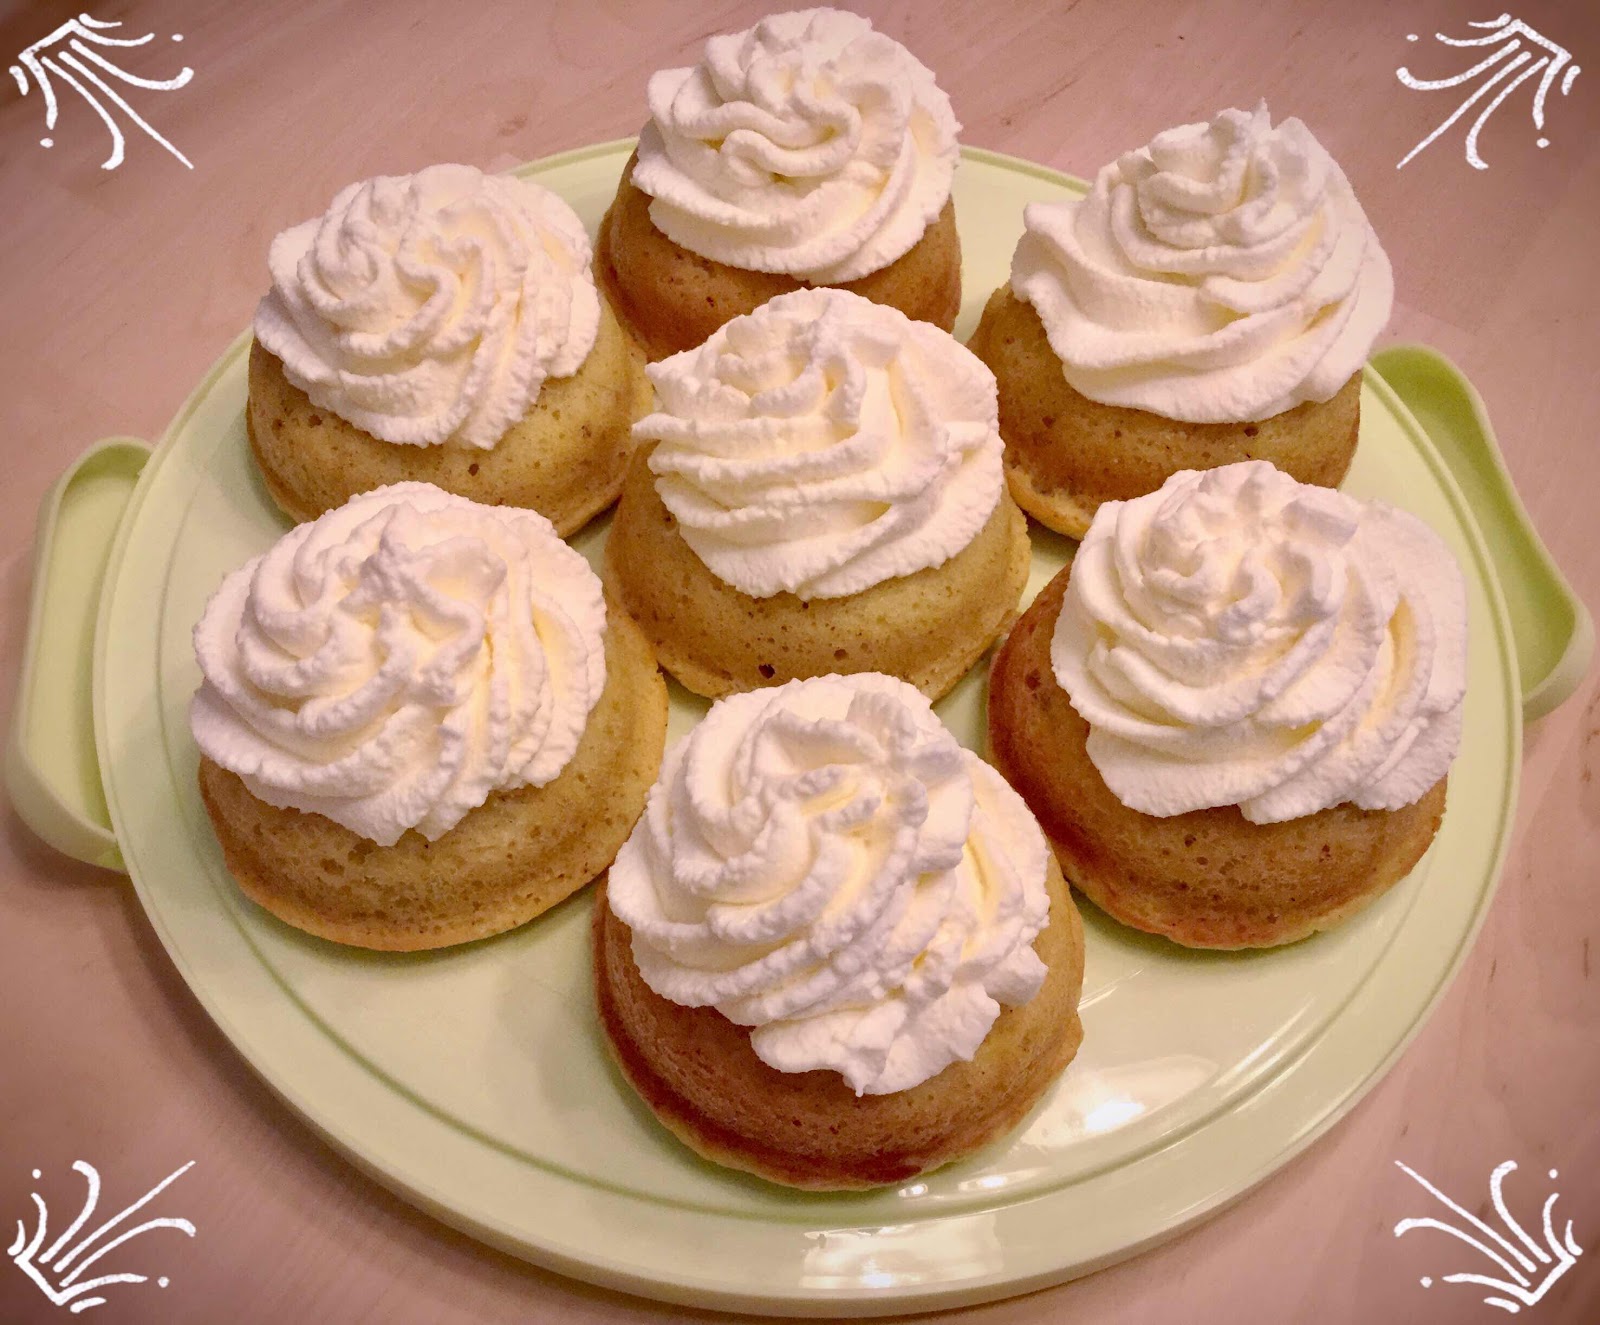
Low Carb Banana Pudding Donuts with Whipped Cream Topping

Low Carb Banana Pudding Donuts with Whipped Cream Topping
The versatility of a donut baking pan is that it can be used to make more than donuts. In this case, these donuts are really more like cupcakes. (As a matter of fact, you can make these in a cupcake or muffin tin instead.) The reason I like using a donut pan is that when I deliberately overfill each cavity, so that the cake rises and fills in the center hole, it leaves the ideal space to spoon the filling! The result are dainty little cakes perfectly proportioned into individual servings. If you like banana pudding, you’ll love these pudding-filled cakes!

Note: If you don’t want to make homemade pudding, you could certainly use a sugar free boxed mix. The most popular brand has some questionable ingredients, namely modified cornstarch and maltodextrin, both of which will raise blood sugar as high or higher than regular sugar! That’s why I prefer to make my own. You can make the pudding several days ahead and store it in the refrigerator.  That way it’s set and ready to go when it’s time to fill the cakes. The best part is that the pudding part of this recipe will make much more than you’ll need...so you’ll have plenty leftover for snacking!

Low Carb Banana Donuts with Whipped Cream Topping
Makes 10 servings (depending on the size of your donut pan)

Pudding Ingredients:
3/4 cup heavy cream
1/2 cup almond or coconut milk
3 large egg yolks
3 tablespoons powdered erythritol sweetener
A pinch of salt
1-1/2 tablespoons unsalted butter, cut into pieces
1-1/2 teaspoons banana extract
1/2 teaspoon vanilla extract
8 drops monkfruit extract or stevia, to taste
1/2 to 3/4 teaspoon xanthan gum (as needed for thickening)

Donut Ingredients:
1/2 cup + 2 tablespoons coconut flour
6 tablespoons granulated erythritol sweetener 
1-1/2 teaspoons baking powder
1/2 teaspoon vanilla powder (Optional, but adds nice vanilla flecks to the batter. If not using, increase vanilla extract to 1/2 teaspoon.)
1/4 teaspoon salt
5 large eggs
1/2 cup unsweetened almond or coconut milk
1-1/4 teaspoons banana extract
1/4 teaspoon vanilla extract

Whipped Cream Topping Ingredients:
2 tablespoons cold water 
1 teaspoon dry unflavored gelatin powder
1 cup heavy whipping cream
2 tablespoons powdered erythritol sweetener (or 6-8 drops monkfruit extract or stevia)
1/2 teaspoon vanilla extract

1. Pudding Directions (can be made several days ahead): In a medium saucepan over medium heat, combine the heavy cream and almond or coconut milk. Heat until hot and bubbles can be seen around the edges. Meanwhile, whisk together the egg yolks, sweetener and salt in a heat-proof bowl or glass measuring cup until light and thoroughly combined. 

2. Slowly ladle about 1/2 cup of the hot mixture into the egg yolks, whisking continuously, to temper them. Then slowly whisk the tempered egg/milk mixture back onto the saucepan, whisking continuously. Continue to stir and heat until the pudding thickens and will coat the back of a spoon. If the mixture starts to simmer, remove it from the heat and continue whisking (you don’t want scrambled eggs!). Once it has thickened, remove from heat and add the butter, extracts and monkfruit or stevia. Stir until the butter has melted. Sprinkle the xanthan gum over the surface of the pudding while whisking vigorously until it has incorporated and there are no lumps. Pour into a glass bowl or storage container and place in the refrigerator to set up and cool completely.

3. To make the Donuts: Preheat oven to 325 degrees F and grease your donut baking pan well; set aside.

4. In a medium bowl, whisk together the coconut flour, sweetener, baking powder, vanilla powder and salt until no lumps remain (you may sift this mixture, if desired). In a large bowl, whisk the eggs, almond or coconut milk and extracts. Add the dry ingredients to the wet ingredients and whisk vigorously until well incorporated, no lumps are visible and the batter is smooth.

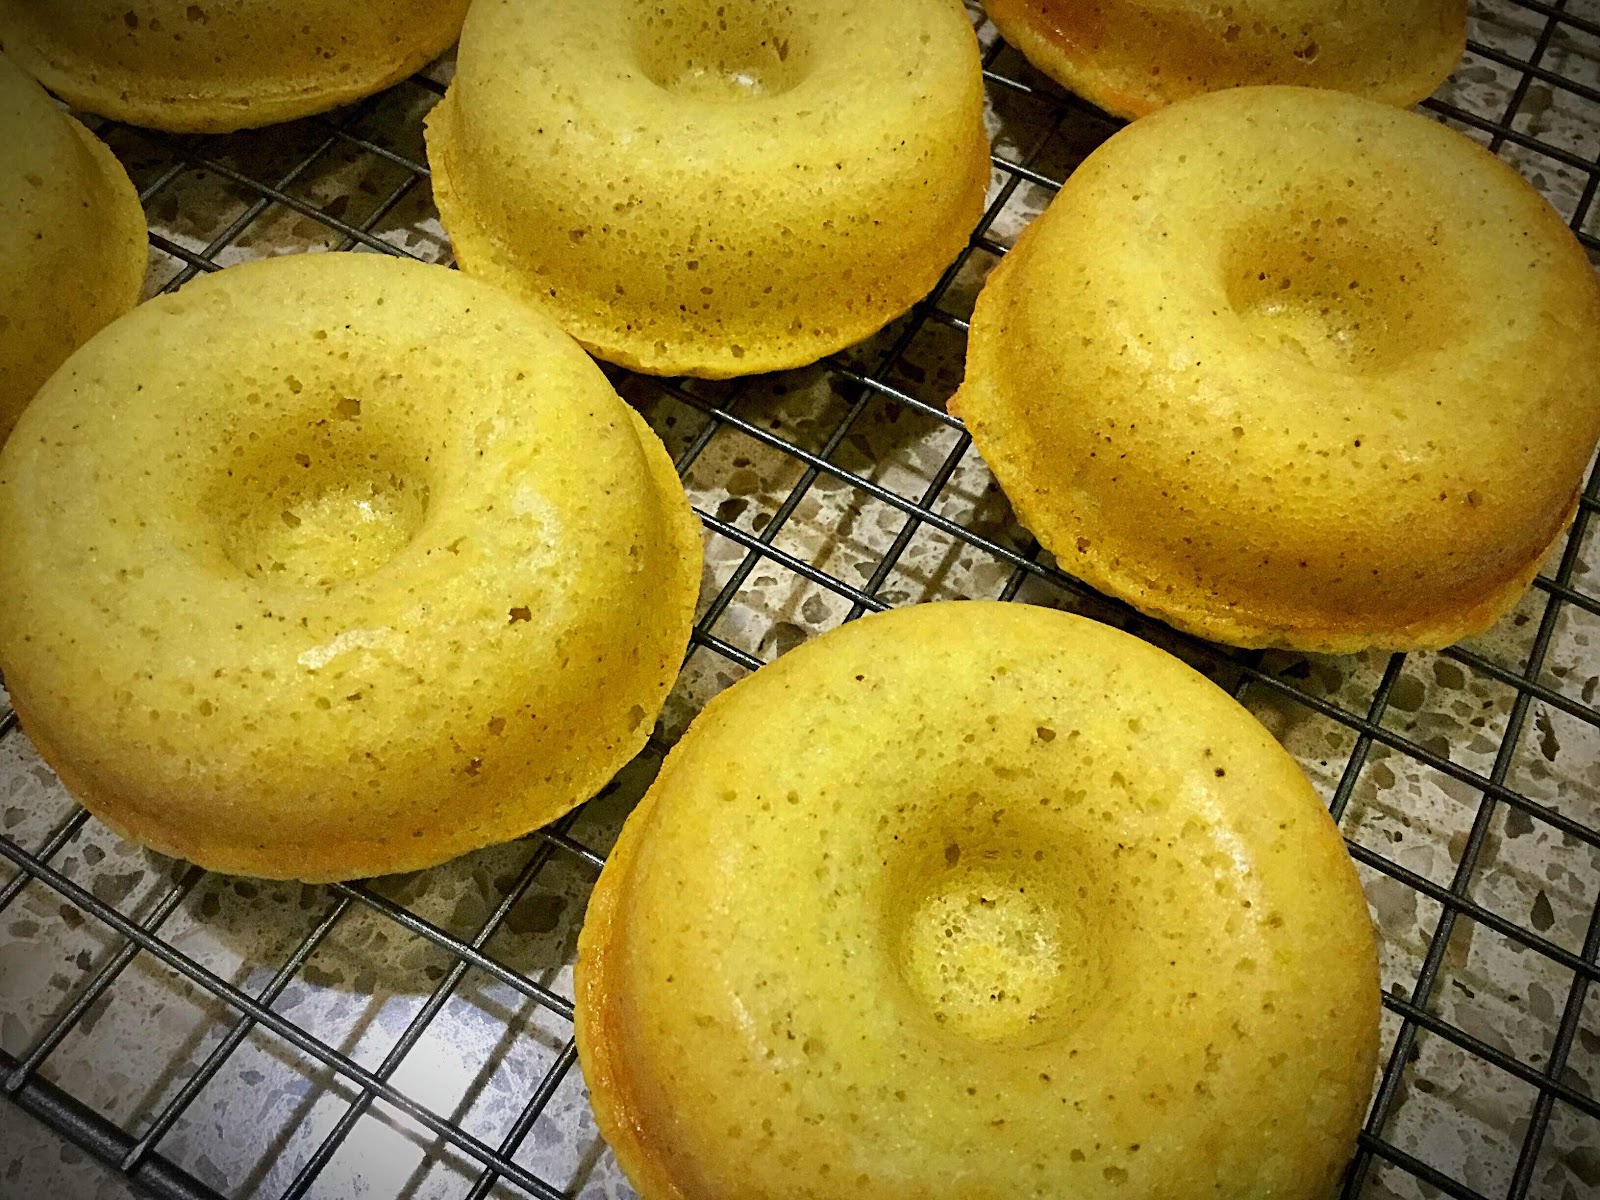
5. Fill each donut cavity until nearly full. Bake for about 15 minutes or until firm to the touch and the edges are golden brown. (You want the center of the donut to puff up and cover the center hole once the donuts are baked to create a well for the pudding filling, see photo below.) Remove from oven and allow the donuts to cool in the pan for 5-10 minutes. Turn them out onto a wire rack to cool completely before filling.

Baked donuts showing well for filling
6. To make the stabilized whipped cream topping: Pour the cold water into a small bowl and sprinkle the dry gelatin powder over the top and allow to sit for a few minutes to “bloom.” Heat in the microwave for about 5 seconds on high, then stir until the gelatin is dissolved; set aside to cool for 5 minutes while you whip the cream.

7. Place the heavy whipping cream, sweetener and vanilla extract into a large bowl. With an electric mixer, beat on high until the cream forms soft peaks. Slowly add the gelatin/water mixture and continue whipping until moderate to firm peaks are achieved. 

Photo showing filled donuts and finished donuts
8. To assemble: Spoon a tablespoon or so of the banana pudding into the center well of each donut, mounding it slightly. Spoon or pipe the whipped cream over the top, making sure to cover the pudding completely. Because the whipped cream has been stabilized by the gelatin, these donuts will store well in the refrigerator for 2-3 days. When it’s time to serve, allow the donuts to sit out at room temperature for about 15 minutes. Enjoy!

Banana Pudding Donut showing filled center
Nutritional Information per donut with pudding and topping: 228 calories, 4.8 g carbohydrates (2.5 g dietary fiber, 0.8 g sugars), 21.6 g total fat (12.5 g saturated fat, 0 g trans fat), 172 mg cholesterol, 188 mg sodium, 91.5 mg calcium, 95 mg potassium, 1 mg iron, 220 IU Vit A, 4.7 g protein. Net carbs per serving: 2.3 grams

Photos and recipe by Kathy Sheehan, copyright 2020
All rights reserved. Please do not duplicate without the author’s permission. 
Tuesday, August 25, 2020

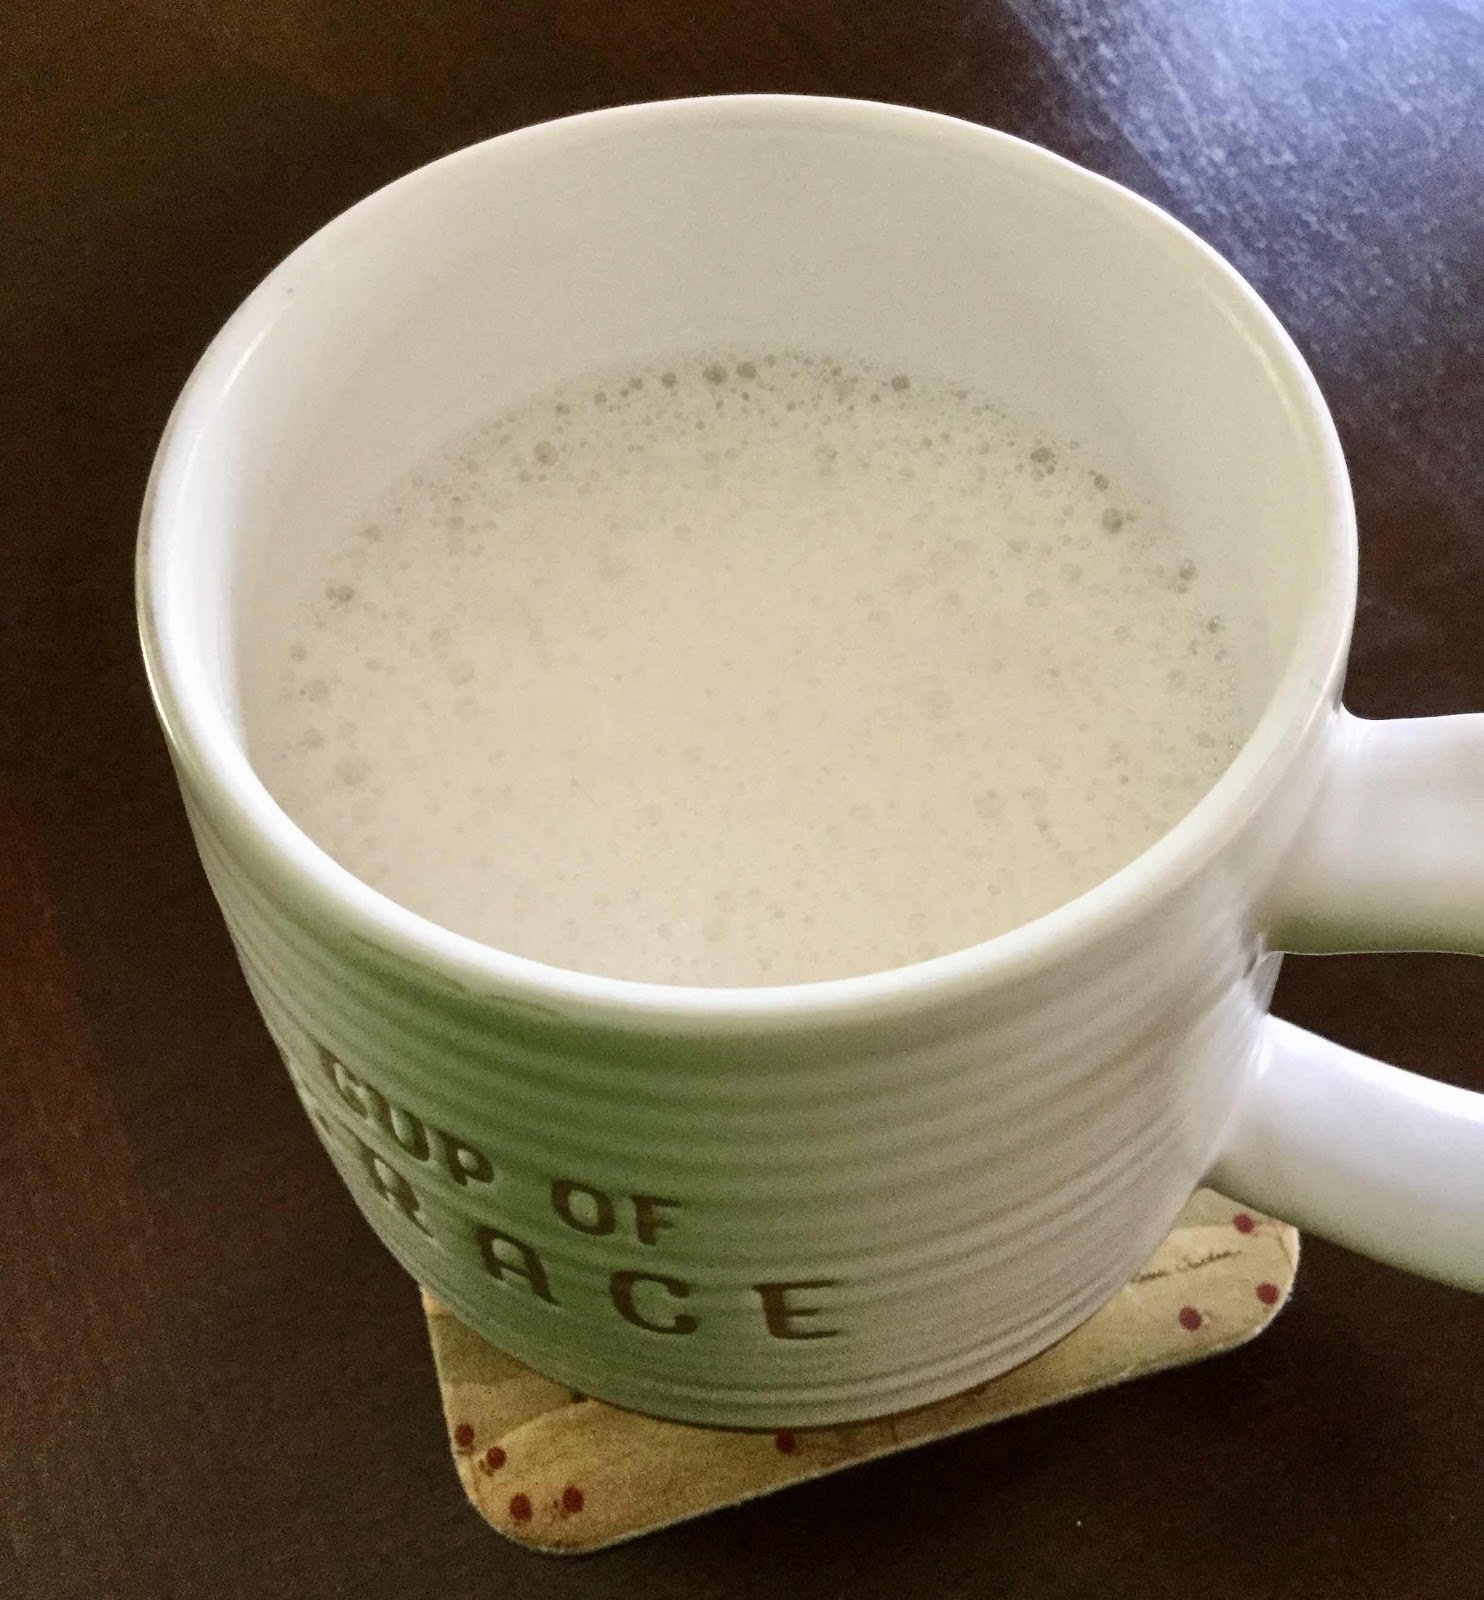
Hot White Chocolate

Hot White Chocolate
It may be a bit early to be thinking about hot chocolate but, because of recurring kidney stones, my doctor tells me that I need to cut back on oxalates in my diet. Sadly, dark chocolate and cocoa powder are very high in oxalates and can encourage the development of kidney stones. The good news is that white chocolate is very low in oxalates! I live in Maine and need some type of hot chocolate beverage to get through the long, cold winters. I developed this recipe that is creamy, rich and just as satisfying. Low carb AND low oxalate, this recipe will be one of my favorite treats as the weather gets cooler!

Hot White Chocolate
Makes 1 serving

1-1/4 cups non-dairy nut milk of choice (coconut milk is lowest in oxalate)
2 tablespoons heavy cream
6 drops monkfruit extract (or stevia)
1/8 teaspoon vanilla extract
1/4 teaspoon chocolate extract
A tiny pinch of salt
1 tablespoon sugar free white chocolate chips (see note below)

1. Heat the milk, cream, monkfruit extract or stevia, extracts and salt in a small saucepan until it comes to a simmer. Remove from heat and add the white chocolate chips, stirring until they are completely melted and incorporated into the hot milk. 

2. If you have a frothing wand, give it a whisk to create foam and to make sure the chips are well incorporated. If you don’t have a powered frothing tool, you can use a hand whisk. Serve immediately. 

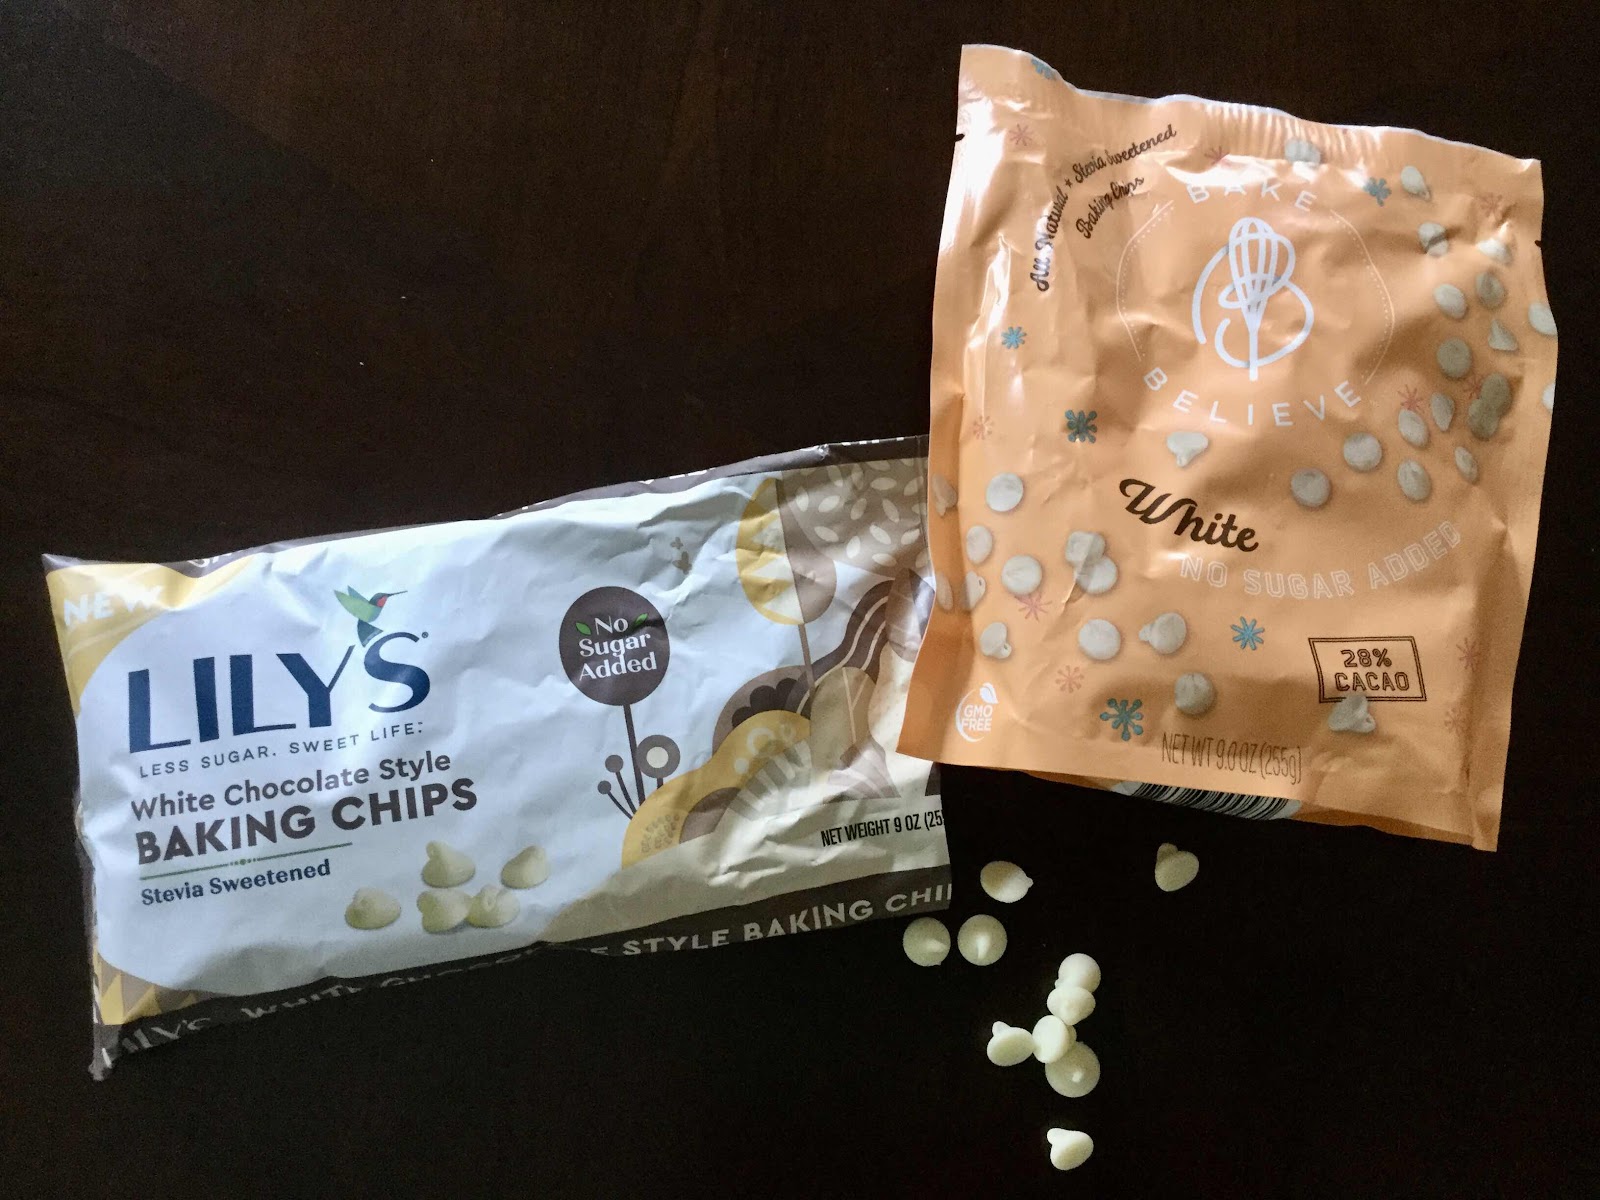
Sugar Free Chocolate Chips
Note: There are several brands of sugar free white chocolate chips available. I used Lily’s, which I bought at Whole Foods, but WalMart carries Bake Believe brand which can be found in the baking aisle. Another company that sells sugar free white chocolate chips is Choc Zero, which you can buy online. 

Nutritional Information per serving: 223 calories, 3.9 g carbohydrates (1.9 g dietary fiber, 0.8 g sugars), 24.4 g total fat (13.8 g saturated fat, 0 g trans fat), 66 mg cholesterol, 60 mg sodium, 12.3 mg calcium, 29 mg potassium, 195 IU Vit A, 0.3 g protein. Net carbs per serving: 2 grams

Photos and recipe by Kathy Sheehan, copyright 2020
All rights reserved. Please do not duplicate without the author’s permission. 
Tuesday, August 18, 2020

40 Second Keto Dark Chocolate Cupcakes

40 second Dark Chocolate Cupcakes
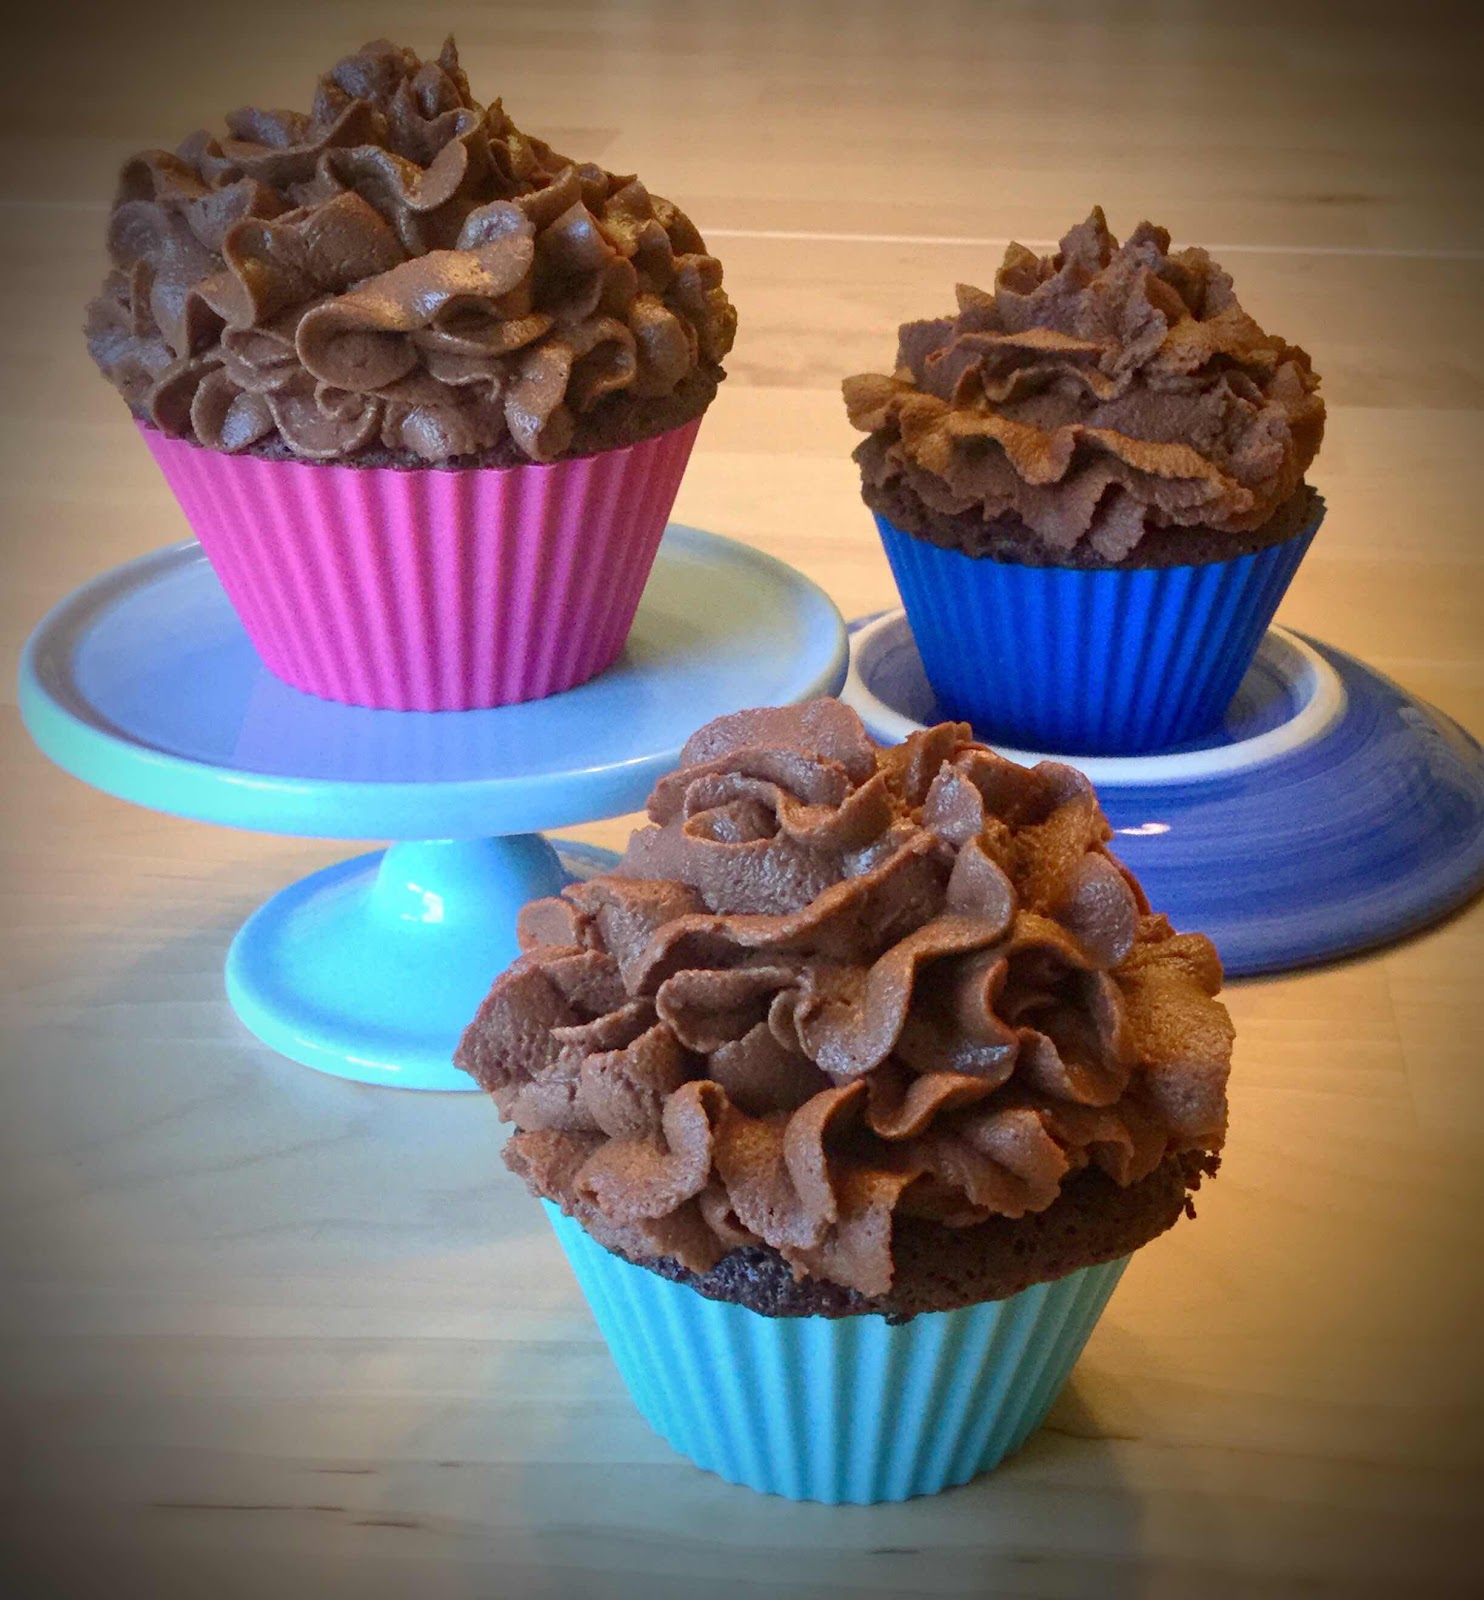
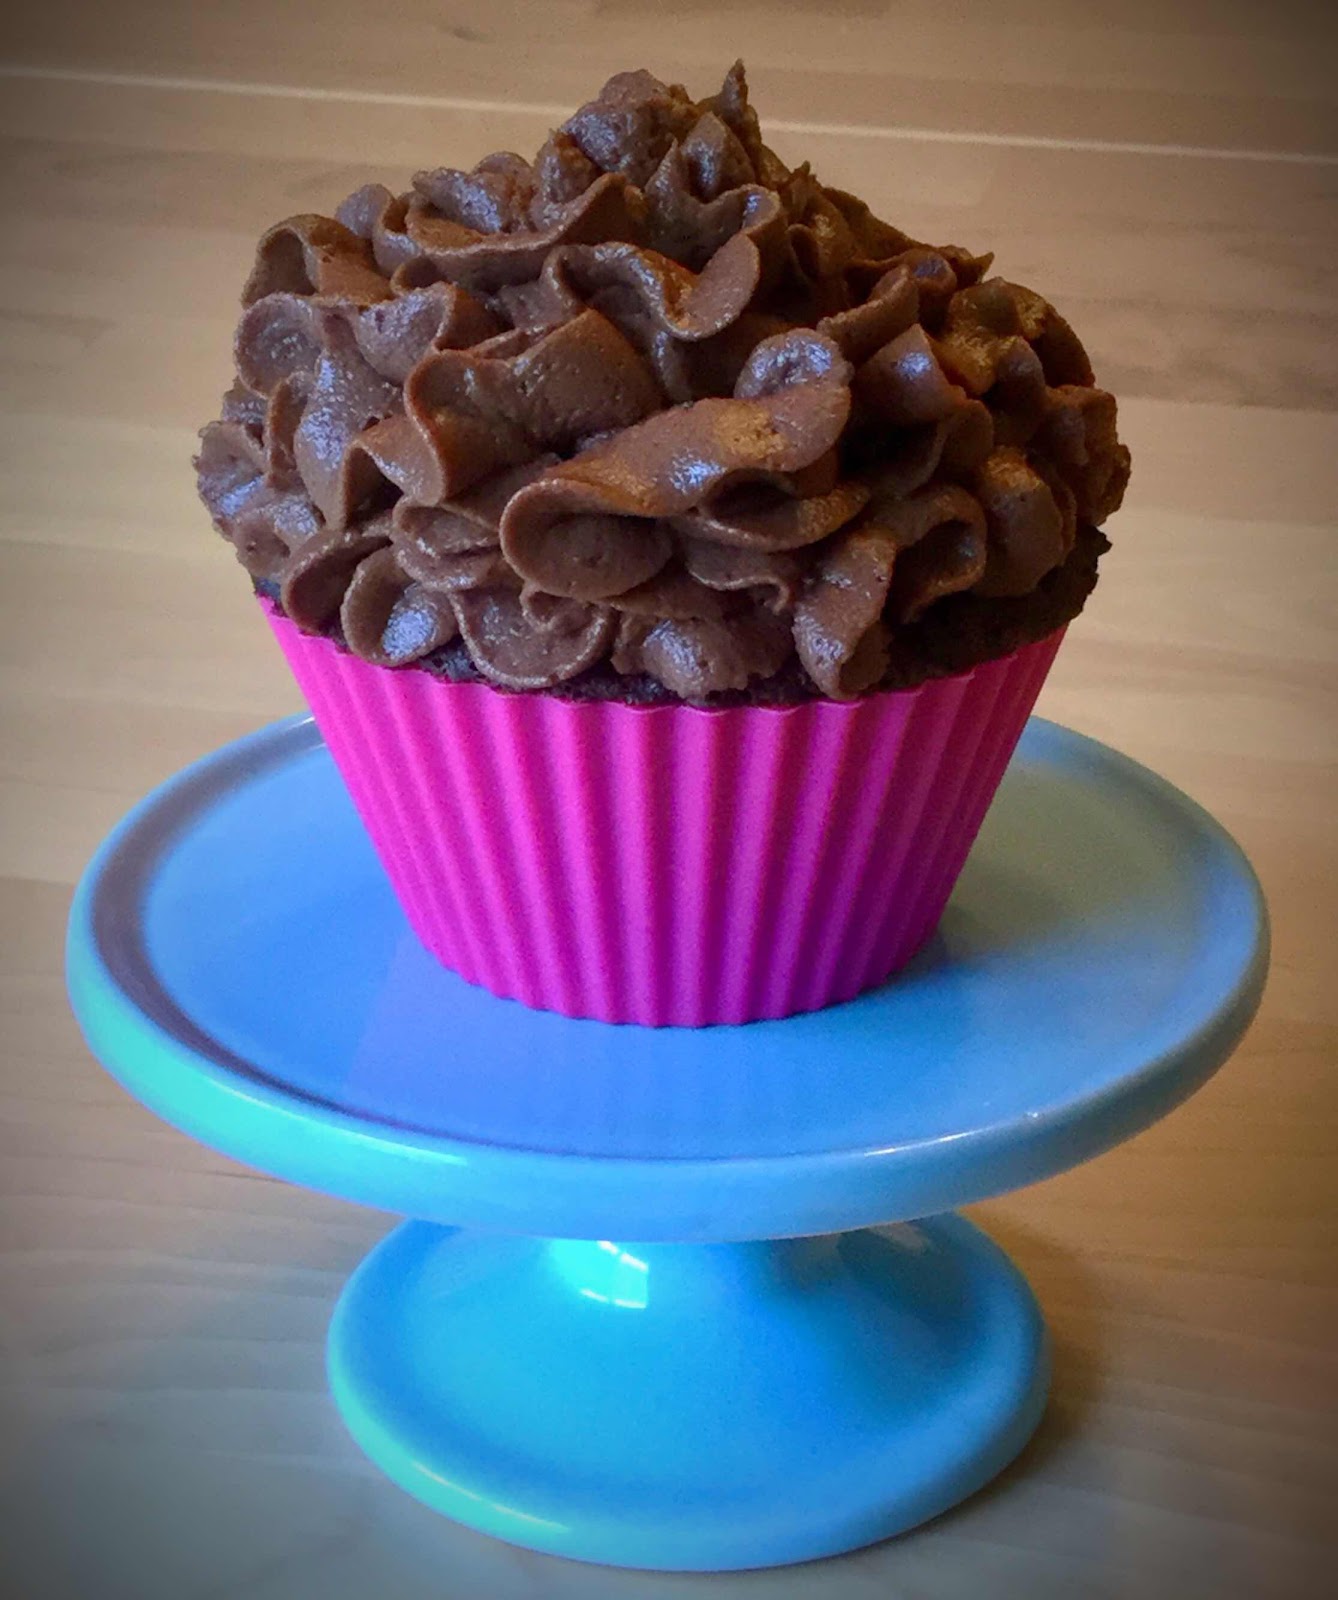
Here’s another quick and easy cupcake recipe that you “bake” in the microwave for 40 seconds! This recipe is a favorite of my chocolate-loving husband. He freely admits that these cupcakes are as rich, decadent and fudgy as a traditional cupcake. He doesn’t miss the sugar at all and neither will you! This recipe yields three cupcakes, so it’s perfect when you want to satisfy a chocolate craving, but don’t want too many extras hanging around to tempt you.

40 Second Keto Dark Chocolate Cupcakes
Makes 3 cupcakes

Cupcakes:
2 tablespoons almond or pecan flour
2 teaspoons coconut flour
1 tablespoon unsweetened dark cocoa powder 
1/4 teaspoon instant coffee powder (optional, but enhances chocolate flavor)
1-1/2 tablespoons granulated erythritol sweetener 
A pinch of salt
1/2 teaspoon baking powder
1 tablespoon butter, melted
1 large egg
5 drops dark chocolate stevia or monkfruit extract, or to taste
1/4 teaspoon vanilla extract
1 tablespoon unsweetened almond or coconut milk (or strong brewed coffee for a mocha flavor)

Dark Chocolate Frosting:
1 oz. unsweetened baker’s chocolate, chopped
3/4 teaspoon refined coconut oil
1 tablespoon unsalted butter, room temperature 
2 oz. cream cheese, room temperature 
4 oz. mascarpone cheese, room temperature 
1/3 cup powdered erythritol sweetener 
1 tablespoon unsweetened cocoa powder 
1/4 teaspoon vanilla extract
1-2 tablespoons heavy cream (or as needed to reach the desired consistency)

1. In a small bowl, combine the almond or pecan flour, coconut flour, cocoa powder, instant coffee powder, granulated sweetener, salt and baking powder. Whisk to combine and remove any lumps.

2. Add the melted butter, egg, stevia or monkfruit drops, vanilla extract and milk or coffee; whisk until well combined.

3. Evenly divide the batter between three silicone muffin cups and microwave on high for 40 seconds or until the cakes have risen, look dry and spring back when touched near the center. (The time needed for cooking may vary, depending on the wattage of your microwave.) Alternatively, you can bake them in a 325 degree Fahrenheit oven for 15-18 minutes. Move to a wire rack and cool completely.

4. To make the frosting, in a medium, microwave-safe bowl, combine the chopped baker’s chocolate and coconut oil. Microwave on high in 15 second intervals to melt the chocolate. Let it sit for a minute or two and then stir until smooth. (If you would prefer, you can melt the chocolate and coconut oil in a heat proof bowl over barely simmering water.) Set melted chocolate aside to cool to lukewarm. 

5. In a large bowl, using an electric mixer, whip the butter, cream cheese and mascarpone cheese together until smooth. Beat in the powdered sweetener and cocoa powder, scraping the sides of the bowl as needed.

6. Add the melted chocolate and vanilla extract and beat until combined. Add the heavy cream, one tablespoon at a time, until a spreadable consistency is achieved. (Note: This icing recipe makes enough to frost 6 cupcakes, so more than you will need. Store any leftovers in an airtight container in the refrigerator for up to a week.)

Microwave Keto Dark Chocolate Cupcake
Nutritional Information per one cupcake with 3 Tbsp frosting: 234 calories, 6.5 g carbohydrate (2.2 g dietary fiber, 0.7 g sugars, 2.1 g sugar alcohols), 21.5 g total fat (12.1 g saturated fat, 0 g trans fat), 102 mg cholesterol, 127 mg sodium, 93.8 mg calcium, 95 mg potassium, 1 mg iron, 106 ug Vit A, 5.9 g protein. Net carbs per serving: 4.3 grams

Photos and recipe by Kathy Sheehan, copyright 2020
All rights reserved. Please do not duplicate without the author’s permission. 
Saturday, August 8, 2020

Taco Salad with Quest Protein Chips

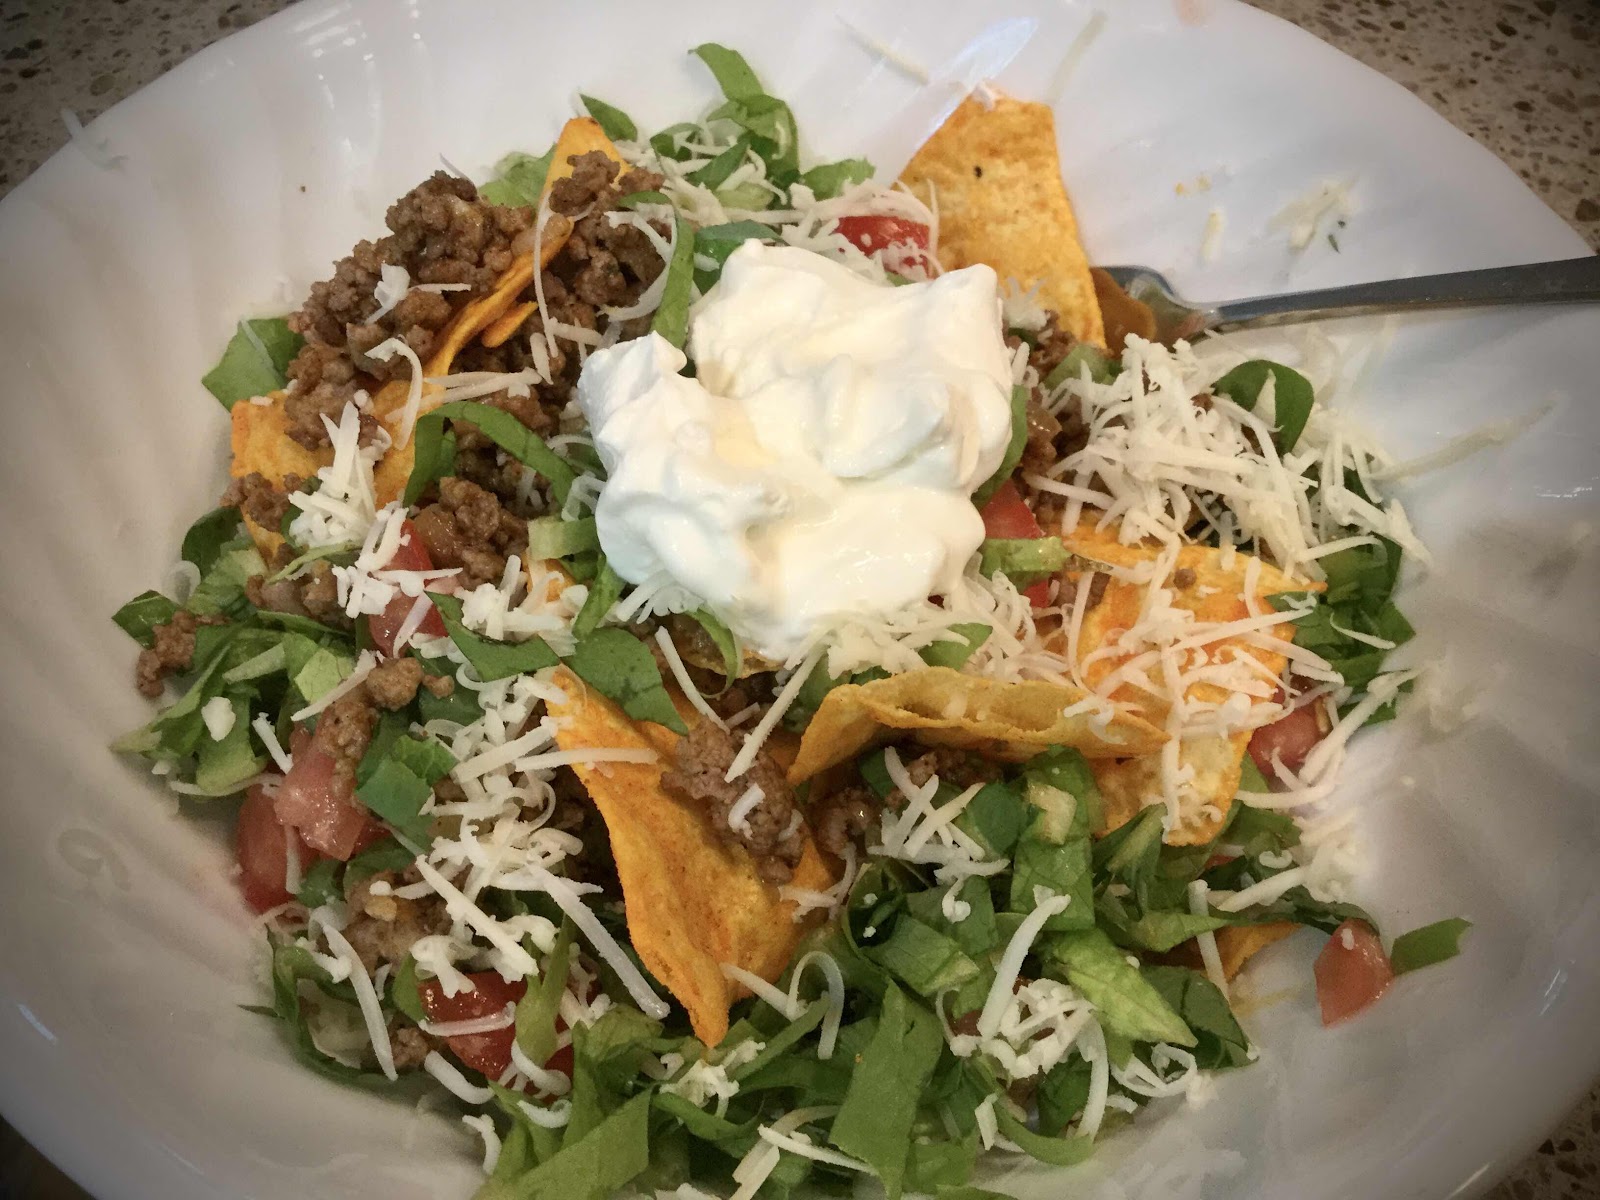
Taco Salad with Quest Protein Chips
Here’s an easy dinner that is entirely satisfying and tastes just like a higher carb version. The secret is to use Quest Protein Tortilla-Style Chips in place of corn tortilla chips (I chose Nacho Cheese flavor, but you can substitute your favorite). This delicious salad has become a hands-down favorite on my keto diet, especially when I don’t feel like cooking!

Taco Salad with Quest Protein Chips
Makes 1 serving

3 oz. ground beef
1-2 teaspoons taco seasoning, to taste
1 tablespoon water
1 tablespoon chopped onion
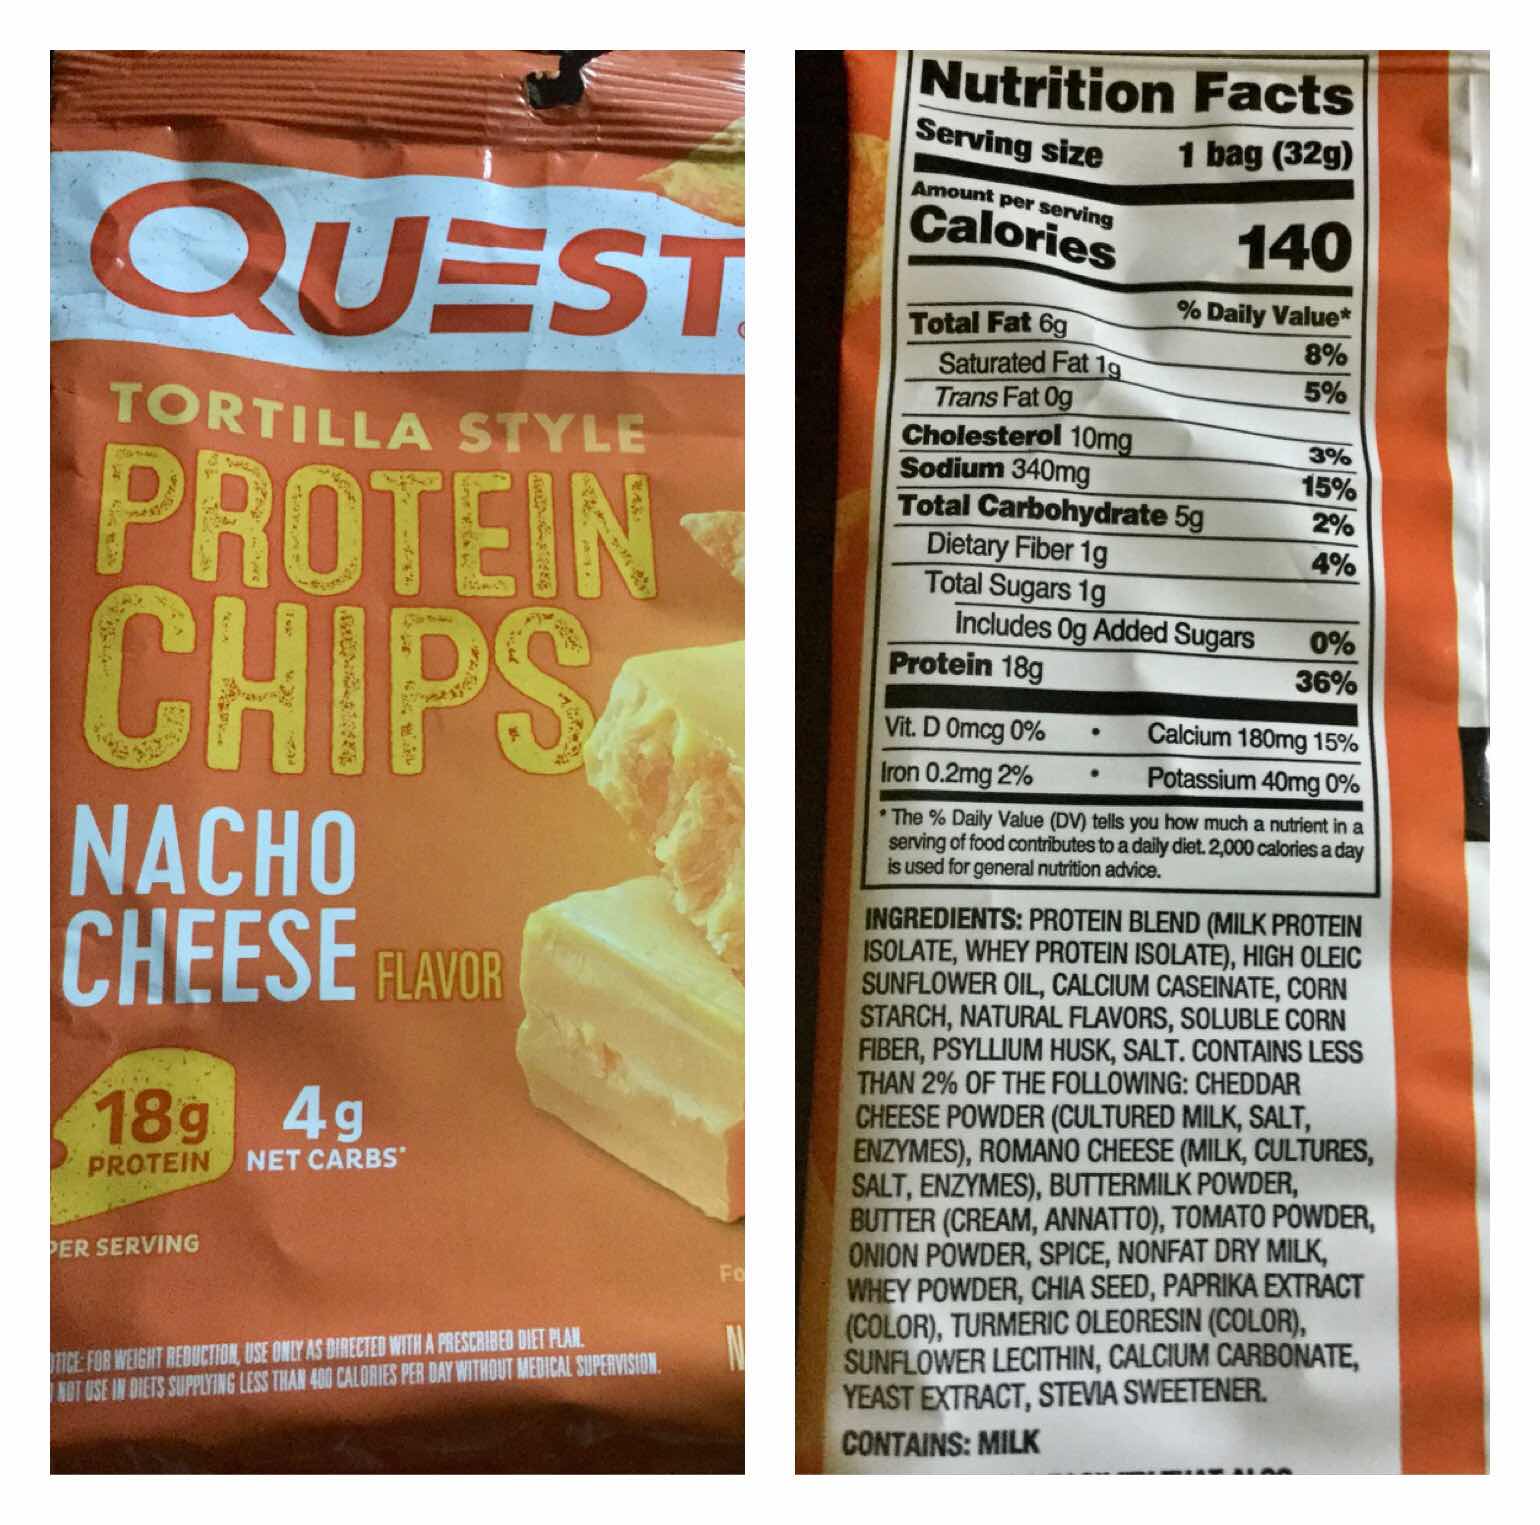
1 bag Quest Protein Tortilla-style Chips, Nacho Cheese (see image below)
1 cup lettuce, torn into bite-size pieces
1/4 cup chopped tomato
1/2 oz. shredded cheddar cheese
2 tablespoons sour cream

1. In a skillet over medium heat, brown the ground beef. Add the taco seasoning to taste. Add the water and chopped onion; stir to combine.

2. Pour the entire bag of Quest Protein chips into a large serving bowl. Top with the seasoned beef, lettuce, chopped tomato and shredded cheese. Dollop with sour cream and serve.

Quest Protein Chips
Nutritional Information: 445 calories, 9.6 g carbohydrates (2.2 g dietary fiber, 2.9 g sugars), 28.5 g total fat (12.2 g saturated fat, 0 g trans fat), 93 mg cholesterol, 498 mg sodium, 335 mg calcium, 505 mg potassium, 2 mg iron, 614 ug Vit A, 12 mg Vit C, 38.8 g protein. Net carbs per serving: 7.4 grams

Photos and recipe by Kathy Sheehan, copyright 2020
All rights reserved. Please do not duplicate without the author’s permission.