Showing posts with label fruit spread. Show all posts

Tuesday, September 16, 2025

Keto Mini Ginger Cakes with Warm Apple Compote

Keto Mini Ginger Cakes with Warm Apple Compote
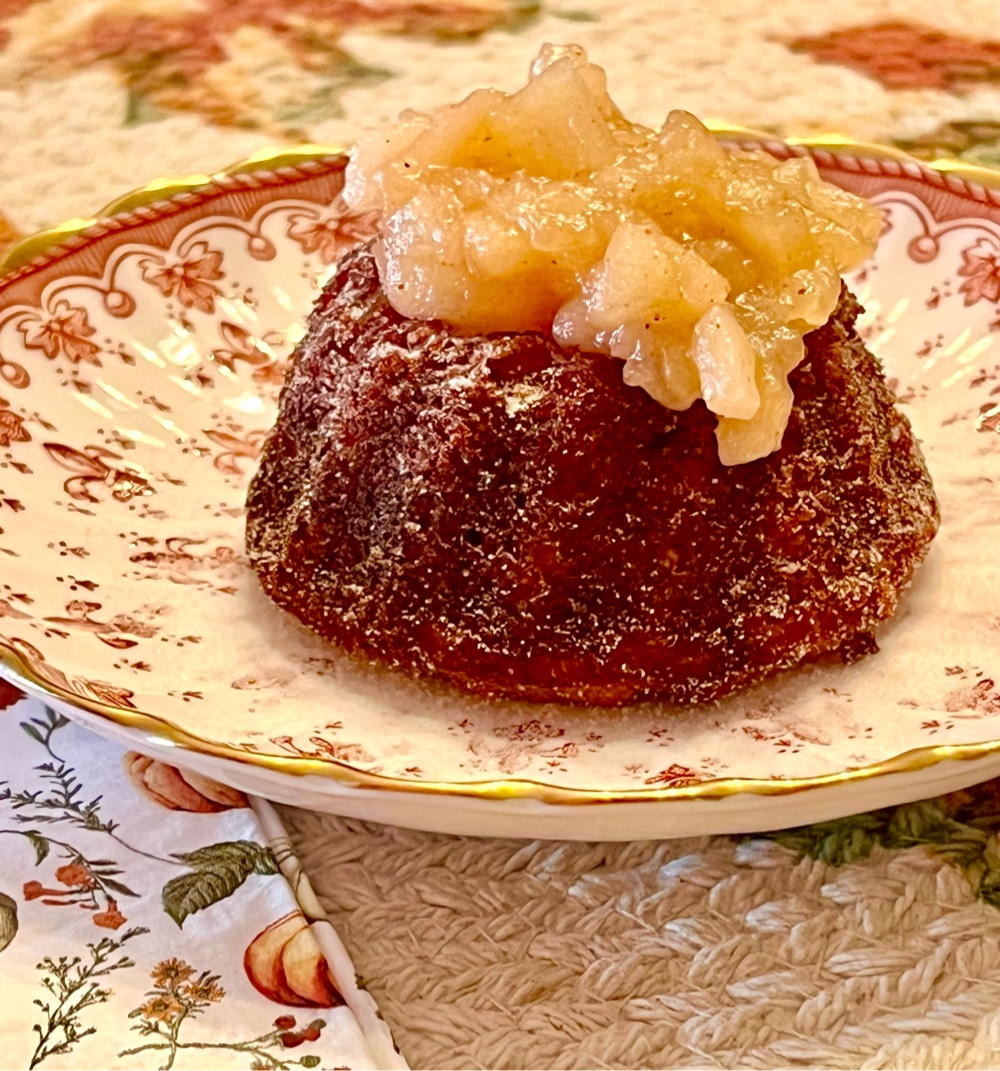
Autumn is in the air and warm spices, like ginger and cinnamon, are calling to me! These Mini Ginger Cakes make the perfect fall dessert. The warm, lightly spiced apple compote puts it over the top! The collagen peptide powder is a secret ingredient that keeps the cake tender and moist, even days later (no dry or stale cake!). That means they store very well. Also, the cakes can be made ahead, wrapped with plastic wrap and frozen too! Use a bundt mini cakes baking pan to make them extra special or, if you don’t have one, you can use a regular size muffin pan or even a donut pan.

Keto Mini Ginger Cakes with Warm Apple Compote
Makes 8 mini cakes and 8 servings of compote

Ginger Cakes:
1/4 cup strong Apple Spice Herbal Tea (any brand), brewed and cooled
2 tablespoons unsalted butter, softened
½ cup granulated low carb sweetener of choice 
2 large eggs, room temperature 
1 teaspoon apple cider vinegar
1 teaspoon vanilla extract
½ cup coconut flour
1 teaspoon baking powder
½ teaspoon baking soda
1½ teaspoons ground ginger
1/4 teaspoon salt
2 tablespoons unflavored collagen peptide powder (such as Vital Proteins brand)
2 tablespoons crystallized ginger, finely chopped

Apple Compote:
1 tablespoon unsalted butter
1½ cups Gala apples, diced small
2 tablespoons lemon juice
1/3 cup allulose sweetener 
1/4 teaspoon ground cinnamon (optional)
1/4 cup strong Apple Spice Herbal Tea (any brand), brewed

1. Preheat the oven to 350°F. Generously spray 8 wells of a mini Bundt pan with nonstick baking spray, especially the center post of each cake; set aside.

2. In the bowl of a food processor, add the softened butter and granulated sweetener and pulse to combine. Add the eggs, one at a time, pulsing after each addition. Add the brewed and cooled tea, vanilla extract, apple cider vinegar and pulse to combine. (If you do not have a food processor, you may do this in a mixing bowl using an electric mixer.)

3. In a small bowl, mix together the coconut flour, collagen peptides, baking powder, baking soda, ground ginger, and salt. Whisk to combine and to remove any lumps. Add to the wet ingredients in the processor and pulse to combine. Fold in the chopped crystallized ginger.

4. Divide the batter evenly among the prepared wells of the pan. Tap the pan forcefully on the counter several times to settle the batter and to remove air bubbles.

5. Bake until the edges are golden brown and a wooden pick inserted in the center of each cake comes out clean, 13 to 15 minutes. Let the cakes cool in the pan for 10 minutes. Transfer to a wire rack and let the cakes cool completely. Cooled cakes can be stored at room temperature for one to two days, or in the refrigerator for up to a week. (The cakes can also be frozen after being wrapped carefully in plastic wrap for up to two months.) Serve cakes at room temperature.

6. Just before serving, garnish cakes with a dusting of confectioners sweetener, if desired. Spoon the warmed apple compote into the well of each cake. Serve immediately.

To make the Apple Compote:

1. In a medium nonstick, sauté pan, melt the butter over medium high heat. Add the chopped apples, lemon juice, cinnamon (if using), and sweetener. Cook and stir for 2 to 3 minutes. Add the tea and cover the pan, reducing heat to medium low. Cook until the apples are just starting to be tender, approximately 5 to 10 minutes, stirring occasionally.

2. Using a slotted spoon, transfer the apple pieces to a bowl.

3. Increase heat to medium high and cook remaining liquid until reduced and slightly thickened and syrupy. Add the syrup to the apples, stirring to coat. Use immediately or transfer to a covered container and refrigerate for up to 3 days. Warm compote gently before serving.
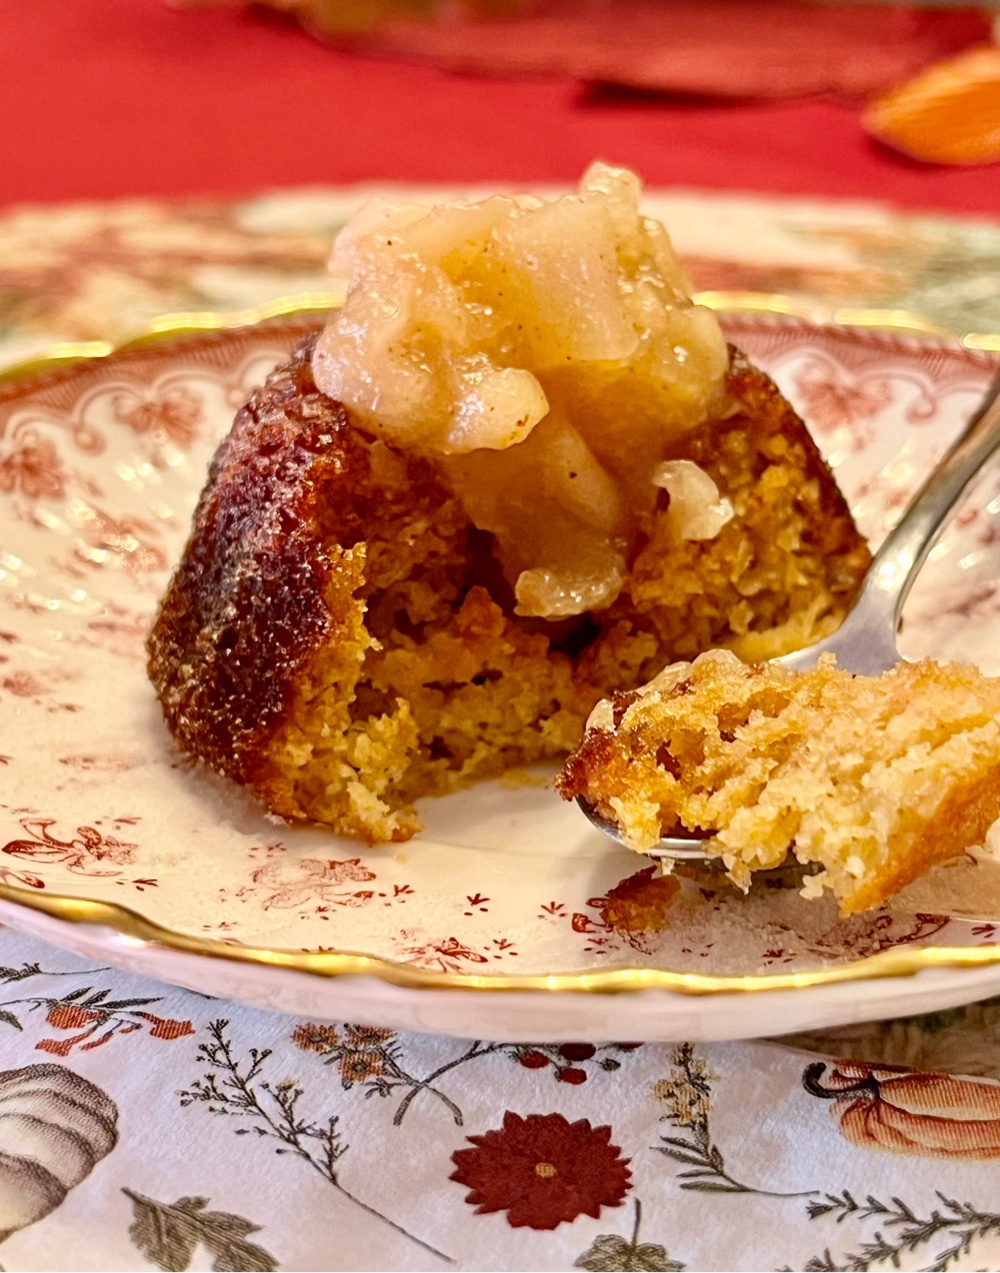
Mini Ginger Cake with Apple Compote
Nutritional Information per serving of 1 mini cake and 2 TB apple compote: 100 calories, 10.5 g carbohydrate (4.6 g dietary fiber, 4.1 g sugars), 6.6 g total fat (4.1 g saturated fat), 58 mg cholesterol, 231 mg sodium, 56.2 mg calcium, 77 mg potassium, 1 mg iron, 65 IU Vit A, 1 mg Vit C, 4.8 g protein. Net carbs per serving: 5.9 grams

Photos and recipe by Kathy Sheehan, copyright 2025
All rights reserved. Please do not duplicate without the author’s permission. 

Monday, January 30, 2023

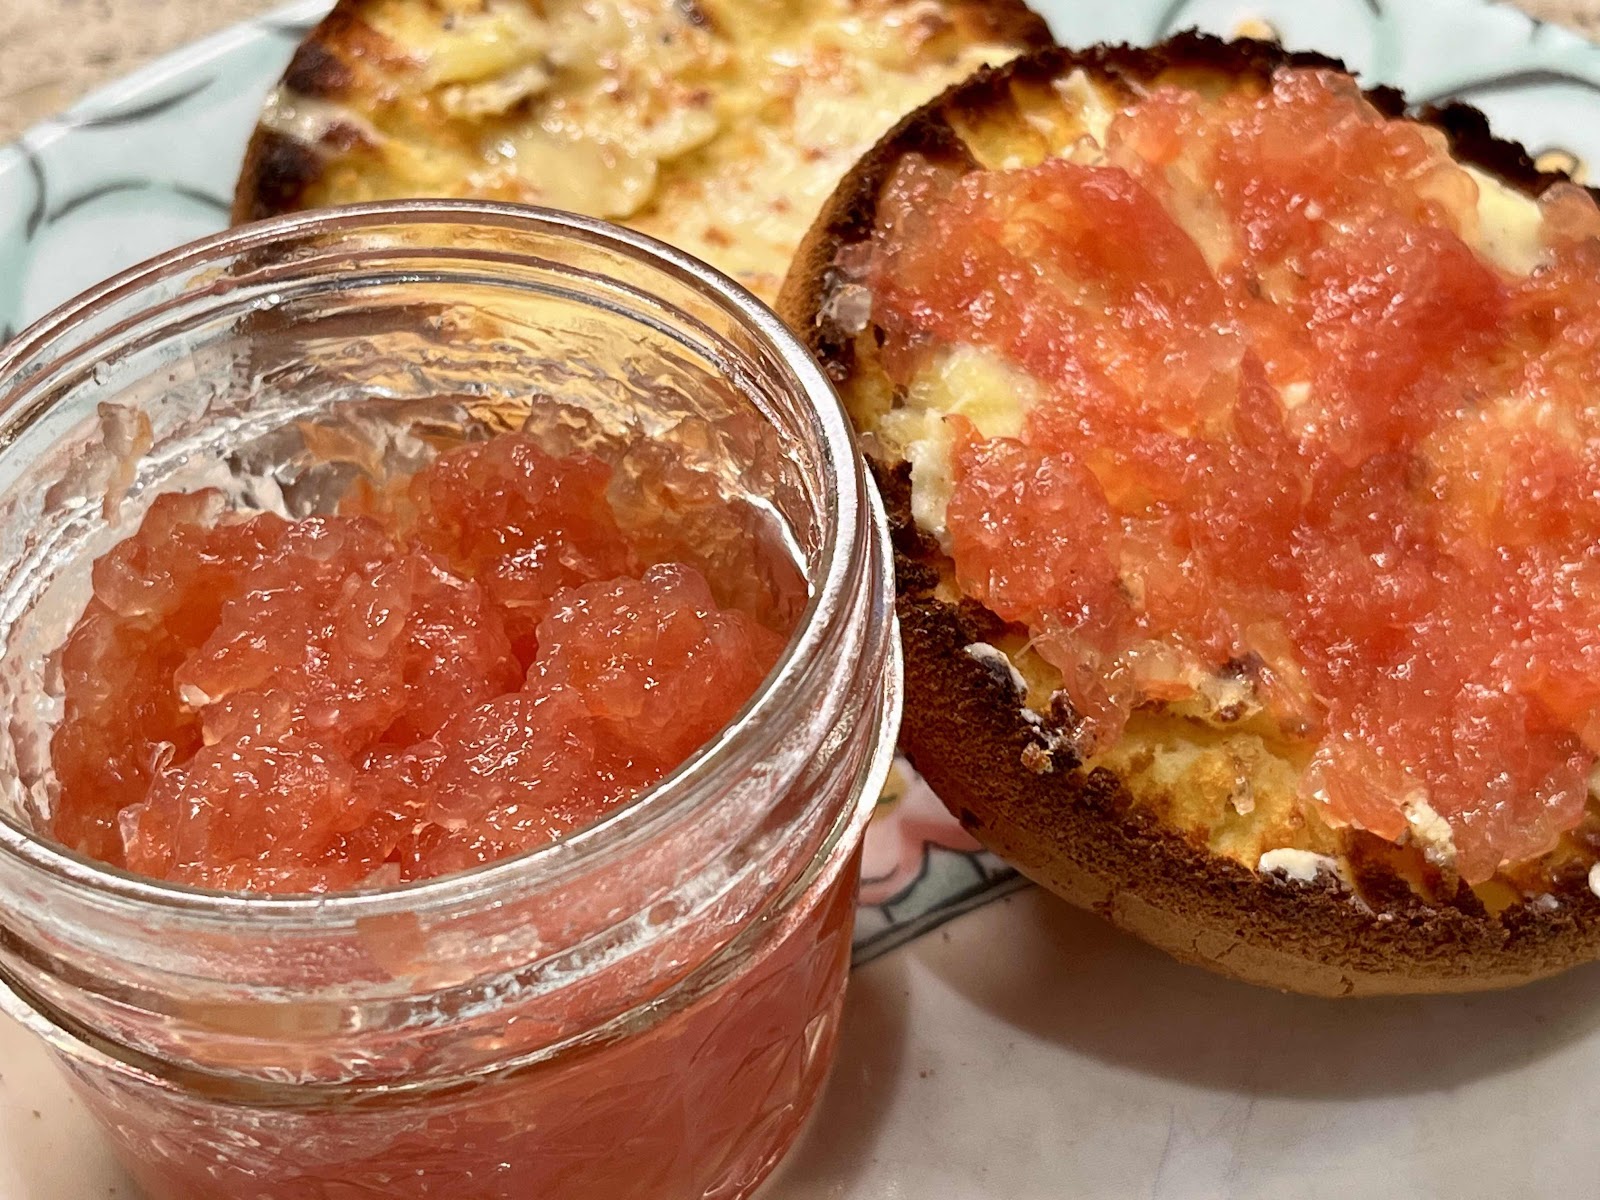
Sugar Free Pink Grapefruit Marmalade (Low Carb, Keto)

Sugar Free Pink Grapefruit Marmalade
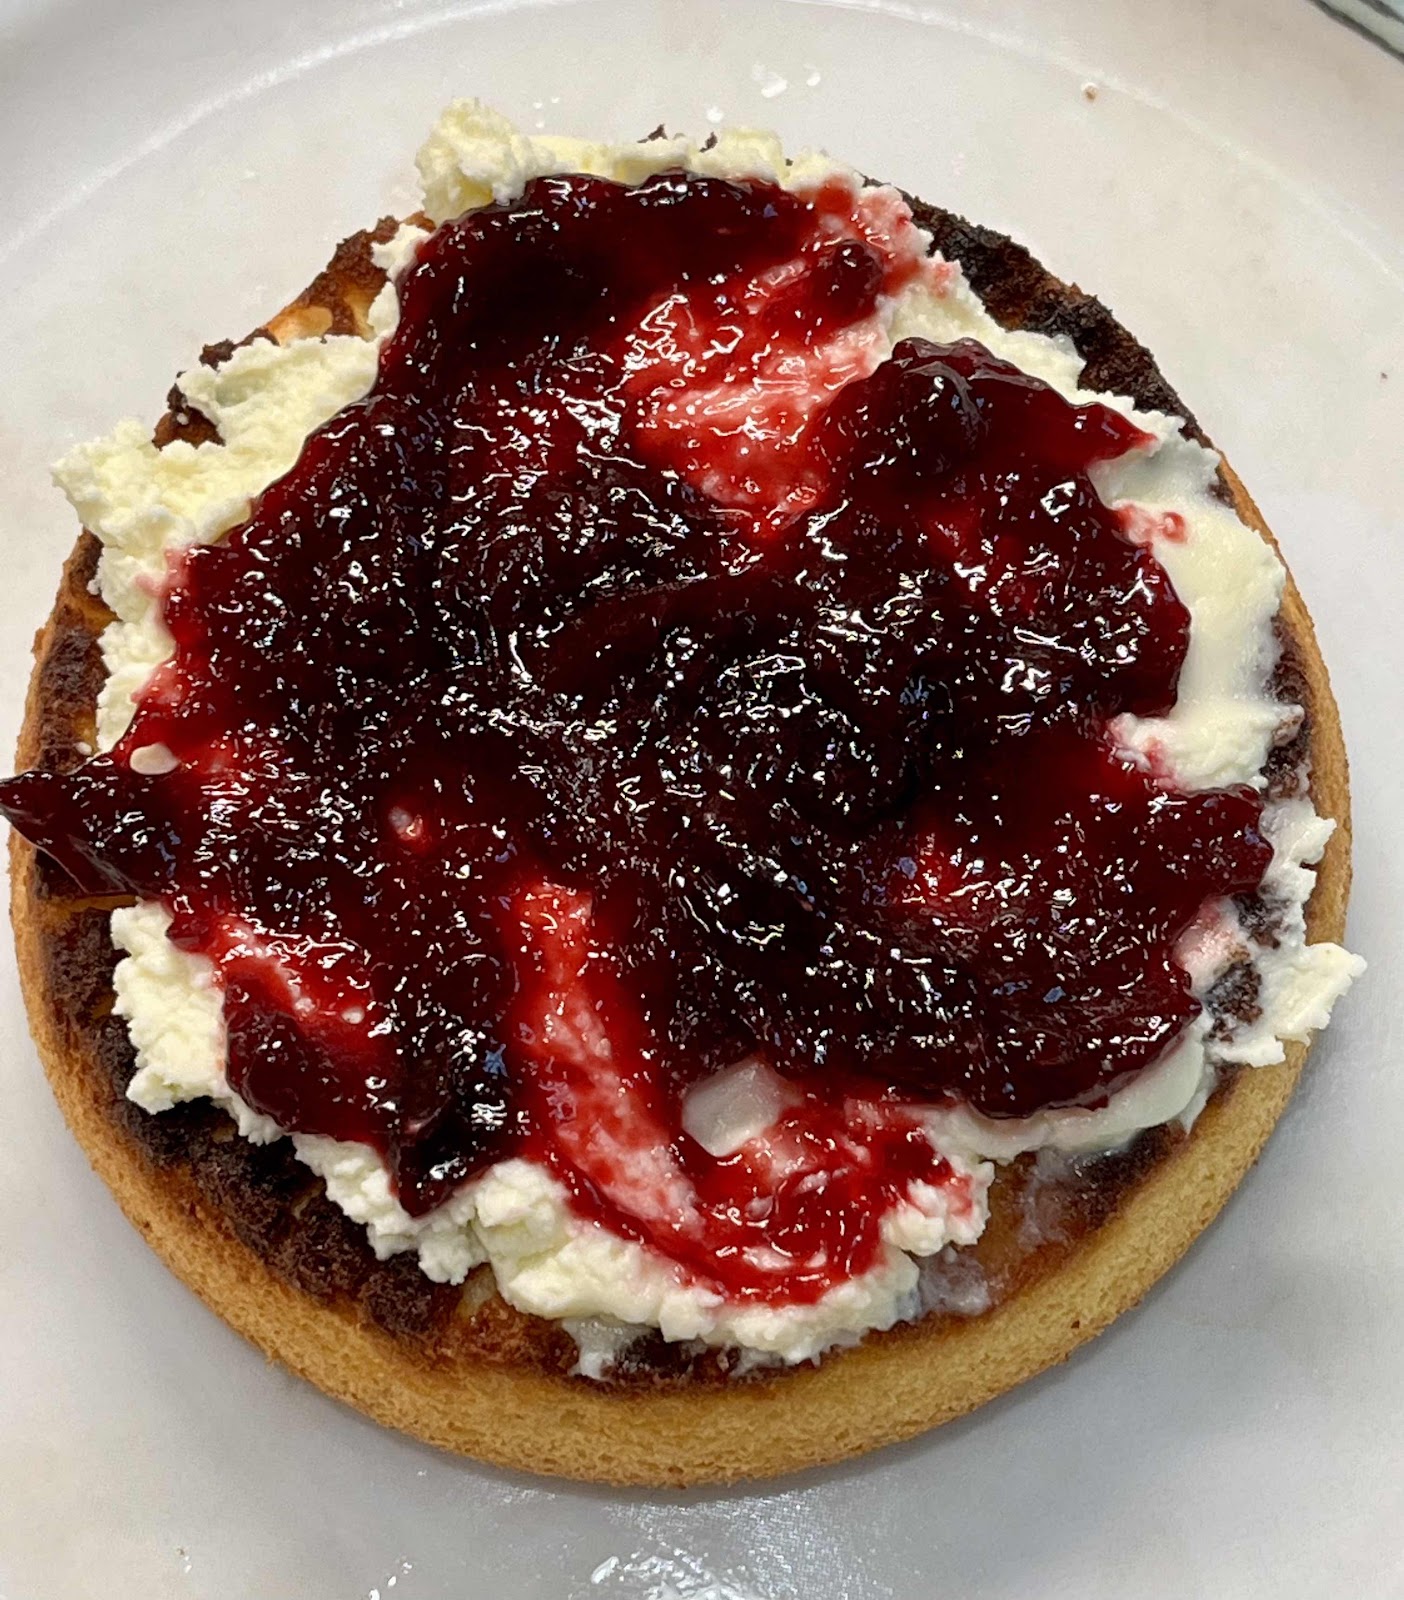
I am loving my sugar free jams and jellies! They are easy and fun to make. When you use naturally sweet ruby red grapefruit, this marmalade is not too tart and utterly refreshing. Winter is the best time for buying citrus fruits. They are in season and at their peak of sweetness! This grapefruit marmalade is delicious served on low carb bread, crackers and pancakes, but it’s also excellent mixed with sugar free BBQ sauce and used as a glaze on ribs, chicken or pork tenderloin. 

Sugar Free Pink Grapefruit Marmalade 
Makes 4-5 half-pint jars

5-6 large red grapefruit, supremed (all rind and membrane removed and discarded)
2 tablespoons bottled lemon juice
3 teaspoons calcium water (see Step #1)
1 cup allulose (or substitute ½ cup allulose-based honey + ½ cup granulated allulose)
4 teaspoons Pomona’s Universal Pectin powder (made especially for low to no sugar jams)

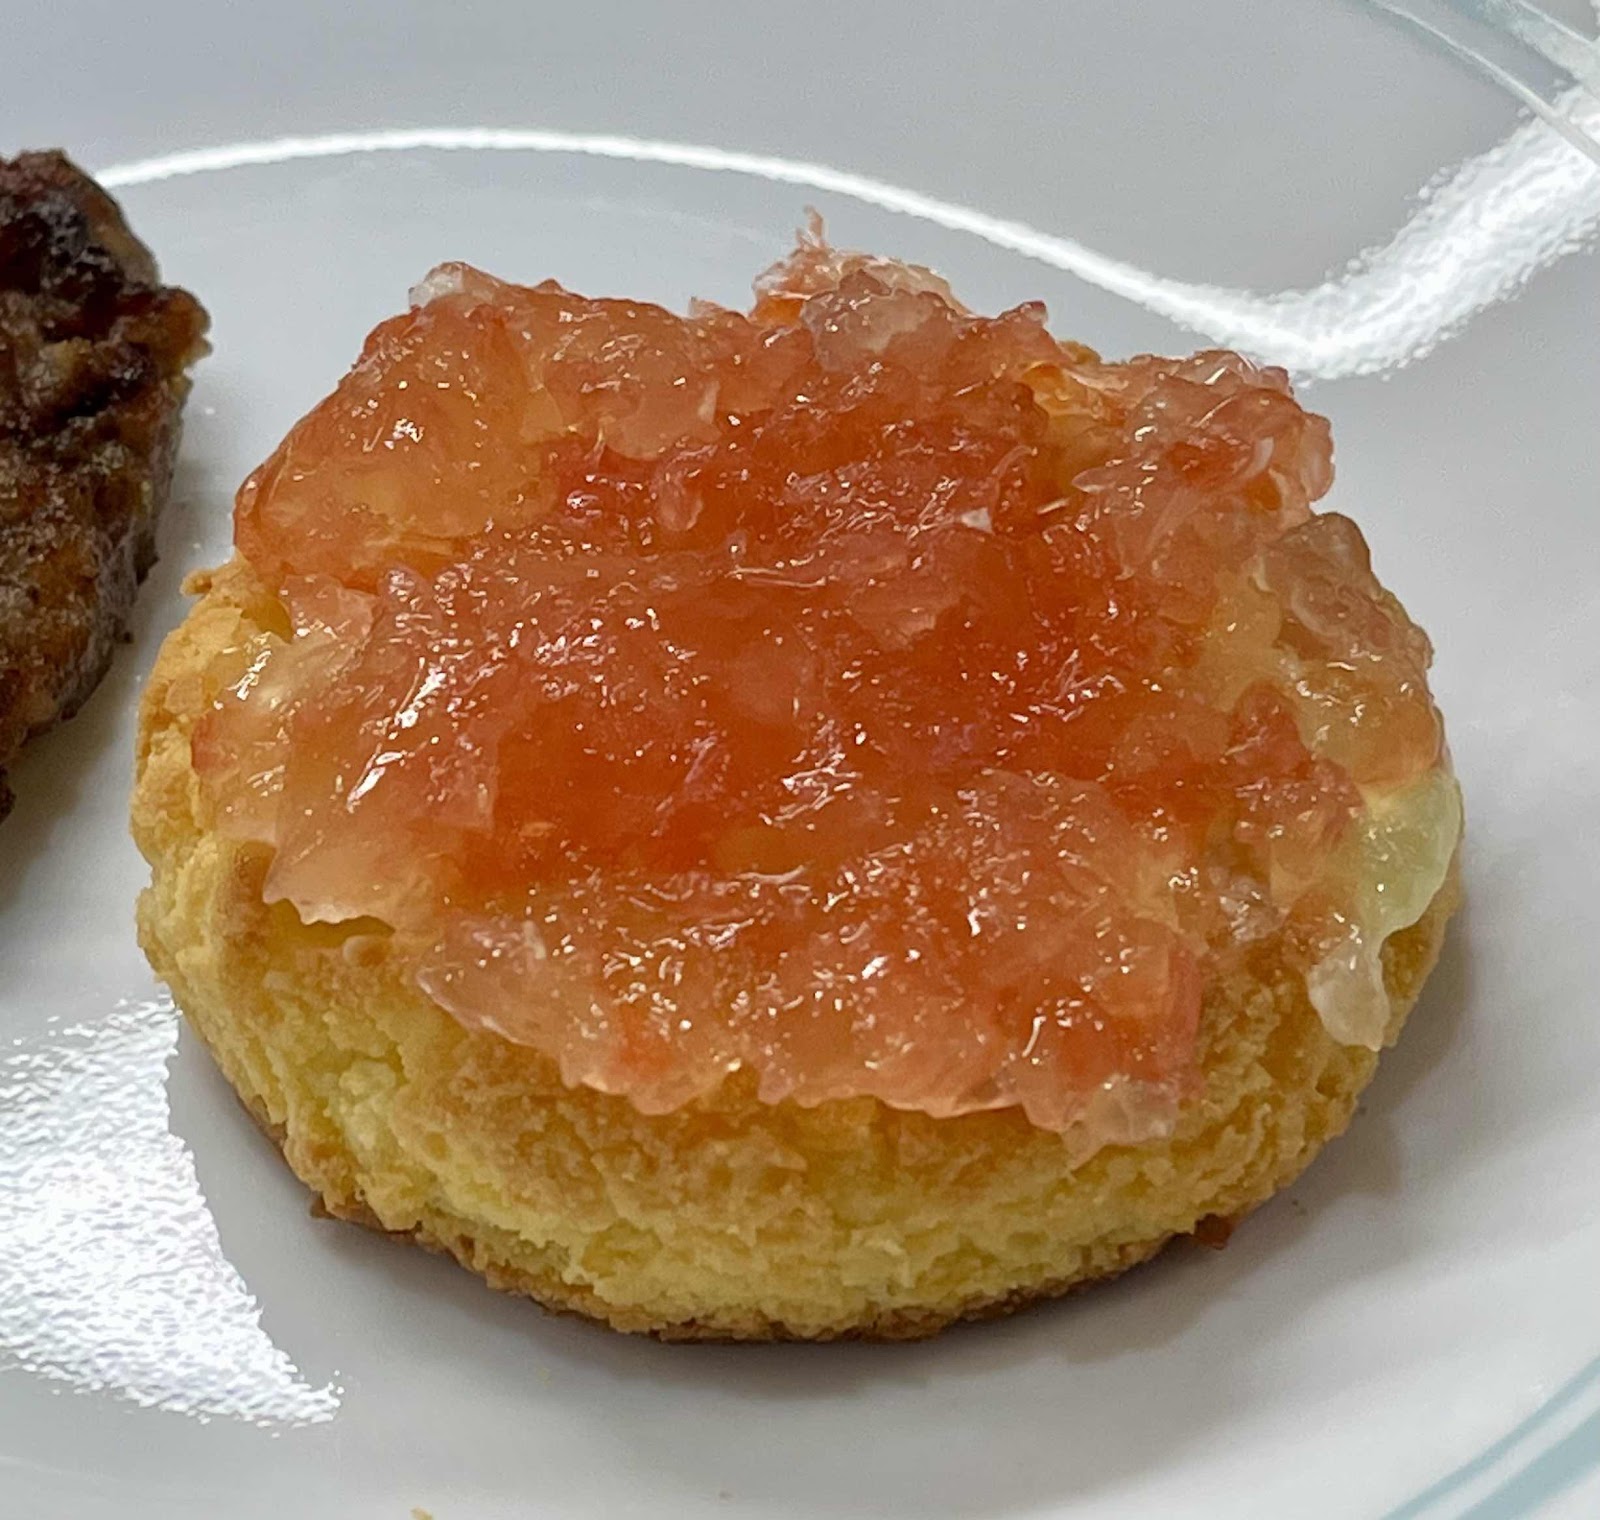
Grapefruit Marmalade on a keto biscuit
1. Before you begin, prepare the calcium water. To do this, combine ½ teaspoon calcium powder (in the small packet that comes in the box of Pomona’s Universal Pectin) with ½ cup water in a small jar with a lid. Shake well. (Extra calcium water can be stored in the refrigerator indefinitely for future use.)

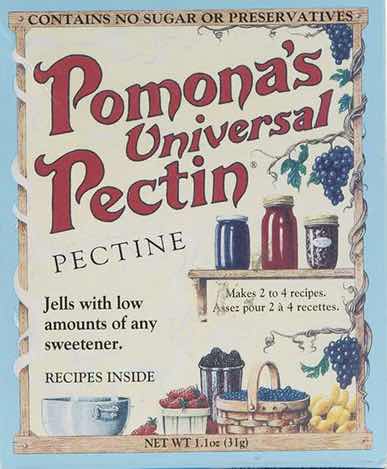
Pomona’s Universal Pectin
2. Wash your canning jars, lids and bands. Place jars in a stock pot or canner, filled with water about 2/3 full, and bring to a boil. Boil for 10 minutes to sterilize your jars. Turn off the heat, cover, and keep jars in the hot water until ready to use. Place lids and bands in water in a small saucepan, cover and heat to simmer. Turn off heat and keep lids in the hot water until ready to use.

3. Cut away the rind and section the grapefruit, discarding all of the membrane and rind. Break the grapefruit sections into chunks and place them in a large measuring cup; you will need 4 cups of grapefruit and any accumulated juices. Place the 4 cups of grapefruit pieces and accumulated juice in a large saucepan with the lemon juice and calcium water. Mix well. Bring to a boil over high heat, stirring occasionally to prevent the grapefruit from scorching. 

4. Meanwhile, in a separate bowl, mix together the allulose and Pomona’s Universal Pectin powder, stirring to combine. (If you like the flavor of honey with your grapefruit, you can substitute ½ of the sweetener with sugar free allulose honey.)

5. Once the grapefruit mixture is boiling rapidly, slowly add the allulose and pectin mixture, stirring continuously until the sweetener and pectin have dissolved. Bring the mixture back up to a full boil, stirring constantly. Once the marmalade returns to a full boil, that cannot be stirred down, boil for one minute and remove move it from the heat. (If needed, skim any foam and discard.)

6. Fill hot, sterilized jars to 1/4” from the top. Wipe rims clean with a wet paper towel. Place a lid on each jar and then screw on a rim just until finger-tight. Put the filled jars into boiling water to cover. Boil for 10 minutes (add 1 more minute for every 1000 feet above sea level). Turn off heat and allow the jars to rest in the hot water for five minutes. (Note: if you don’t want to process the marmalade in a boiling water bath, you can put it in the refrigerator once it is cooled and it will keep for three weeks. You can also freeze the marmalade instead of canning it. For freezing, fill jars to 1/2 inch from top. To prevent the glass jars from cracking, freeze jars without a lid to allow for expansion, then screw on a lid once frozen. Defrost in the refrigerator before eating.)

7. Remove jars from hot water using a jar lifter tool and place them on a kitchen towel. Let the jars cool undisturbed on the kitchen counter for 12 to 24 hours. Check seals; lids should be sucked down and not move or click when pressed in the center. Properly sealed jars can be stored at room temperature for one year. Once opened, refrigerate and consume within three weeks. (Note: It is normal for this marmalade to separate as it cools. Simply stir before serving.)

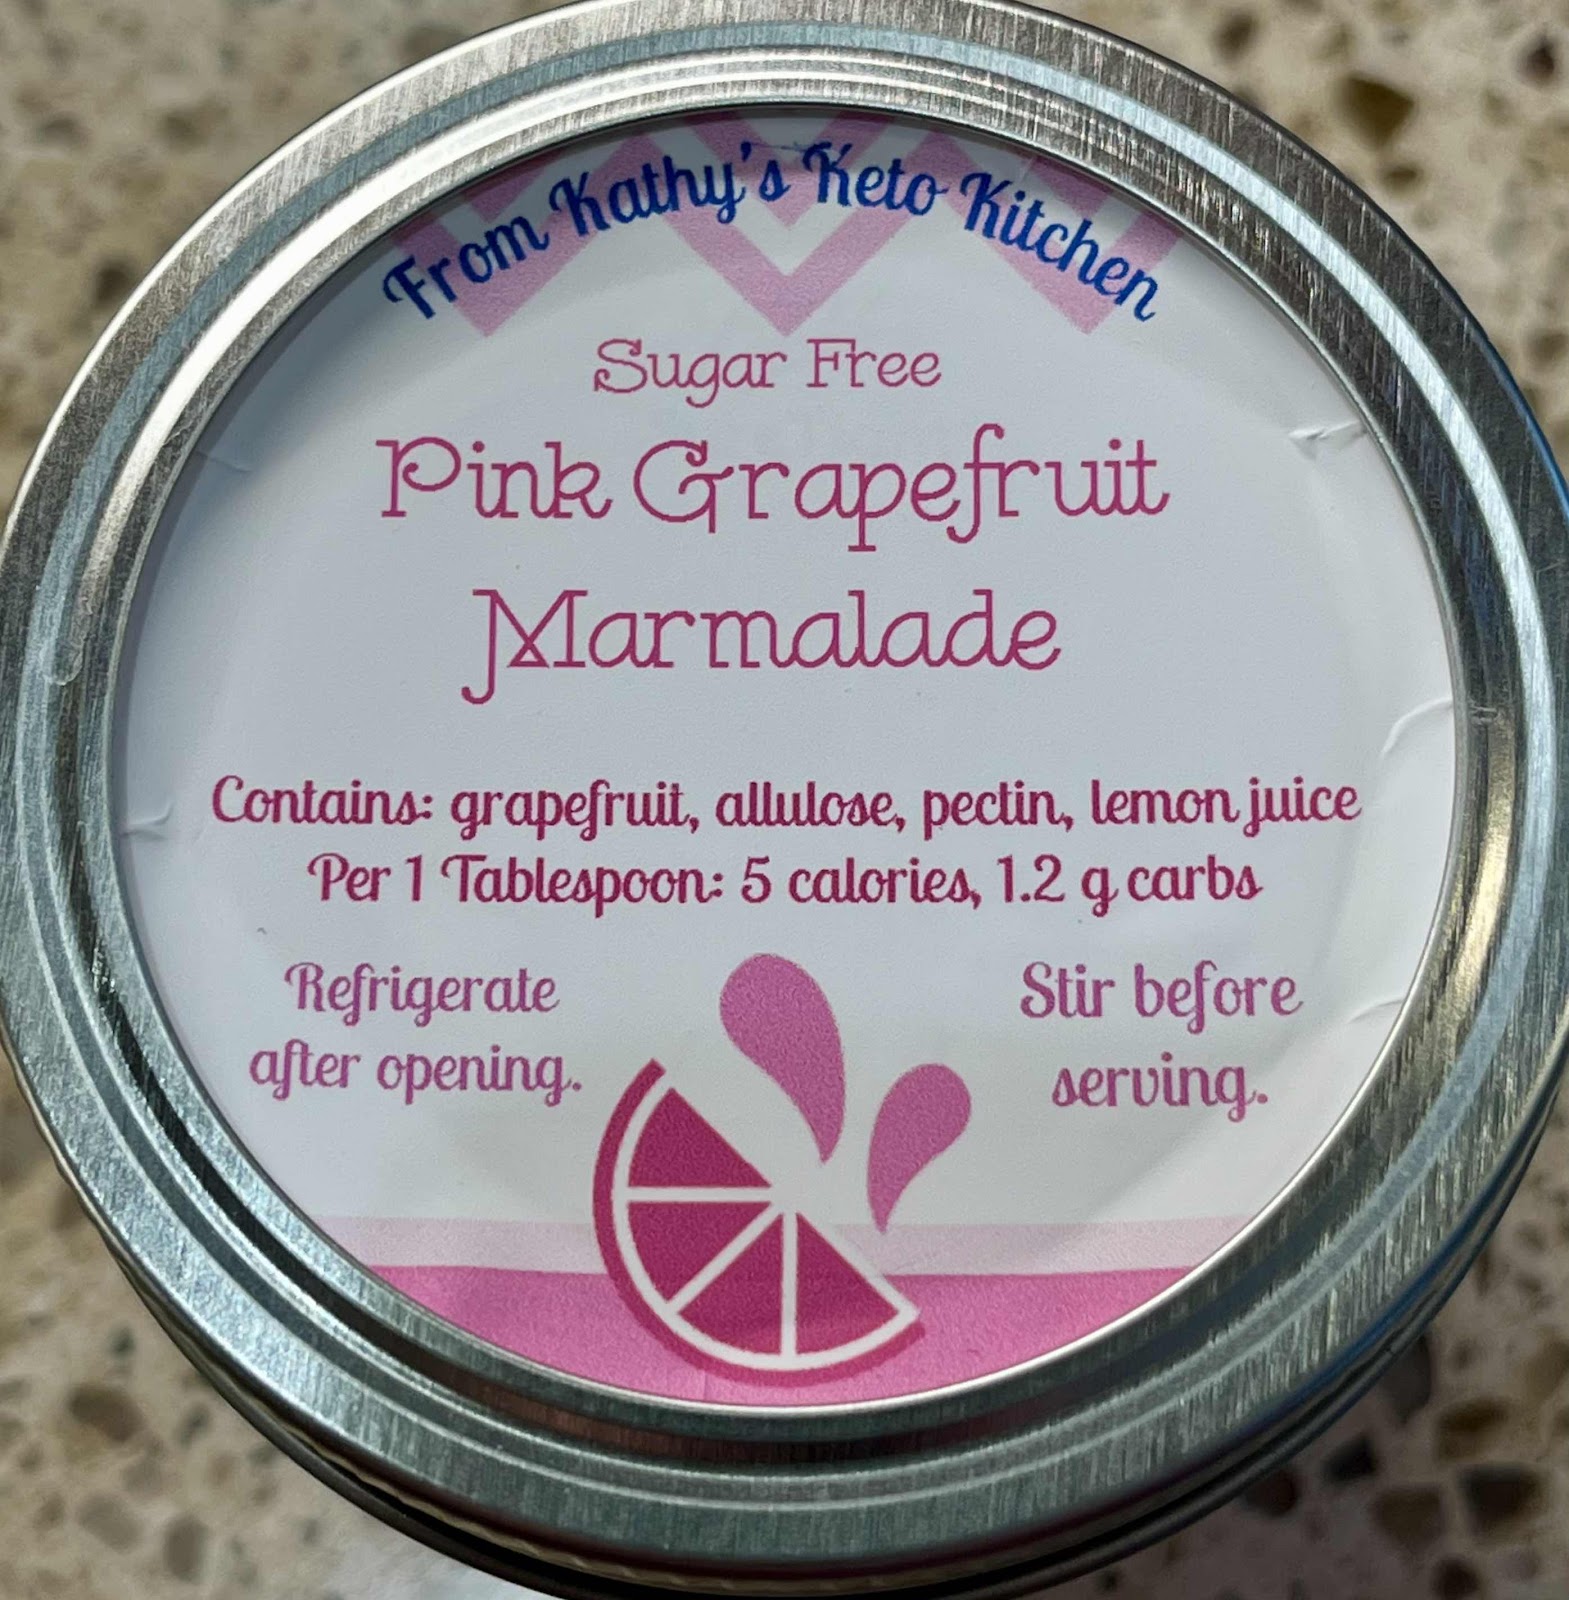
Pink Grapefruit Marmalade Label
Nutritional Information per 1 tablespoon: 5 calories, 1.4 g carbohydrate (0.2 g dietary fiber, 0.9 g sugars), 0 g total fat, 0 mg cholesterol, 0 mg sodium, 1.6 mg calcium, 18 mg potassium, 35 IU Vit A, 5 mg Vit C, 0 g protein. Net carbs per serving: 1.2 grams

Recipe and photos by Kathy Sheehan, copyright 2023
All rights reserved. Please do not duplicate without the author’s permission.
Saturday, September 17, 2022

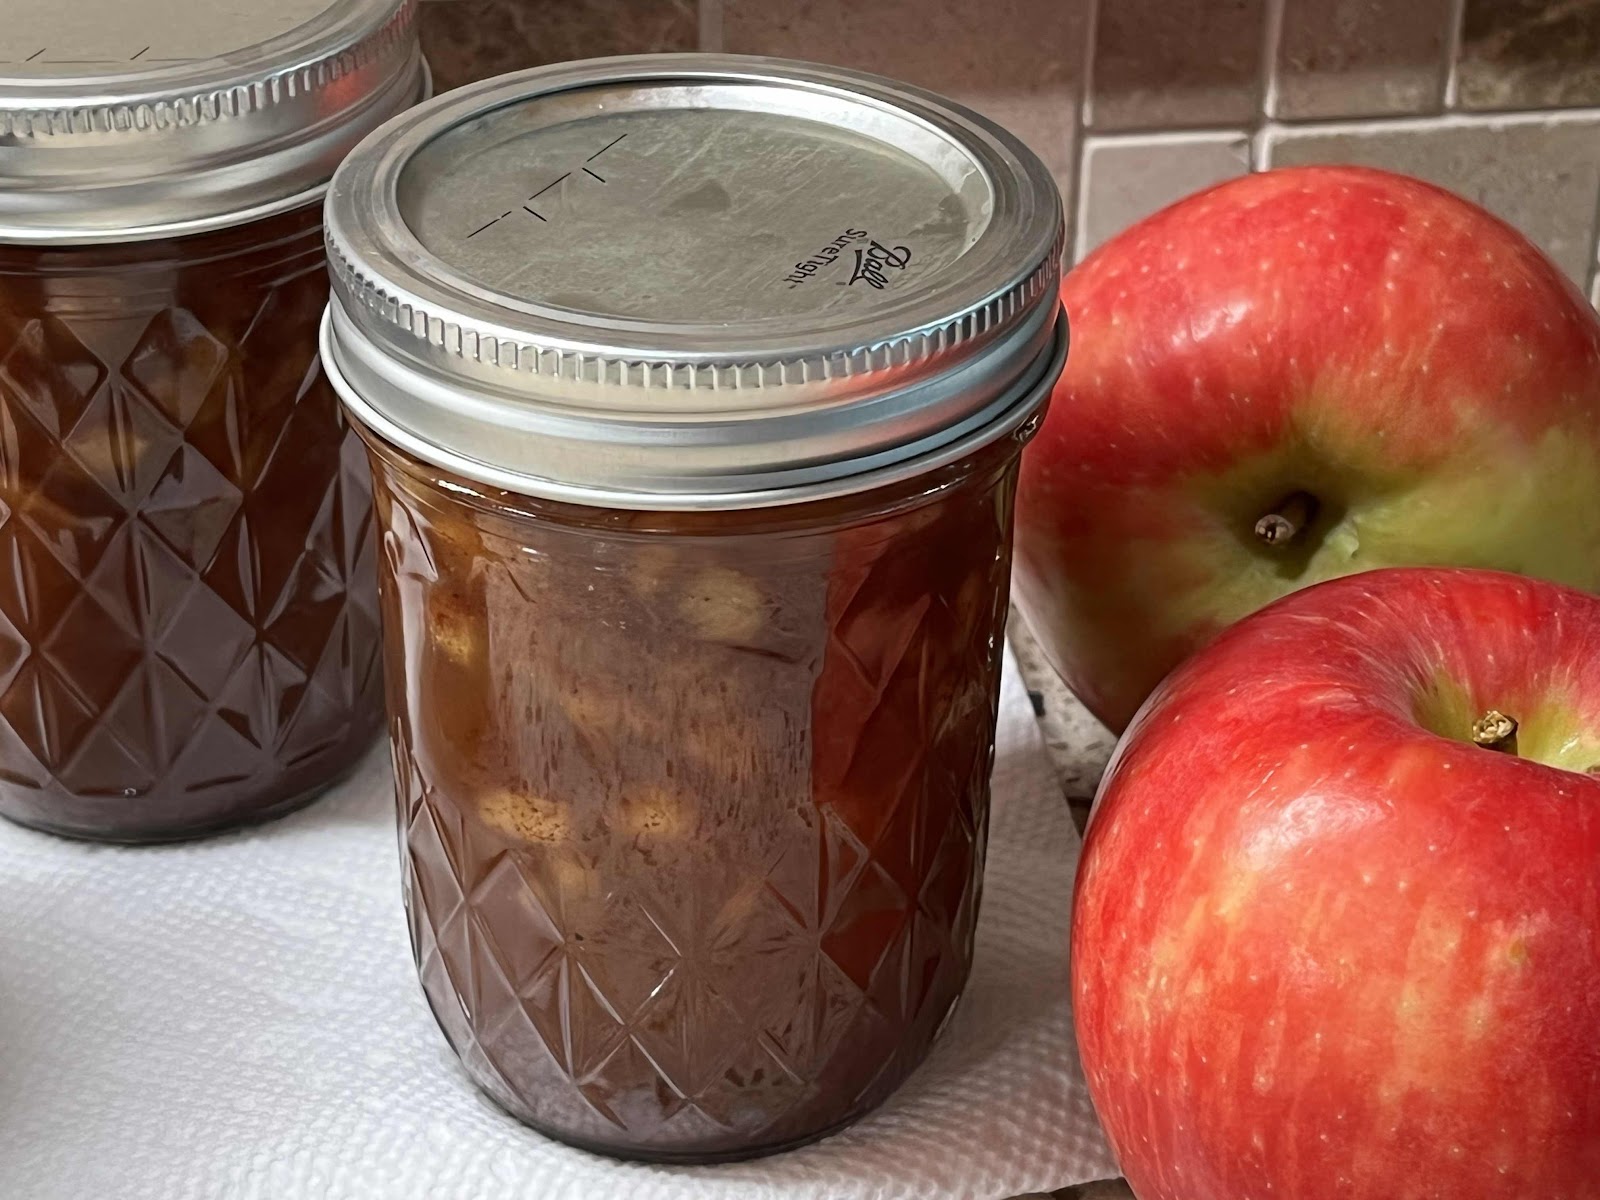
Keto Spiced Dutch Apple Jam

Keto Spiced Dutch Apple Jam
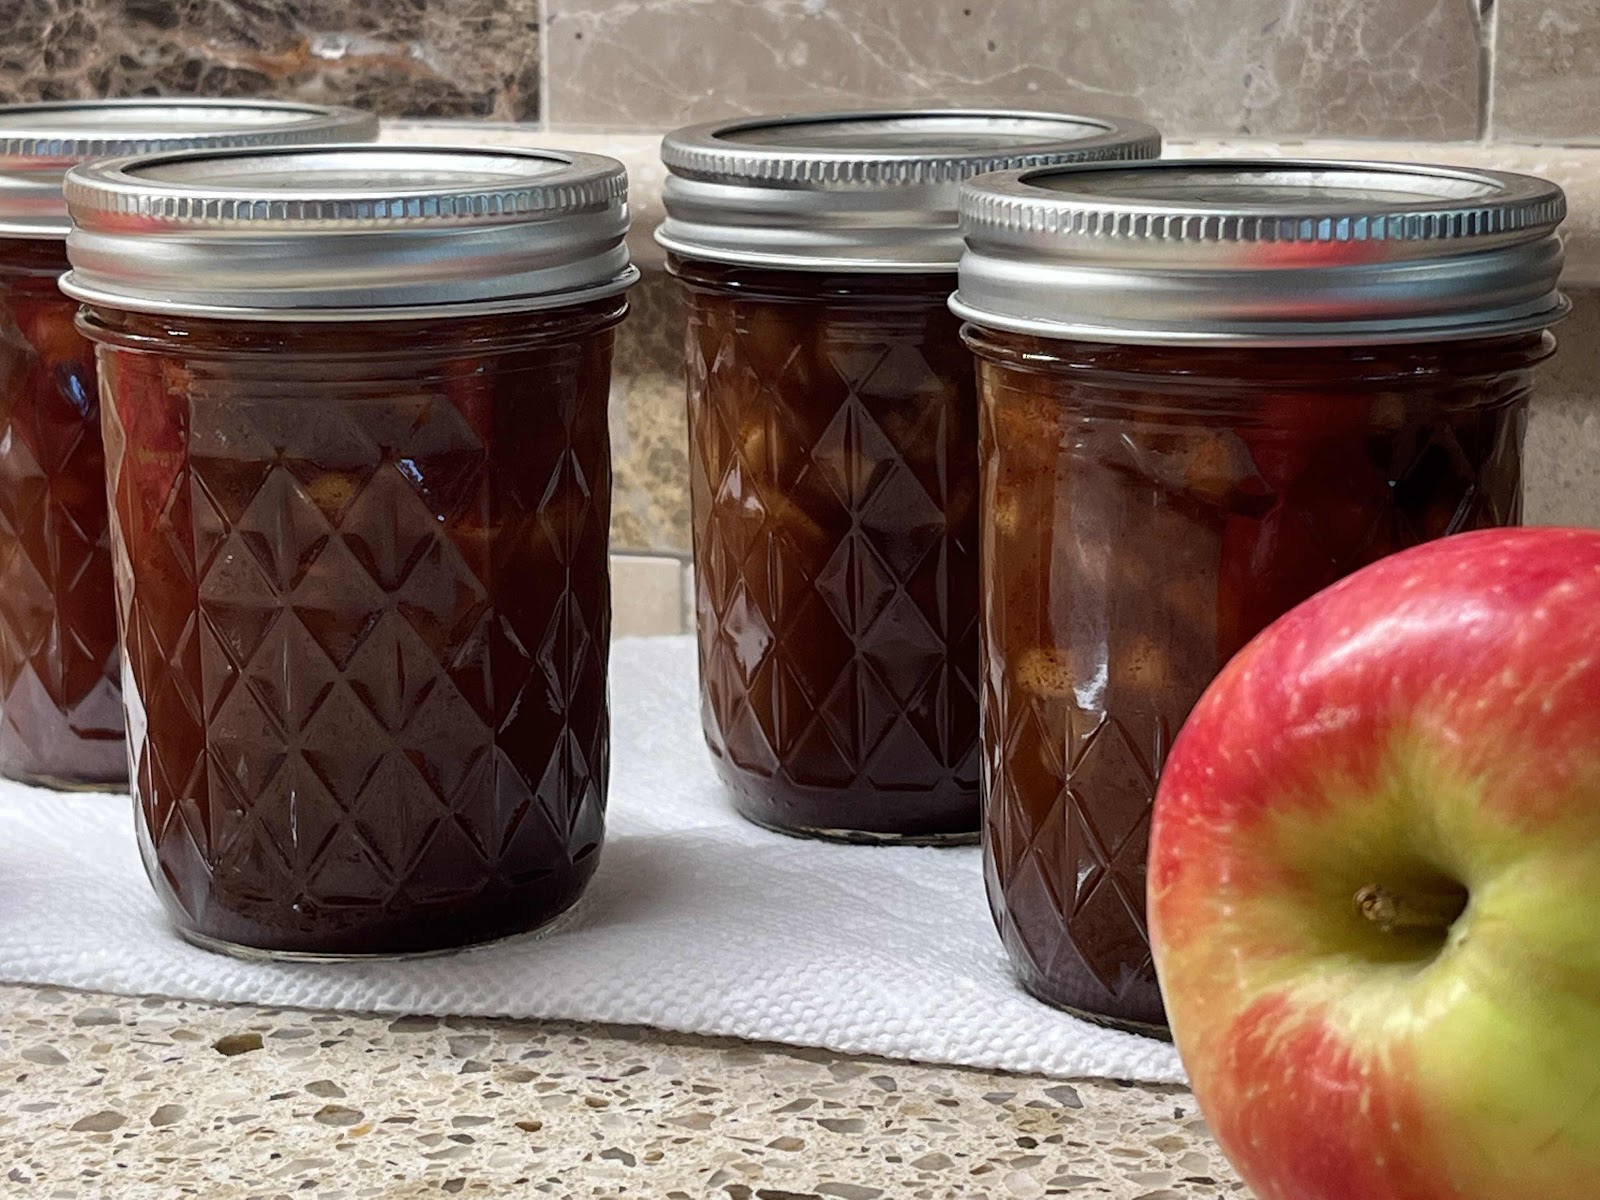
The weather is turning cooler and it’s apple picking season in Maine! Recently, I took a class at my Cooperative Extension Office where we learned to make Spiced Dutch Apple Jam. I had a wonderful time and learned a lot more about safe canning practices. But the recipe they used called for 7 cups of sugar! I came home and figured out that the amount of carbs per tablespoon was 16 grams! (That is equivalent to 4 teaspoons of sugar per tablespoon!!) With their recipe in hand, I went about making the necessary adjustments to make a batch that was sugar free. The final result is every bit as good as their recipe, but my recipe only has 2 grams of carb per tablespoon. This incredible jam tastes just like apple pie and is excellent on your low carb toast or spooned over low carb yogurt or ice cream. Also, share some with your keto friends! This makes an excellent gift for the holidays.

Keto Spiced Dutch Apple Jam
Makes four (8 oz) jars, 64 servings

4 cups apples, peeled, cored and diced small (about 5 medium apples)
1-1/4 cups allulose (or to taste)
2-1/2 teaspoons Pomona’s Universal Pectin (made especially for low sugar jams)
2 cups water
1/4 cup bottled lemon juice
3 teaspoons calcium water (see directions in Pomona’s Universal Pectin box)
1 teaspoon allspice
2 tablespoons + 2 teaspoons ground cinnamon
1 teaspoon ground nutmeg

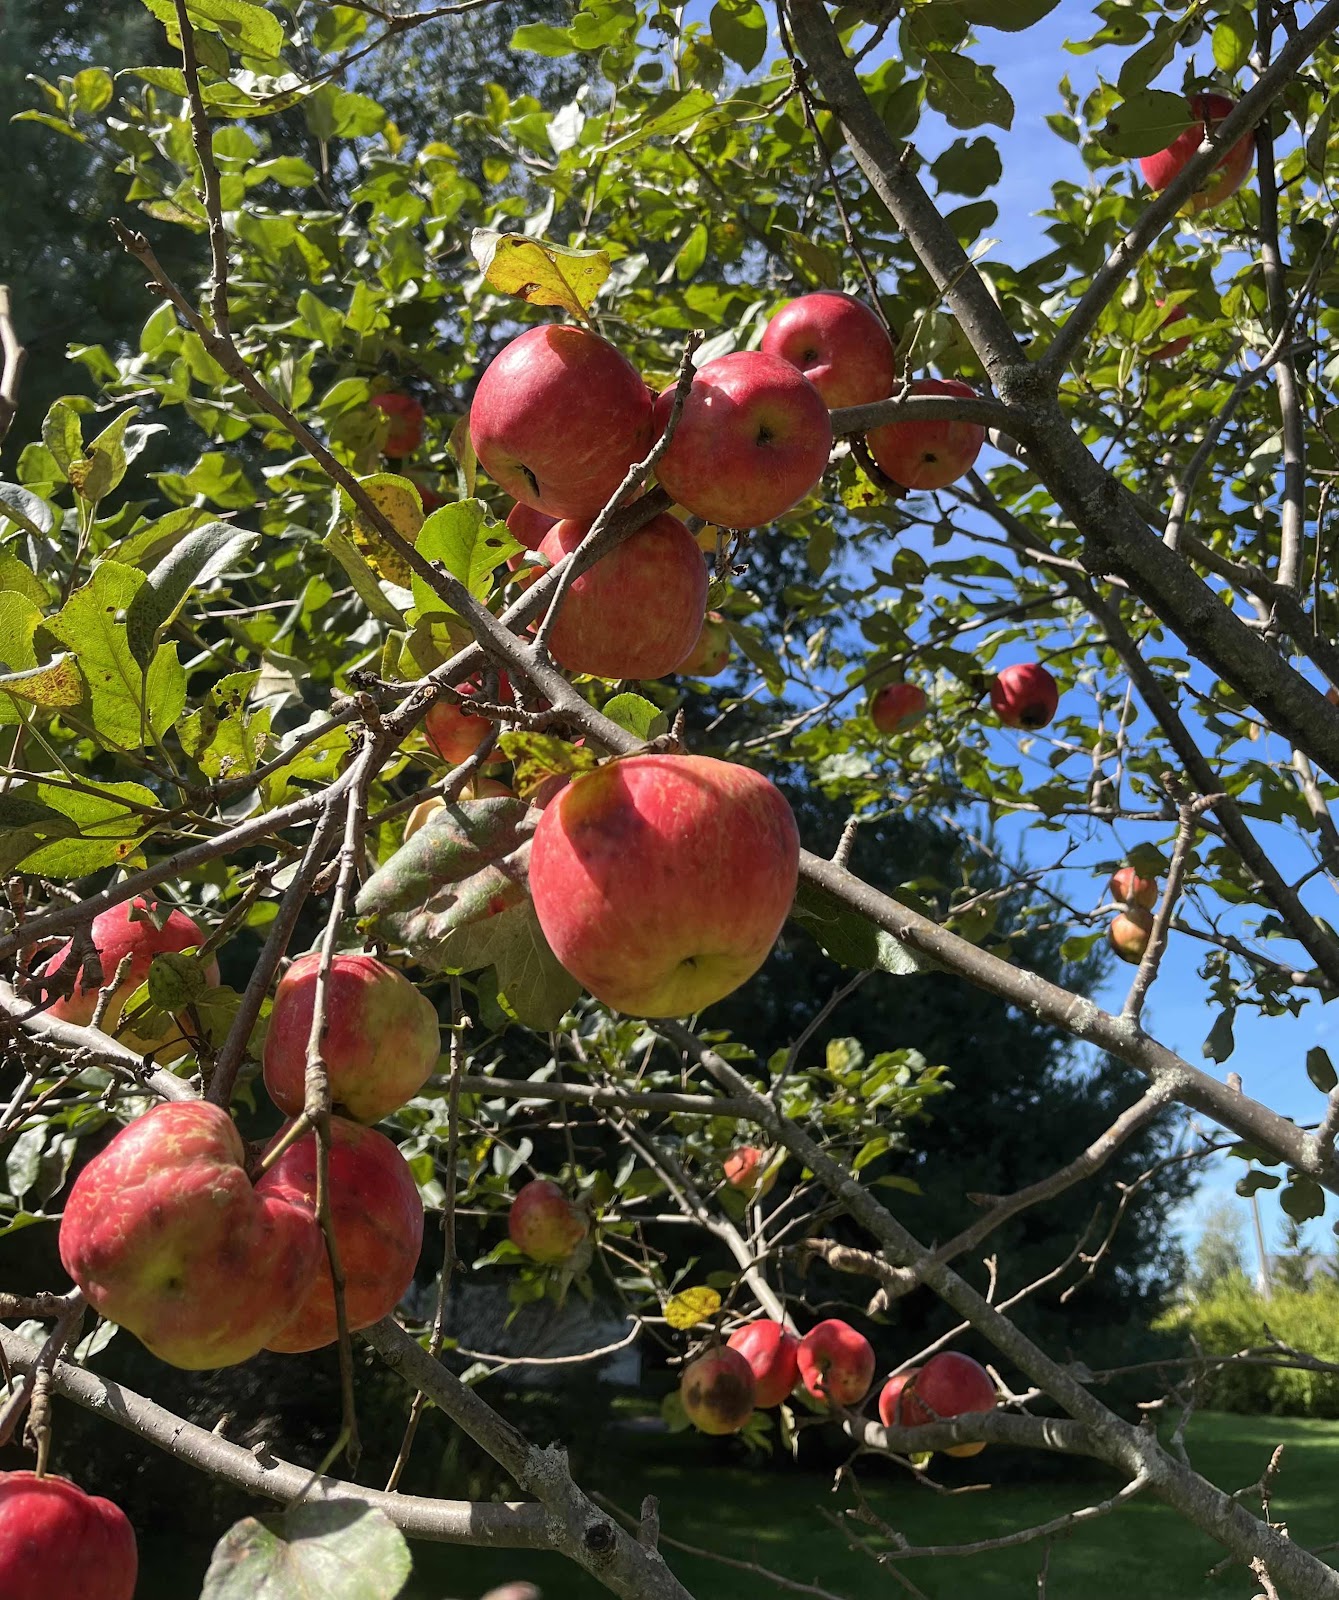
Apple Picking in Maine
1. Prepare the boiling water canner. Put the canning rack on the bottom of a large pot, then heat the jars in simmering water until ready to use, or for at least 10 minutes to sterilize the jars. Wash the lids in warm soapy water and set aside with the bands until you are ready to use them. (If you don’t want to process your jars in a water bath, your jam can be stored in the refrigerator for several months.)

2. In a bowl, combine the allulose and pectin; set aside. Place 1-2 small plates into your freezer to get cold. (These will be used for the “cold plate” test later.)

3. Place the diced apples into a large stainless steel saucepan or non-reactive cooking pot (not aluminum). Add the lemon juice, water and calcium water to the pot with the apples. Add the allspice, cinnamon and nutmeg. Stir to combine. Bring to a rolling boil over medium to high heat stirring often. (A rolling boil is a vigorous boil that cannot be stirred down, but continues to boil even as you stir.)

4. Once the apple mixture has reached a rolling boil, gradually stir in the allulose/pectin mixture and continue to stir until the sweetener and pectin dissolves.

5. Bring the mixture back to a full rolling boil that cannot be stirred down. Set a timer and boil hard for one minute, stirring constantly. Remove from the heat and check the jam using a cold plate from your freezer to be sure it will gel properly when set. Spoon a small amount onto a cold plate and allow to sit for a few minutes. Run your finger through the mixture and if a skin has formed and the jam is starting to set up, you have reached the proper temperature.

6. Using a jar lifter, lift one jar out of the simmering water and place it on a towel or wooden cutting board. Ladle the hot jam into a hot jar using a canning funnel. Leave 1/4 inch of headspace at the top. Remove any air bubbles and wipe the top of the jar rim clean. Center a lid on the jar and apply the band, adjusting to fingertip tight. Place the filled jar into the boiling water canner, then repeat the process until all of the jars are filled.

7. Process the jars in boiling water for 10 minutes, adjusting for altitude (search online for an altitude adjustment chart). Turn off the heat and let the jars sit in the canner, uncovered, for five minutes.

8. Very carefully remove the jars with a jar lifter, lifting them straight up (do not tilt jar!) and place them on a clean towel. Don’t worry about any water on the lid, that will evaporate quickly. Let the jam cool for 12 to 24 hours. Check the lids for a seal, they should not flex when the center is pressed.

9. A properly processed and sealed jar of jam is shelf stable for 12 to 18 months. Refrigerate after opening.

Recipe makes four jars
Nutritional Information per tablespoon: 6 calories, 2.3 g carbohydrate (0.2 g dietary fiber, 1.1 g sugars), 0.1 g total fat (0 g saturated fat, 0 g trans fat), 0 mg cholesterol, 0 mg sodium, 2 mg calcium, 11 mg potassium, 1 mg Vit C, 1 IU Vit A, 0 g protein. Net carbs per tablespoon: 2.1 grams

Photos and recipe by Kathy Sheehan, copyright 2022
All rights reserved. Please do not duplicate without the author’s permission. 
Friday, August 5, 2022

No Sugar Added Keto Fruit Jam (Peach, Cherry or Strawberry)

Keto Cherry Jam
I don’t eat a lot of fruit because of the high carb count. But one thing I really enjoy is a teaspoon or two of sticky, gooey jam on my low carb, keto bread. And there are times when I just want a peanut butter and jelly sandwich! In a previous post, I mentioned the excellent keto bread recipe that I found that has made my life normal again. (Click here for the keto bread recipe.) With the bread problem solved, it was now time for me to turn to finding the best keto jam. There are a couple of store brands that are acceptable, but they are watery, taste a little off and, frankly, are nothing like the real thing. Jam making is not really difficult, but it can have special challenges when not using real sugar. I have discovered that allulose is the very best sugar alternative when making fruit jam, with absolutely no aftertaste! My amazing keto jam recipe is easily adaptable to most fruits, with minor adjustments. I provide recipes for cherry, strawberry or peach, but you can change it up to create your favorite flavor!

Tips and Tricks for Sugar Free Jam:

* You must use a pectin made especially for low or no sugar jam. Look for Pomona’s Universal Pectin, which is easy to find in most grocery stores or online. Follow the directions in the package to make the calcium water, which is the secret ingredient to properly thicken sugar free jams and jellies.

Pomona’s Universal Pectin
* Regular jam made with sugar typically reaches a temperature of 220°F when it is ready to be ladled into the jars. With sugar-free jams, the mixture will not rise to this temperature (usually no more than between 212 to 215°F), so you will have to use the “cold plate test” to determine when it is cooked enough to gel properly. Before you begin cooking the fruit mixture, place one or more small plates into the freezer to get cold. When you think your mixture is ready, spoon a small amount onto the cold plate and let it sit for a few minutes. If it forms a skin and begins to thicken and gel, then the jam mixture is ready for canning.

* You can use fresh or frozen fruit to make jam. If using frozen, increase the amount to 6 cups of fruit and proceed with the recipe as directed.

* You do not have to process the finished jam in a boiling water bath, if you want to dig right in! Use sterilized jars, but place the finished jam in the refrigerator to set up and consume within 1-2 weeks. If you want to make your jam shelf-stable at room temperature for up to a year, you must follow the canning directions, always use new lids and submerge the filled jars in boiling water for 10 minutes and test to make sure it sealed properly (add 1 minute to boiling time for every 1000 feet above sea level). After it has cooled completely, check the lids for a seal. They should not flex when the center of the lid is pressed. A properly processed and sealed jar of jam is shelf-stable for 12-18 months. Refrigerate after opening and consume within 1-2 weeks.

The Recipes:
Each recipe yields about 3-1/2 cups

Cherry Jam:
5 cups of cherries, pitted (or 6 cups frozen)
1/2 cup bottled lemon juice
3 teaspoons calcium water (see Tips and Tricks section above)
1 cup allulose
2 teaspoons Pomona’s Universal Pectin powder
1 teaspoon cherry extract (optional), or to taste

Peach Jam:
5 cups peeled and chopped fresh peaches (or 6 cups frozen)
1/4 cup bottled lemon juice
4 teaspoons calcium water
1 cup allulose
2 teaspoons Pomona’s Universal Pectin powder

Strawberry Jam:
5 cups fresh, chopped strawberries (or 6 cups frozen)
1/4 cup bottled lemon juice
4 teaspoons calcium water
1-1/3 cups allulose
2 teaspoons Pomona’s Universal Pectin powder
1/2 to 1 teaspoon strawberry extract (optional), or to taste

Sugar Free Strawberry Jam

Directions:

1. Prepare the boiling water canner. Put the canning rack on the bottom of a large pot, then heat the jars in simmering water until ready to use, for about 10 minutes. Wash the lids in soapy, hot water and set aside with the bands until you are ready to use them. (Do not boil the lids, but you can leave them in very hot water until you’re ready to use them.)

2. In a bowl, combine the allulose and pectin powder; set aside.

3. Prepare the fruit by peeling, pitting and chopping into chunks, whatever is required, and measure out the required amount (either 5 cups fresh fruit or 6 cups frozen). Put the fruit in a large pot over medium heat. Add the lemon juice and calcium water and stir. Bring to a boil, then use a potato masher to crush up the fruit to the desired consistency. If you like your jam chunky, then leave larger pieces of fruit. Bring to a rolling boil and, if needed, skim the foam and discard.
 
4. Gradually stir in the allulose/pectin mixture and continue to stir until the sweetener and pectin dissolves.

5. Bring the fruit mixture to a full rolling boil that cannot be stirred down. Boil hard for at least one minute, stirring constantly. Remove from the heat and skim any additional foam off the top if necessary. To test for the proper consistency, use the “cold plate test” as described in the Tips and Tricks section above.

6. Using a jar lifter, lift one jar out of the hot water and place it on a towel or wooden cutting board. Ladle the hot jam into the hot jar using a canning funnel. Leave 1/4 inch of head space at the top. Remove any air bubbles and wipe the jar rim with a paper towel or a clean cloth. Center a lid on the jar and apply the band, screwing it down until it is just fingertip tight. Repeat the process with the other jars until all of the jars are filled.

7. Process the jars in boiling water for 10 minutes, adjusting for altitude (add 1 minute to boiling time for every 1000 feet above sea level). Turn off the heat and let the jars sit in the canner, uncovered, until the water stops boiling or for several minutes. Very carefully remove the jars with the jar lifter, lifting them straight up (do not tilt jars as you lift them) and place them on a clean towel. You can gently blot any excess water from the top of each jar with a kitchen towel, but do not press down on the lid.

No Sugar Added Peach Jam
8. Let the jars cool undisturbed for 12 to 24 hours. You will hear a popping sound as the jars cool and create a vacuum seal. This is normal. After 12-24 hours, check the lids for a proper seal, they should not flex when the center is pressed. If any jars did not seal properly, you may put them in the refrigerator and use the jam immediately or you can reprocess them with a new lid.

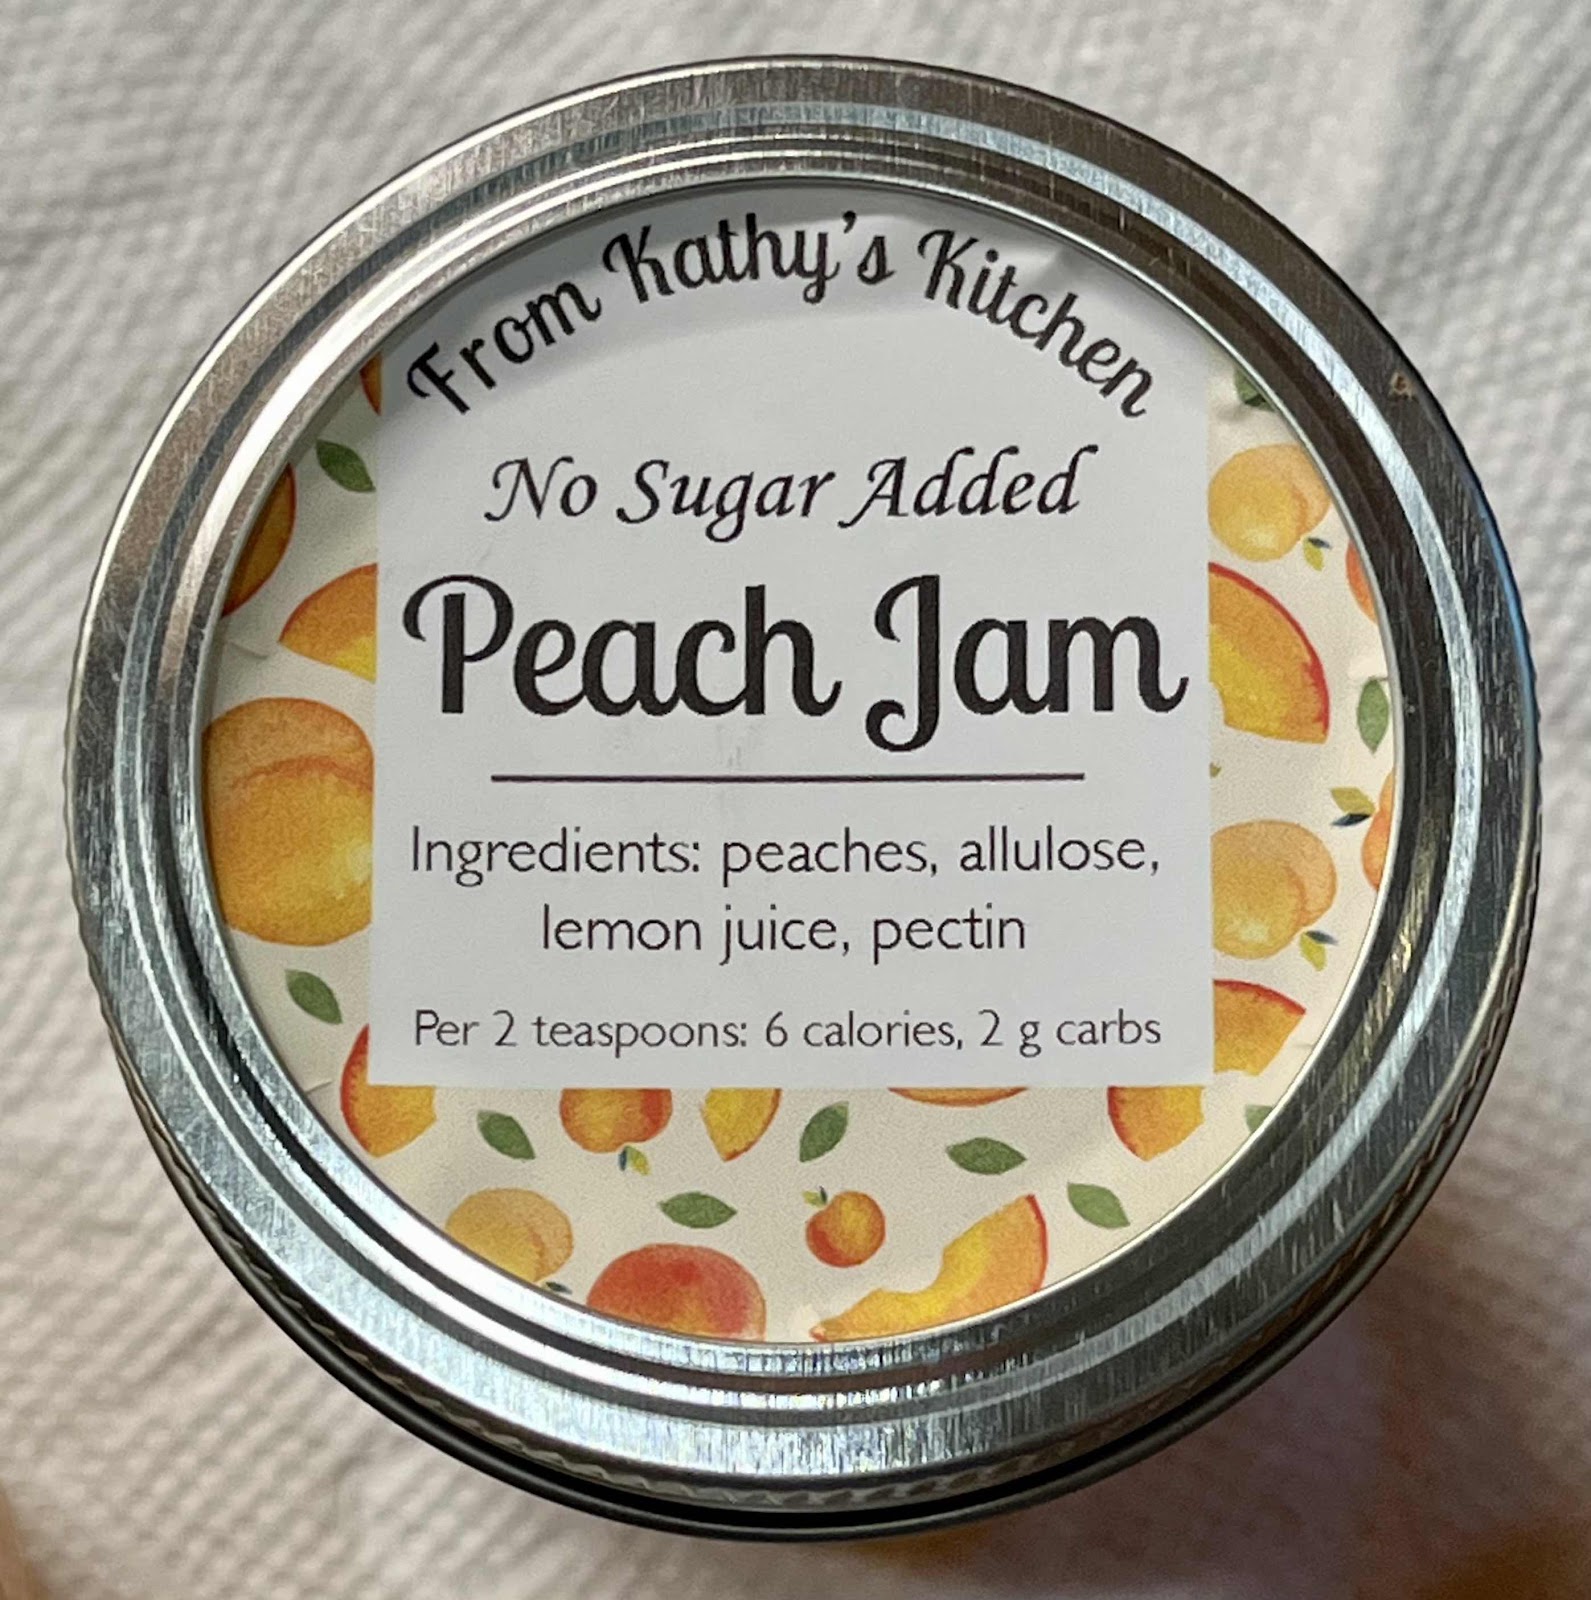
Peach Jam Label
Nutritional Information for Cherry Jam (2 teaspoons): Calories: 8 / 2 g carbohydrate / 0 g dietary fiber / 0 g fat / 0 g protein

Nutritional Information for Peach Jam (2 teaspoons): Calories: 6 / 2 g carbohydrate / 0 g dietary fiber / 0 g fat / 0 g protein 

Nutritional Information for Strawberry Jam (2 teaspoons): Calories: 4 / 1 g carbohydrate / 0 g dietary fiber / 0 g fat / 0 g protein

Photos and recipes by Kathy Sheehan, copyright 2022
All rights reserved. Please do not duplicate without the author’s permission.
Sunday, July 24, 2022

Keto Lemon Curd and Goat Cheese Spread

Keto Lemon Curd and Goat Cheese Spread
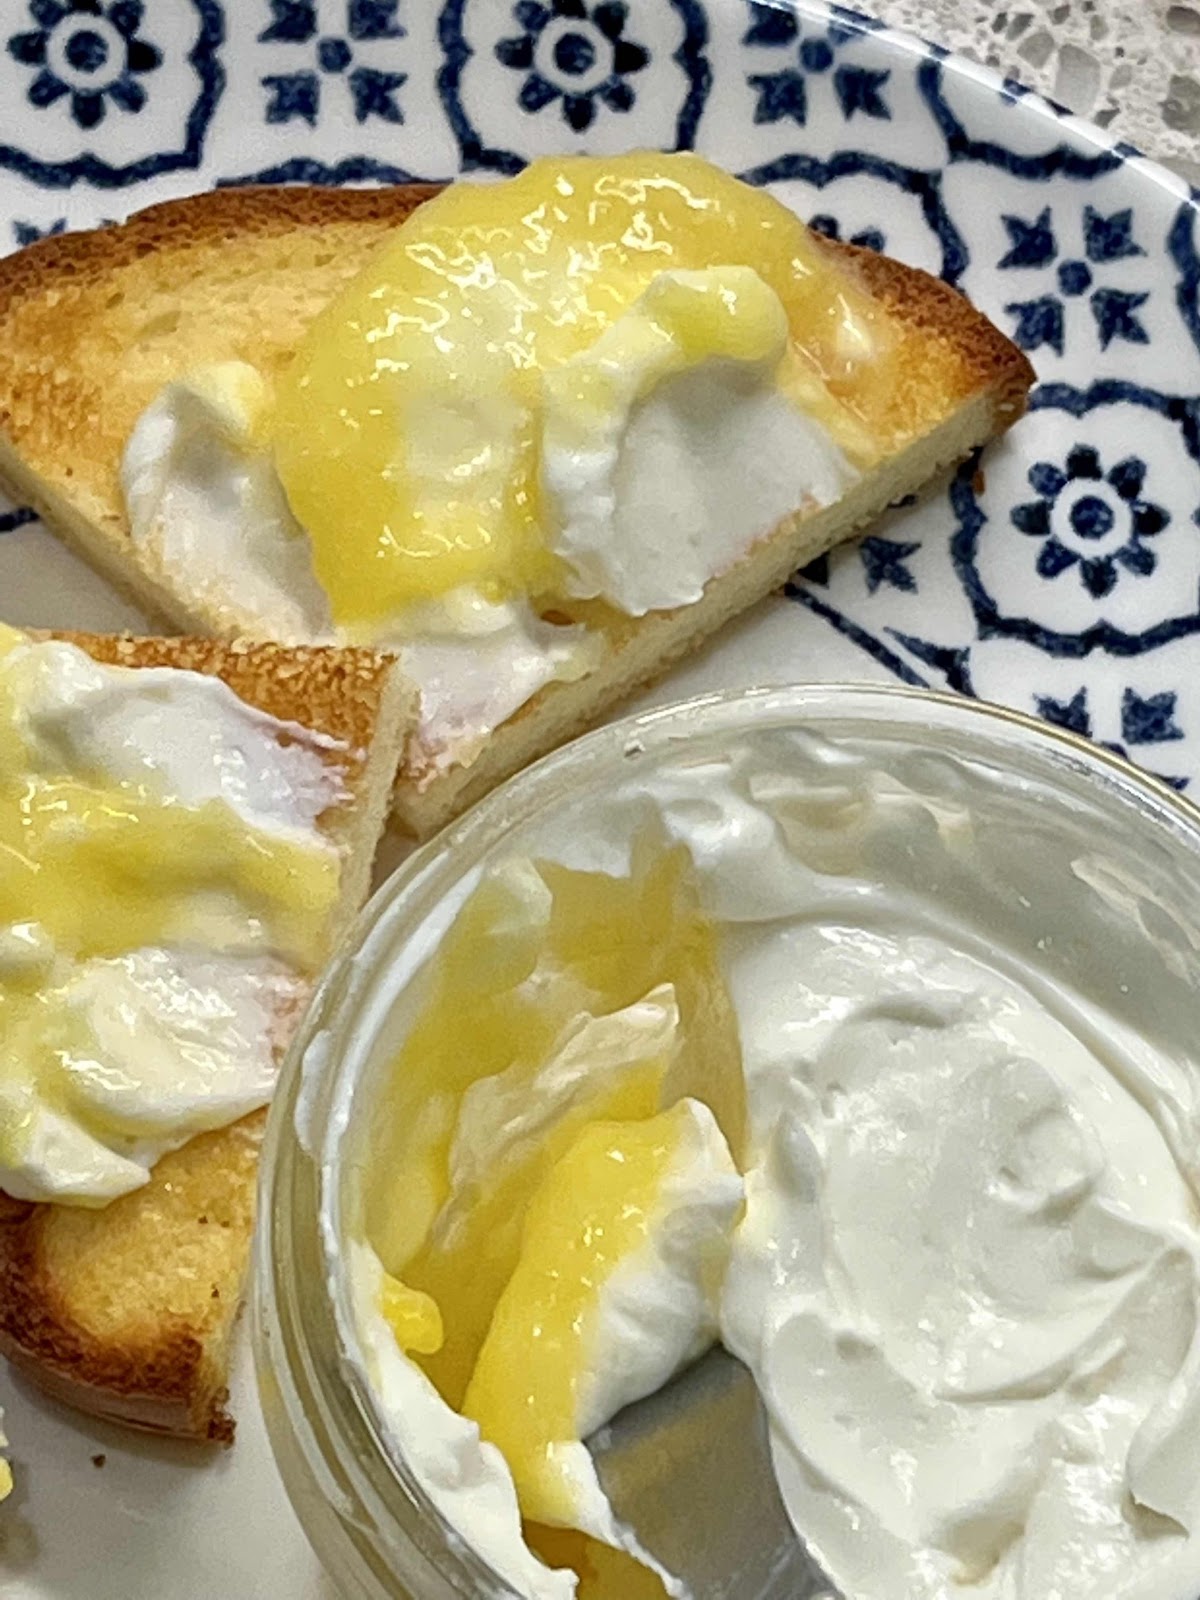
The other day I went to a party and the hostess served a delicious spread that was lemon curd topped with goat cheese that she had picked up at the Farmer’s Market. It was really good! Traditional lemon curd is mostly sugar, so I couldn’t do more than sample it at the party. I came home and, the very next day, made myself some sugar-free lemon curd using my easy, microwave method and topped it with plain, soft goat cheese. If you are not a fan of goat cheese, like my husband, you can blend together a combination of cream cheese and ricotta to replace the goat cheese. The taste is very similar, but it is even creamier and more spreadable. This makes a wonderful appetizer served with low carb crackers or spread it on your keto toast or pancakes for breakfast.

Keto Lemon Curd and Goat Cheese Spread
Makes 1 1/2 cups

1/2 cup (or more) sugar free Microwave Keto Lemon Curd (click here for the recipe)

Topping:
8 oz. plain, soft goat cheese

OR

Process in a food processor until smooth:

4 oz. cream cheese, softened
1/2 cup whole milk ricotta cheese
A pinch of salt
2 drops monkfruit extract or stevia (optional)
1/8 teaspoon vanilla extract (optional)

1. Allow the lemon curd to set up and cool completely in the refrigerator. To prevent a skin forming on the top, place plastic wrap directly on the lemon curd as it cools.

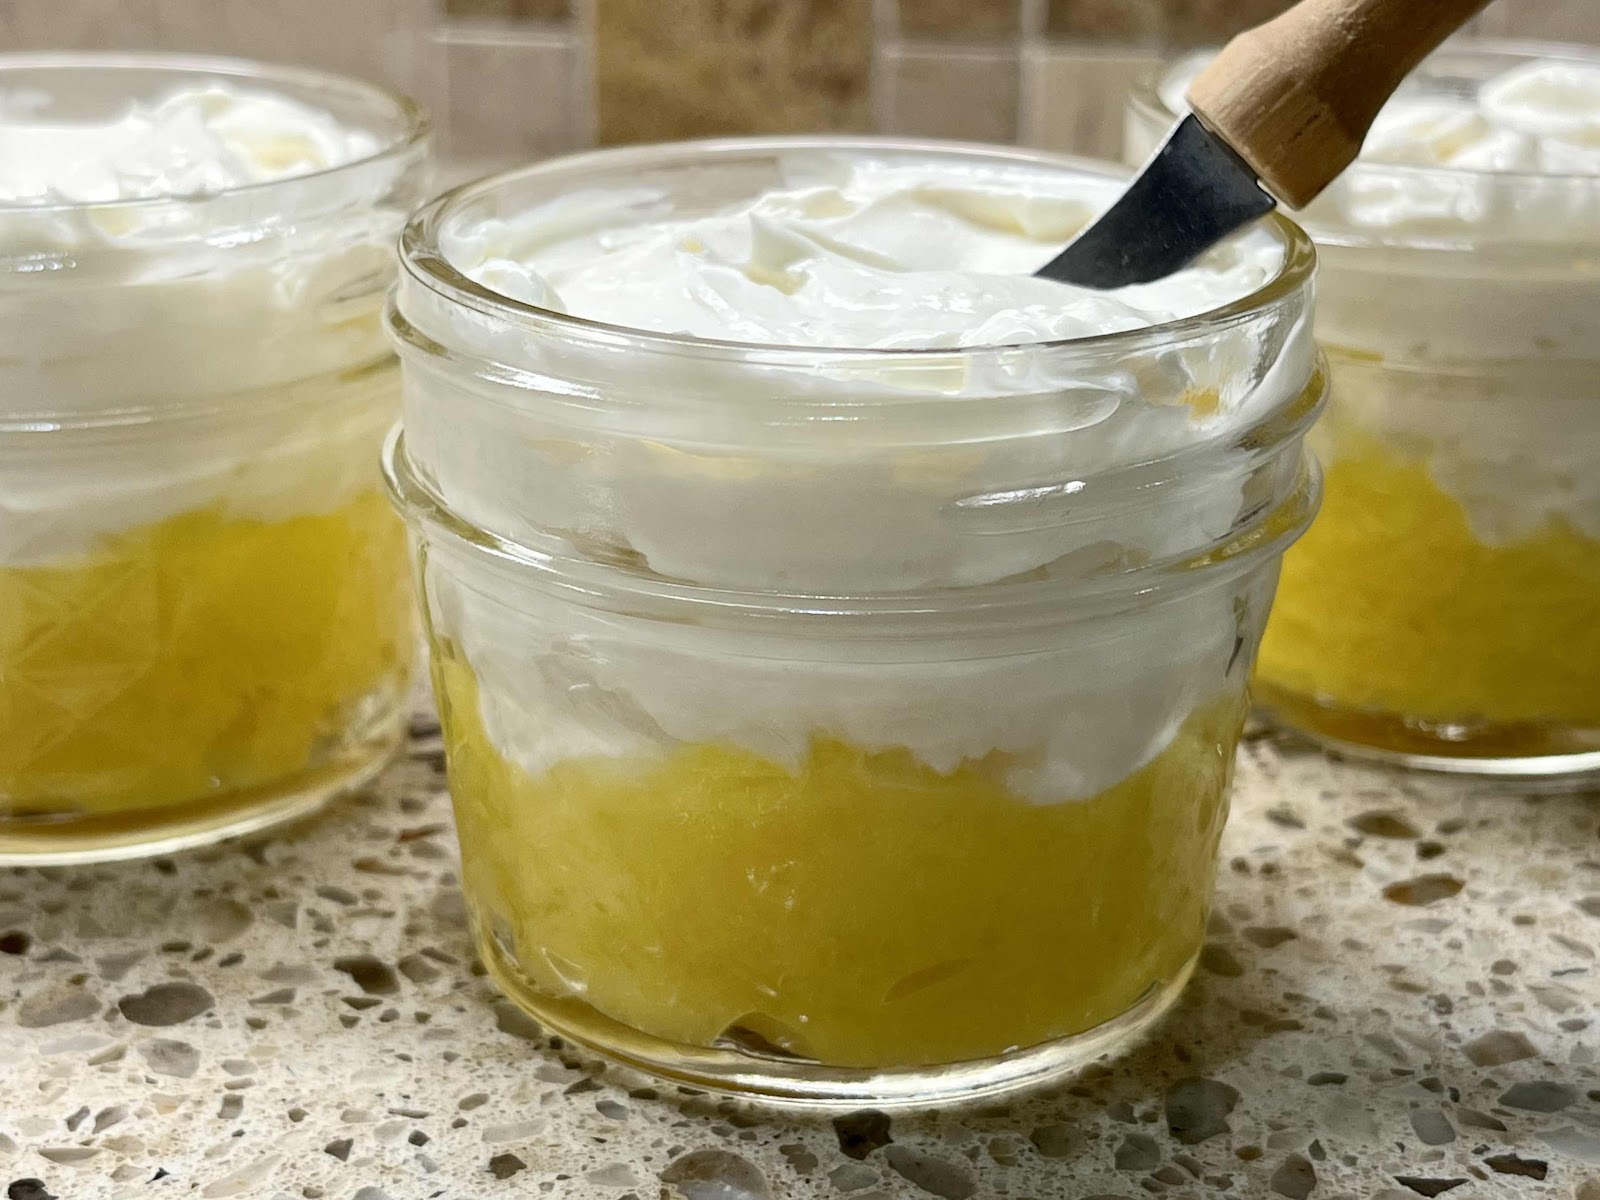
2. In a small glass serving bowl, spread the cooled lemon curd on the bottom of the bowl. Depending on the size of your bowl, you will use 1/2 cup or more. You want the lemon curd to come up the side of the bowl about 1/4th of the way. (I put mine into three 4 oz. Mason jars because I didn’t plan to serve it all at once, see photo below.)

Place lemon curd on the bottom and top with the goat cheese
3. Carefully, spoon in the goat cheese or the cream cheese/ricotta mixture and smooth the top with the back of a spoon or an offset spatula. Cover and store in the refrigerator until ready to serve.

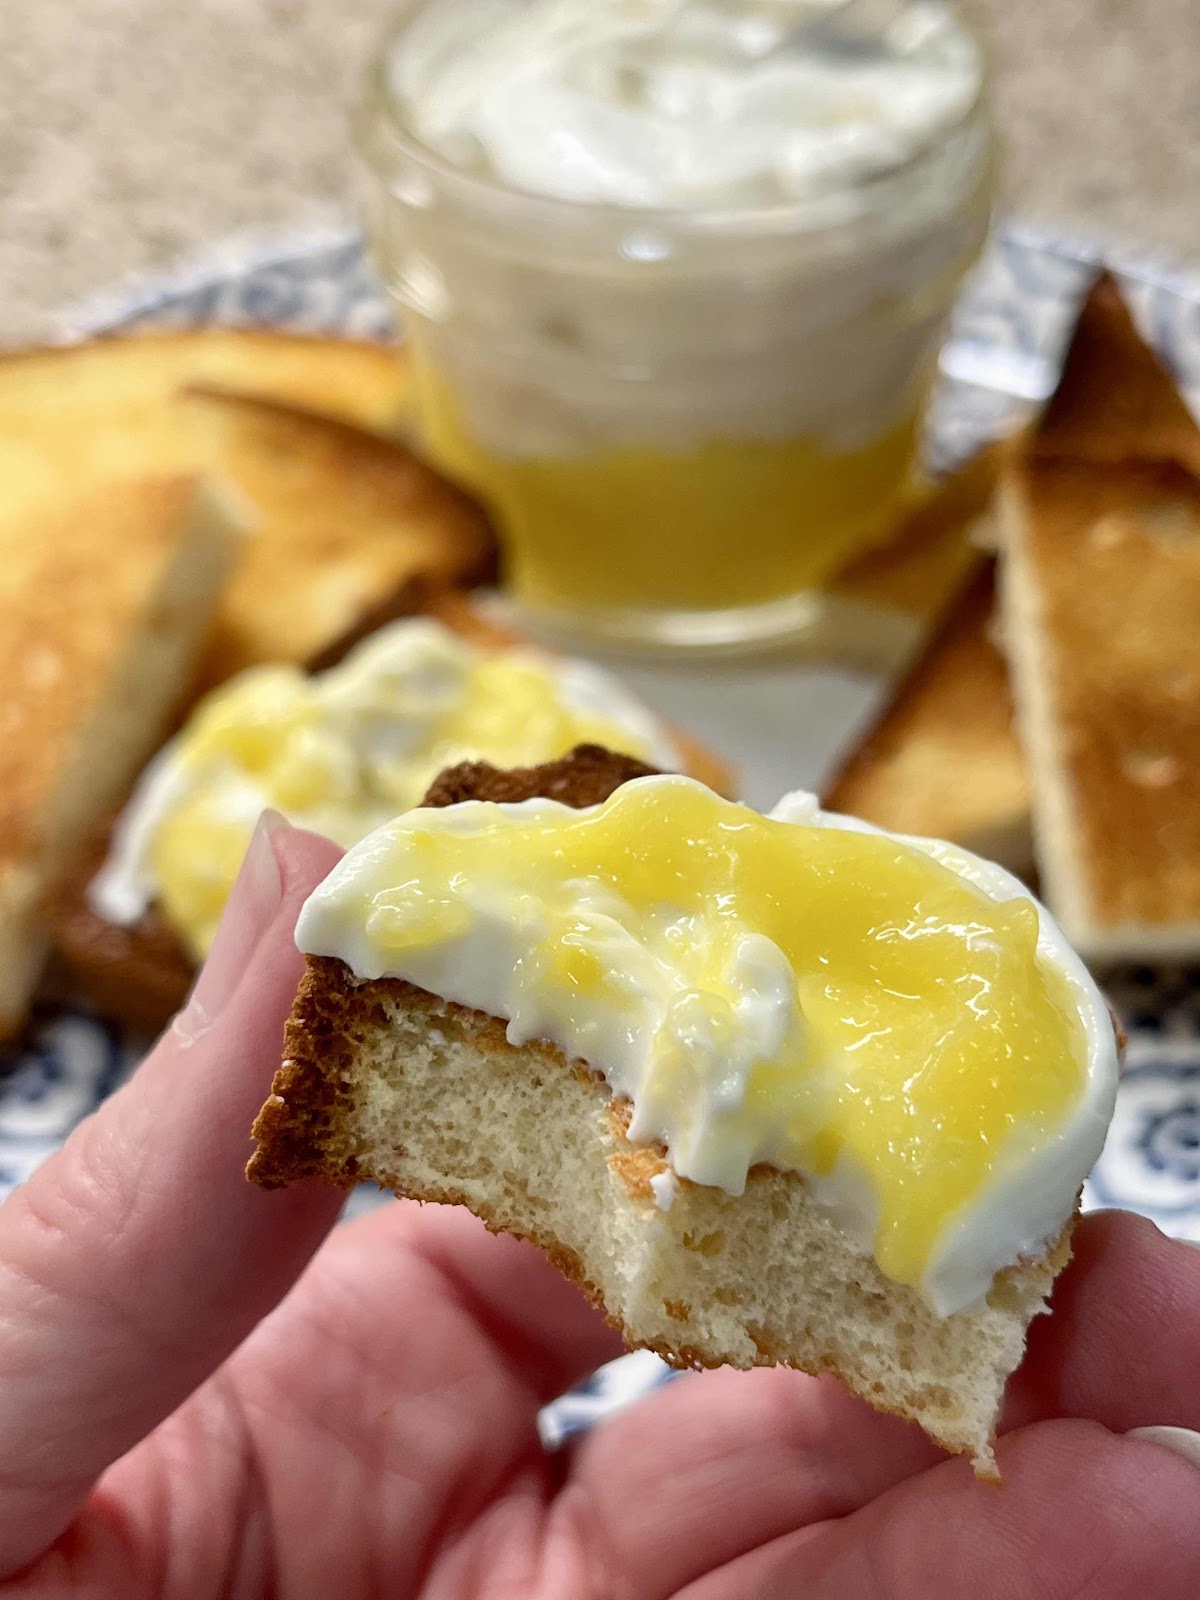
Lemon Curd Spread on keto toast
Nutritional Information per 2 tablespoons: 102 calories, 1.9 g carbohydrate (0 g dietary fiber, 0.4 g sugars, 0.4 g sugar alcohols), 9.7 g total fat (6.2 g saturated fat, 0 g trans fat), 41 mg cholesterol, 50 mg sodium, 31.6 mg calcium, 25 mg potassium, 96 IU Vit A, 2.3 g protein. Net carbs per serving: 1.5 grams

Photos and recipe by Kathy Sheehan, copyright 2022
All rights reserved. Please do not duplicate without the author’s permission. 
Wednesday, February 9, 2022

Burrata with Strawberry and Balsamic

Burrata with Strawberry and Balsamic
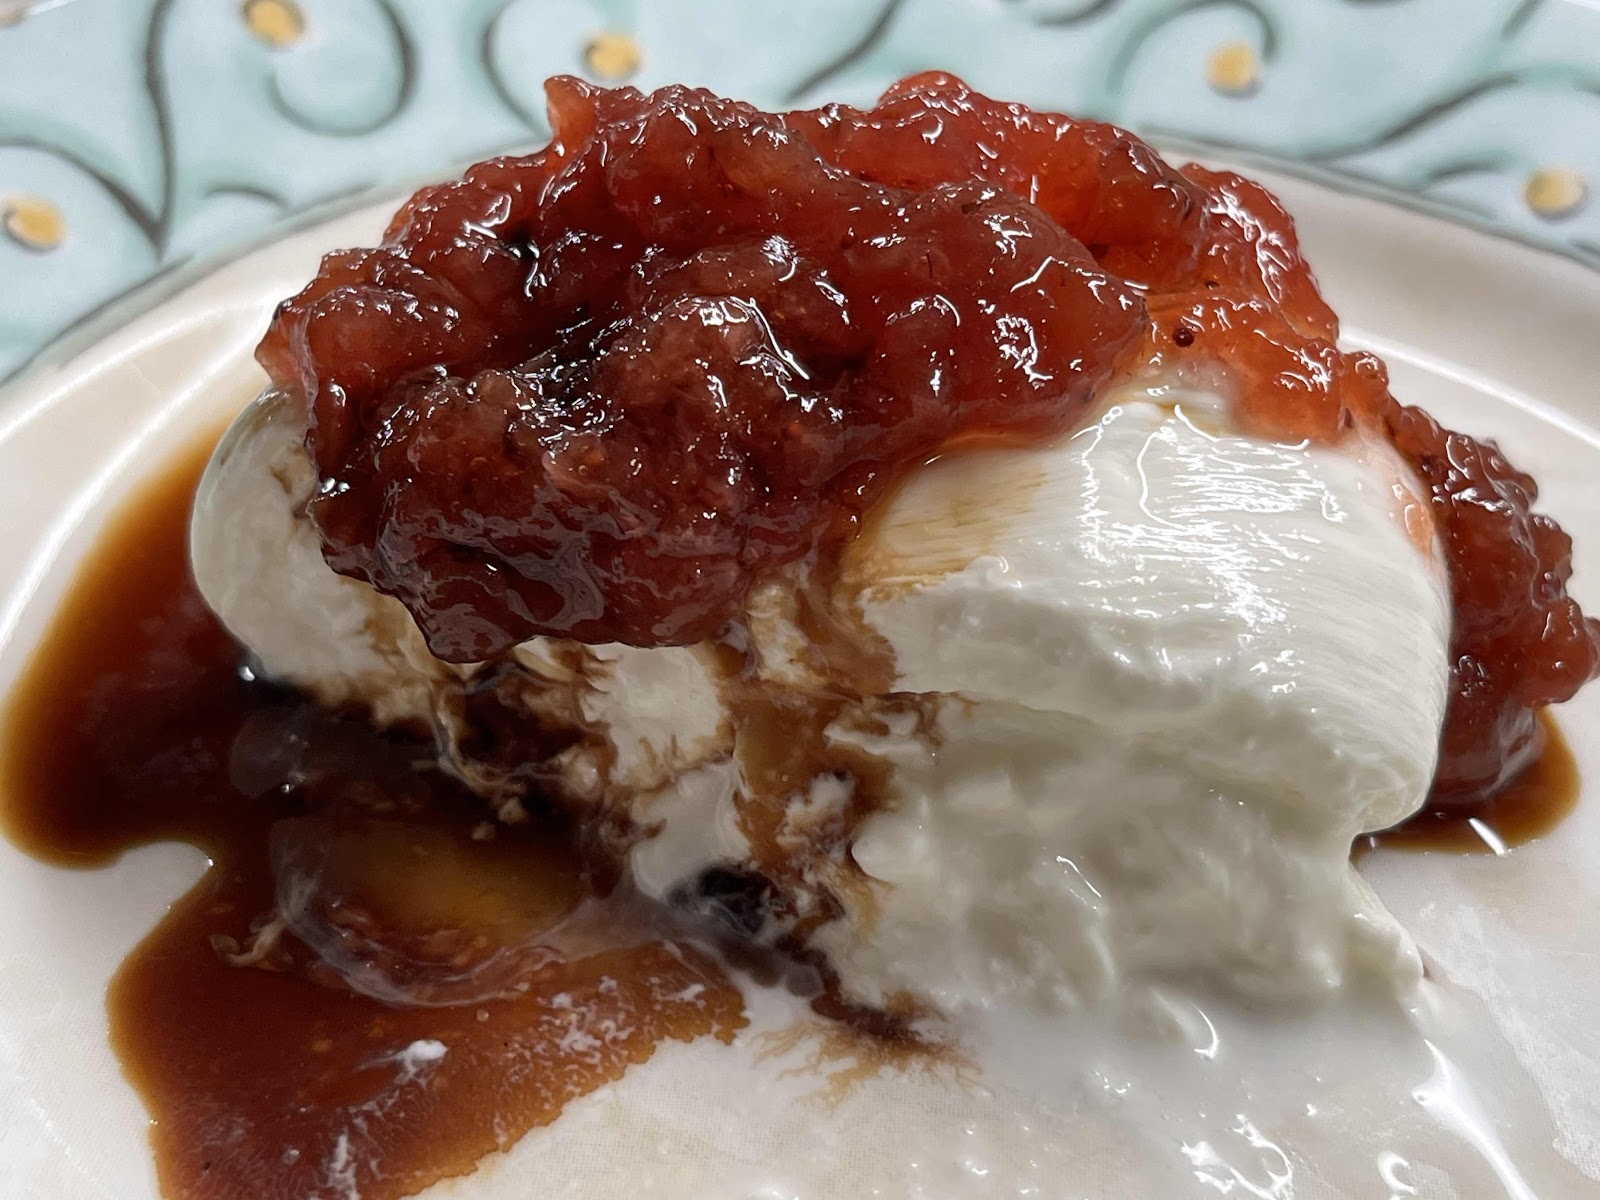
With Valentine’s Day coming soon, you might find this easy recipe perfect to serve as a special appetizer, breakfast or dessert. Only three ingredients needed! Burrata cheese is a thin layer of fresh mozzarella wrapped around a creamy center. It’s perfect served with savory ingredients, but is also excellent with this combination of sweet strawberries and tangy balsamic vinegar. Choose a sugar-free strawberry jam that has no more than four carbs per tablespoon. My favorite is No Sugar Added Strawberry Jam made by Good Good. Stir it up and use it like a sauce. Then drizzle balsamic over all. You can serve this with low carb crackers or it’s excellent eaten directly from a spoon!

Burrata with Strawberry and Balsamic
Makes 2 servings

1 (4 oz.) Burrata Cheese Ball (can be purchased in the cheese section)
1 tablespoon No Sugar Added Strawberry Jam
1 teaspoon balsamic vinegar

Burrata Cheese
1. Place the Burrata cheese ball on a serving plate and allow it to sit at room temperature for at least 15-20 minutes. 

2. Stir the sugar free jam to loosen it up and spoon over the top of the cheese ball. Drizzle 1 teaspoon of balsamic vinegar over all. Enjoy!

No Sugar Added Strawberry Jam by Good Good
Nutritional Information per serving (1/2 cheese ball with toppings): 145 calories, 4.4 g carbohydrate (0 g fiber, 0.9 g sugars), 12 g total fat (8 g saturated fat, 0 g trans fat), 40 mg cholesterol, 121 mg sodium, 0.6 mg calcium, 3 mg potassium, 6 g protein. 

Recipe by Kathy Sheehan, copyright 2022
All rights reserved. Please do not duplicate without the author’s permission.
Saturday, September 11, 2021

Microwave Keto Lemon Curd

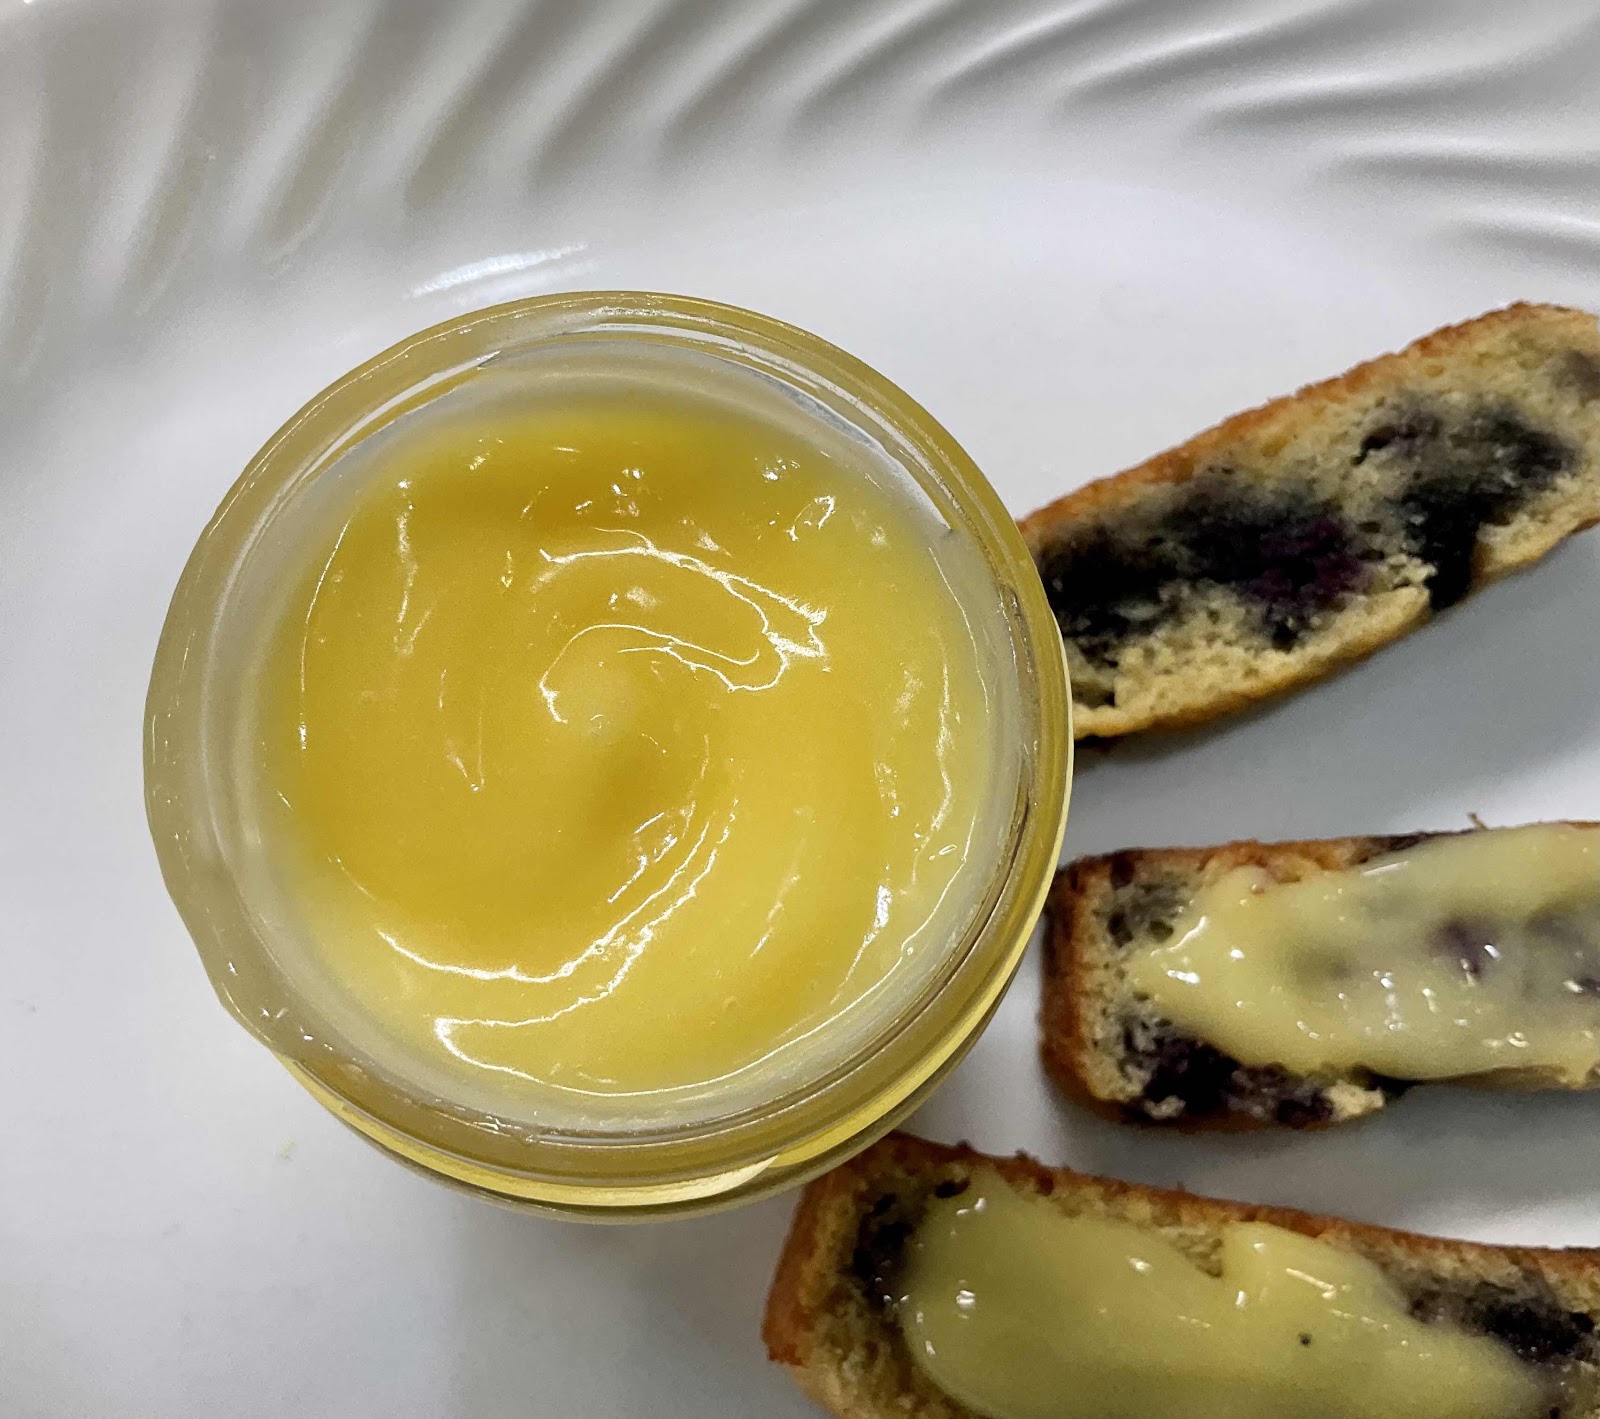
Microwave Keto Lemon Curd
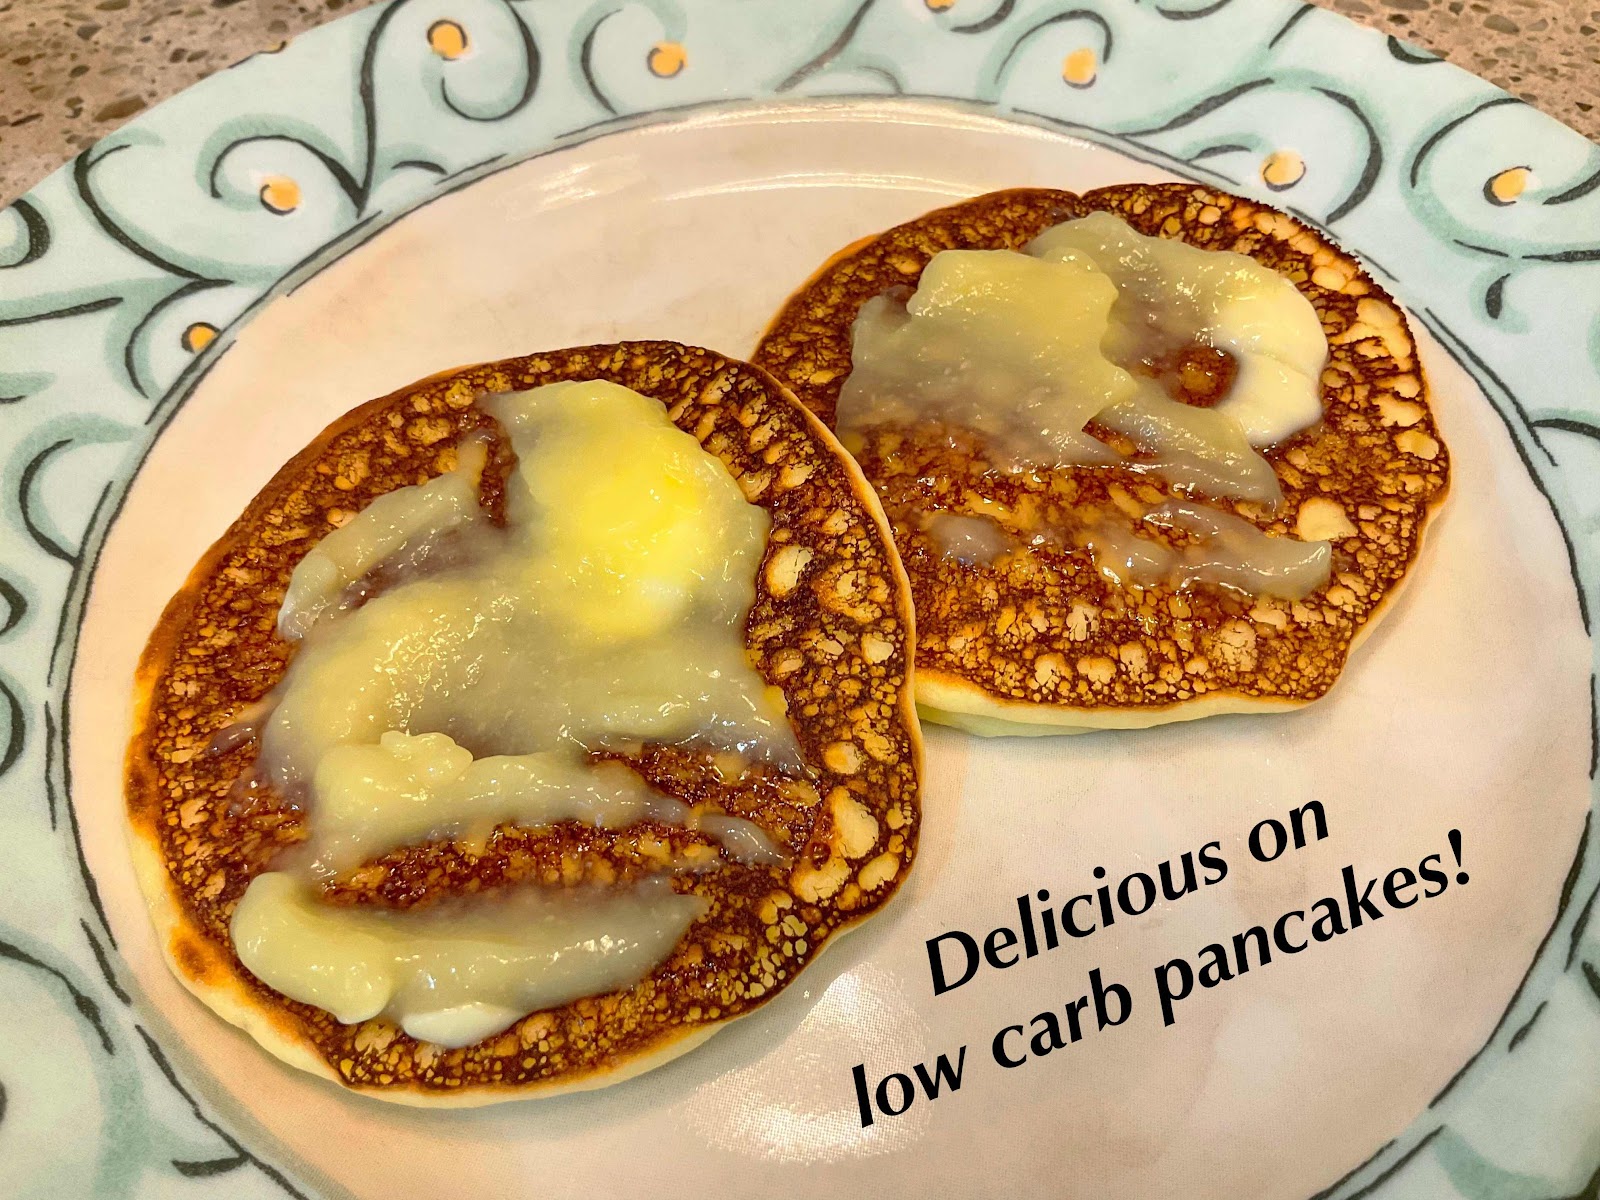
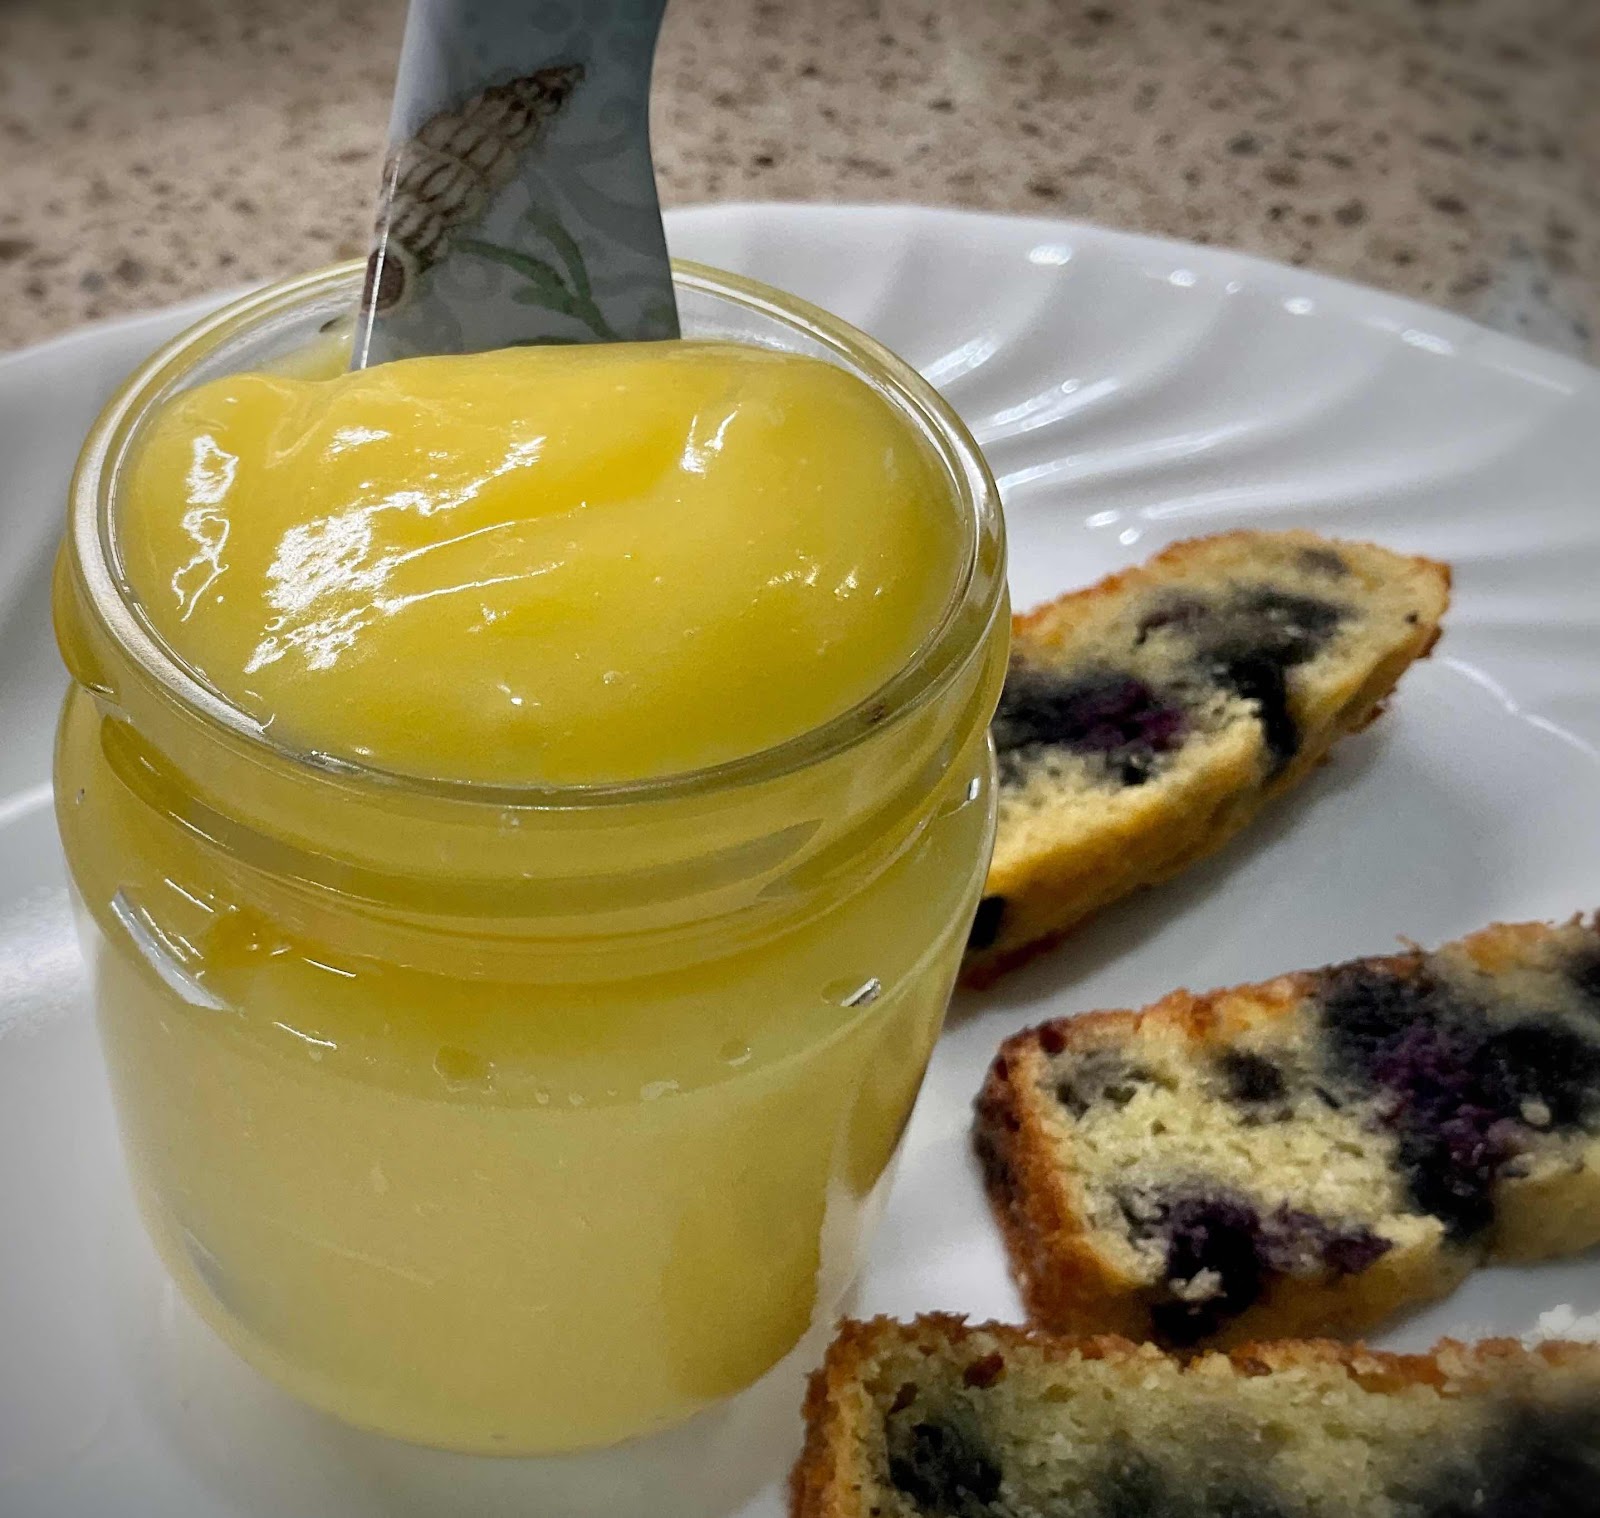
Making homemade Lemon Curd couldn’t be easier than using this quick microwave method! This tart, refreshing spread is excellent on low carb pancakes, toast, chaffles, as a topping for ice cream, cottage cheese or yogurt, as a filling for tarts, thumbprint cookies or between layers of a cake. My grandmother loved it on peaches. Eating it straight from the jar by the spoonful is another way! It also makes an excellent gift to share with your keto friends and family. The list could go on and on…

Microwave Keto Lemon Curd
Makes 3/4 cup (12 servings)

1/4 cup unsalted butter, very soft or melted and cooled
1/4 cup powdered erythritol
1/4 cup allulose (or Bocha Sweet)
1/2 teaspoon lemon zest
1/2 cup fresh lemon juice (it’s important that it be fresh, not bottled!)
1 large egg + 1 egg yolk
1/4 or 1/2 xanthan gum (*see note below)
4-6 drops monkfruit extract
1/8 to 1/4 teaspoon stevia glycerite (or more monkfruit extract to taste)

1. Whisk together the butter, powdered erythritol, allulose, lemon zest, lemon juice and egg in a large microwave-safe bowl. (The mixture will expand considerably during the cooking process, so it’s best to use a large bowl to prevent any overflow.)

2. Microwave on high in 45 second intervals, stopping between intervals to whisk thoroughly, until the mixture has thickened and coats the back of a spoon, about 4-5 minutes in total. (The mixture will thicken more once cooled.) 

3. After cooking, add the xanthan gum and whisk vigorously until incorporated and dissolved. Add the stevia glycerite and monkfruit extract to taste.

4. Using a fine mesh strainer, strain the warm mixture into a clean bowl, using a rubber spatula to press the curd through the strainer. Discard any remaining solids. Cover the surface with plastic wrap, pressing down to make sure the wrap touches the top of the curd to prevent a skin forming. Refrigerate until set, overnight is best. Remove from the refrigerator and, if desired, spoon into a glass jar or other airtight container for storage. Keep refrigerated. Can be stored for 7-10 days.

Note: If you’ll be using this Lemon Curd as a filling between cake layers or for a tart, use the 1/2 teaspoon amount of xanthan gum for the extra thickening power it provides. If serving as a spread or sauce, the 1/4 teaspoon measurement is adequate. 

Lemon curd on pancakes

Keto Lemon Curd
Nutritional Information per tablespoon: 76 calories, 1.3 g carbohydrate (0 g dietary fiber, 0.3 g sugars, 0.7 g sugar alcohol), 8.1 g total fat (5 g saturated fat, 0 g trans fat), 36 mg cholesterol, 8 mg sodium, 5.4 mg calcium, 21 mg potassium, 78 IU Vit A, 5 mg Vit C, 0.6 g protein. Net carbs per serving: 0.6 grams

Photos and recipe by Kathy Sheehan, copyright 2021
All rights reserved. Please do not duplicate without the author’s permission. 
Tuesday, February 16, 2010

Quick Lemon Ricotta Tart

I love the seriously tart flavor of lemon or lime curd, but each tablespoon is 11 grams of carbohydrate, all of which are sugar. Here is an excellent way to satisfy my craving for this sweet, delectable spread and receive some good nutrition at the same time!

Fat-free ricotta is a smooth, rather bland, cream cheese that delivers 200 mg of calcium with only 45 calories and 5 grams of carbohydrate per serving. Combined with lemon zest and lemon curd, it becomes a lightly sweetened, creamy spread. Try it with other citrus flavors, such as lime or orange for variety. This simple and quick "tart" makes a wonderful snack or serve it alongside a salad for lunch. You'll enjoy it's tangy flavor so much that I guarantee it will brighten up your gray, cold, February day, too.

Quick Lemon Ricotta Tart
(Makes 4 servings)

2 Pepperidge Farm Deli Flats or Arnold’s Sandwich Thins (7 Grain or Oatmeal)
2 teaspoons 0% trans fat light buttery spread (such as Smart Balance Light)
4 tablespoons Splenda granular, divided
1/8 teaspoon ground mace (or nutmeg)
1 cup fat-free ricotta cheese
2 tablespoons lemon curd*
Zest from one lemon (about 2 teaspoons)*
¼ teaspoon lemon extract*

1. In a small bowl, mix together 1 tablespoon Splenda with the 1/8 teaspoon ground mace; set aside.

2. Split apart the bread thins and spread each flat side with ½ teaspoon light buttery spread to edges. Sprinkle with the Splenda-mace mixture and toast in a toaster oven or oven preheated to 350-degrees until crisp and golden. Remove from oven and cool completely.

3. In a small mixing bowl, mix together the ricotta cheese, lemon curd, lemon zest, lemon extract and 3 tablespoons Splenda. Spread ¼ cup of ricotta mixture on each toasted bread round and serve immediately.

*This recipe is equally delicious if you substitute lime curd or orange marmalade and flavor with the zest of those fruits.

Nutritional Information per serving: 139.5 calories, 21.5 g carbohydrate, 1.4 g total fat, 0 g saturated fat, 2.6 g fiber, 8 g protein.

Original recipe by Kathy Sheehan, copyright 2010

Wednesday, November 25, 2009

Sugar-free Cranberry Sauce

I love cranberry sauce with my turkey, but traditional cranberry sauce is off the charts! Even a small portion of only 1/4 cup is loaded with 22 grams of added sugar and a total of 27 grams of carbs. Add that to the other carbohydrates in a Thanksgiving meal and cranberry sauce, even a spoonful, is off limits for me. Instead of dwelling on the things I can't have because of my diabetes, on this Thanksgiving Day I smile and am thankful I live in an age when there are so many wonderful alternatives that make it easy to manage this complicated disease.

It's simple to make homemade cranberry sauce and it tastes so much better than canned. I tweaked the traditional recipe just a bit to create this delicious variation that calls for a combination of erythritol sweetener, stevia and applesauce to replace the sugar called for in the recipe found on the back of a bag of fresh cranberries, plus it cooks up quick on the stovetop. The hint of cinnamon, cloves and vanilla balances out the tartness. The pectin in the applesauce helps to thicken the sauce perfectly. This cranberry sauce is so delicious, I top it with whipped cream and have it for dessert, use it as a fruit spread on my gluten free waffles or stir it into yogurt. Happy Thanksgiving to all!

Sugar-free Cranberry Sauce
(Makes eight ¼-cup servings)

One 12 ounce bag of cranberries (fresh or frozen)
1/3 cup LaKanto Monkfruit sweetener (or other erythritol sweetener)
a pinch of sea salt
2 tablespoons water
1/2 cup unsweetened applesauce (no sugar added)
1 teaspoon ground cinnamon
1/8 teaspoon ground cloves
1/2 teaspoon vanilla extract
1/2 + 1/8 teaspoon stevia powder, or to taste (I used Sweet Leaf brand)

1. Rinse and pick over the cranberries and place them in a large saucepan. Add the LaKanto Monkfruit sweetener, salt, water, applesauce, cinnamon and cloves. Stir to combine.

2. Boil gently for 5-8 minutes (skins will split), stirring occasionally. Remove from heat and add the vanilla and stevia powder to taste. Stir to combine. Allow the sauce to cool until it reaches room temperature. Store in the refrigerator until time to serve.  The sauce will thicken as it cools.

Nutritional Information per ¼ cup serving: 28 calories, 7 g carbohydrate, (2.3 g dietary fiber, 3.2 g sugars, 8 g sugar alcohols), 0 g total fat, 0 mg cholesterol, 16 mg sodium, 7.8 mg calcium, 50 mg potassium, 0.2 g protein.  Net carbs per serving: 4.7 grams

Original recipe by Kathy Sheehan, copyright 2009, revised 2016

Sunday, September 13, 2009

"Apple Pie" Fruit Butter

A few days ago, I made "Apple Pie" Sauce, which was incredibly delicious. My husband enjoyed it with light ice cream and for a week it was my go-to snack! Inspired by the same luscious flavors, today I turned my kitchen into an apple factory to cook up another spectacular creation. It was a bit more involved, but not difficult. First, I made a huge batch of fresh applesauce, then put it into my crock pot to simmer all afternoon and reduce into apple butter, which is a spiced apple spread for toast, waffles, pancakes, or anything in which you'd spread with butter or jam. (In spite of the name, it doesn't contain any dairy butter.) Also, it is a very flavorful ingredient in baked recipes to replace some of the oil or sugar, as you most likely will see used here in later posts. While it was cooking, my house smelled heavenly! It was better than any potpourri you could buy.

There are a lot of apple butter recipes out there, but very few that offer a sugar-free version and not any I could find that suggest adding vanilla with the spices. The vanilla seeds really gives this fruit butter it's distinctive "apple pie" flavor. A typical apple butter recipe calls for 1 or 2 cups of added sugar -- Yikes! In my opinion, if you use a combination of apples that include some sweeter varieties (or you start with "no sugar added" applesauce from the grocery store), you don't need to add any sugar. If your apples are tart, such as the local varieties I have used in my recipe, stevia works just fine. Homemade apple butter is a wonderful gift and this recipe makes enough to share with at least a few special people on your list!

"Apple Pie" Fruit Butter
(Makes about 6 cups)

10 pounds apples (about 34 to 36 medium to large apples), peeled, cored and sliced
1½ tablespoons lemon juice
½ cup apple cider
1/2 teaspoon stevia powder, or to taste (I used Sweet Leaf brand)
1½ teaspoons cinnamon
¼ to ½ teaspoon nutmeg
¼ teaspoon allspice or cloves, ground
¼ teaspoon salt
seeds scraped from one vanilla bean*

1. Make applesauce by placing sliced apples and lemon juice into a large heavy pot and, without adding water, cook covered on medium-low heat until soft, stirring occasionally. Mash with a potato masher until a smooth consistency has been reached. If desired, you can use a handheld or standing blender, food processor or food mill for an extra fine, smooth sauce. (Note: If you don't want to make applesauce from scratch, purchase 12 cups of no sugar added applesauce from grocery store.)

2. Pour applesauce into a large crock pot or roasting pan. Add cider, stevia, spices, salt and seeds scraped from vanilla bean* and stir to combine. Simmer on medium-low heat for 5 to 8 hours, stirring occasionally, until thick and dark brown in color. (If cooking in oven, set for 350-degrees.) Time will depend on the amount of moisture in the applesauce. You want the mixture to simmer to release the liquid and reduce in volume by about half. You will know when it is ready because, instead of simmering, the bubbles will begin to have a "plopping" sound and the mixture will be very, very thick. You can partially cover pot to avoid splatters, but make sure the steam can escape. (I have seen it suggested to place two butter knives across rim of crock pot and place lid on top to allow a space for steam to escape.) Apple butter will thicken slightly when cooled.

3. If you plan to preserve the apple butter in jars, prepare jars by sterilizing. (Note: Always use new lids, but jars and bands can be reused.) Jars can be sterilized in your dishwasher, or wash with soap and warm water then place in a 200-degree oven for 15 minutes. Lids can be sterilized by soaking in hot (not boiling) water for 5 minutes. Pour hot apple butter into hot jars leaving ¼-inch space at top to allow for a proper seal, wipe rim of jar with dry paper towel, top with lid and tighten band just until finger tight. Do not tighten rim too much or it will interfere with seal. Boil in water for 10 minutes making sure water is at least 1-inch over top of jar (higher altitudes need longer boiling time, check with jar manufacturer for proper amount of time). Remove to a towel on your counter and do not touch for 12 hours or overnight. Test to make sure the top has sealed by pressing on middle of lid. If it is sealed properly, it will not pop up and down.

4. Properly sealed jars can be left at room temperature for storage up to a year. Otherwise, store apple butter in airtight container in refrigerator and use within 2 weeks. (If any jars have not sealed properly, store in refrigerator and use within 2 weeks.)

*Note about the vanilla: Using the seeds from a vanilla bean is preferred. If you don't have that available to add to the sauce before cooking, then add 2 teaspoons of pure vanilla extract during the final 10-15 minutes of cooking because if it boils too long, extract's flavor will be altered. If you are planning to can your apple butter and you're using extract, the vanilla must boil with the mixture for at least 10 minutes before pouring into sterilized jars.

Nutritional Information per tablespoon: 23.8 calories, 6.4 g carbohydrate, 0 g fat, 0.6 g fiber, 0.1 g protein.

How does this recipe compare with other apple butters made with cider? This recipe is lower in calories and carbohydrates. The average nutritional information for 1 tablespoon of traditional apple butter that includes cider as an ingredient is 45 calories, 11 g carbohydrate, 0 g fat, 0 g fiber, 0 g protein.

Original recipe by Kathy Sheehan, copyright 2009