Showing posts with label peach. Show all posts

Monday, September 5, 2022

Keto Peach Melba Loaf Cake

Keto Peach Melba Loaf Cake
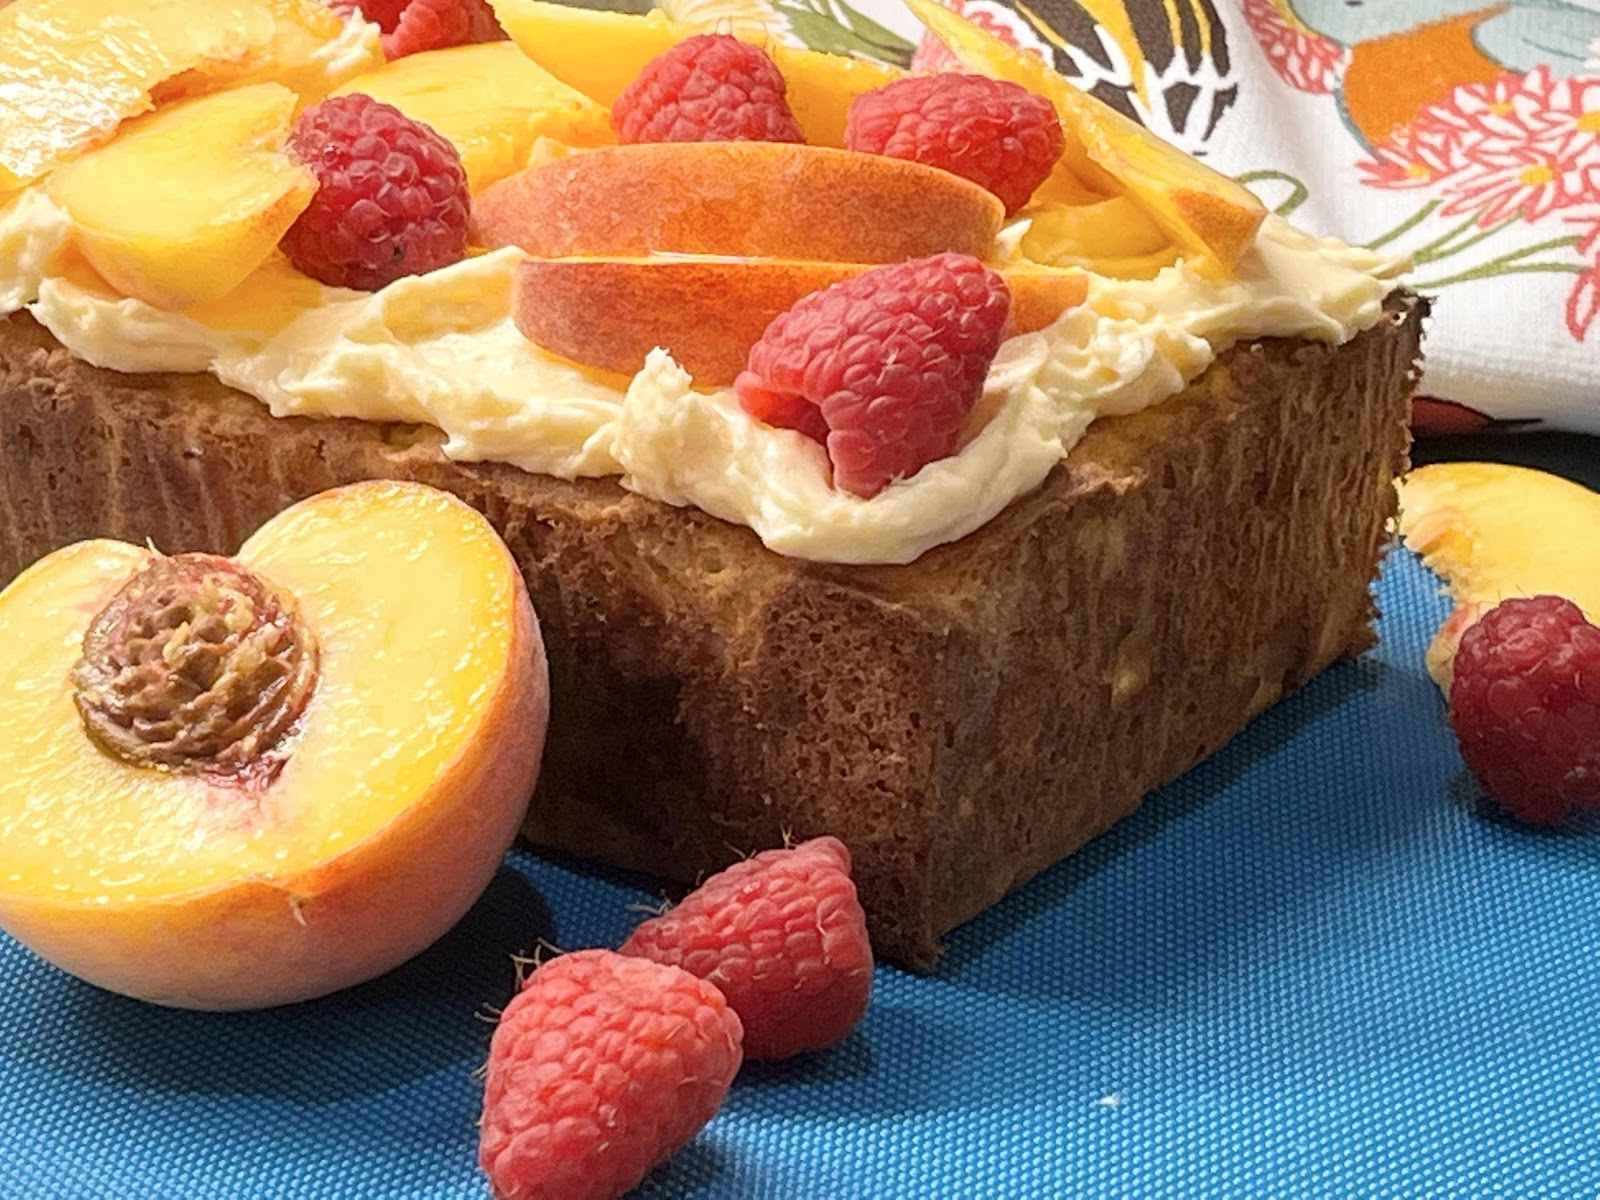
With my birthday coming up, I wanted to create a cake that highlighted my favorite seasonal fruits: peaches and raspberries! This cake is so easy to make and decorate. No need to fuss with layers. It is baked in a loaf pan, topped with a delicious peach buttercream frosting and then decorated with fresh fruit. What a beautiful and delicious way to end the summer!

Keto Peach Melba Loaf Cake
Makes 12 servings

Cake Ingredients:
3/4 cup + 2 tablespoons coconut flour (96 grams)
3/4 cup erythritol-based sweetener (I used LaKanto Monkfruit sweetener)
1/3 cup unflavored whey protein powder 
1 tablespoon baking powder
1/4 teaspoon salt
4 large eggs, room temperature 
4 large egg whites, room temperature 
1/2 cup unsalted butter, melted and cooled a bit
1/4 cup unsweetened coconut milk (or low carb milk of choice)
1 teaspoon vanilla extract
1 teaspoon almond extract
3/4 cup fresh peaches, skins removed and diced
1/3 cup fresh raspberries, cut into small pieces

Peach Buttercream Frosting:
4 tablespoons unsalted butter, room temperature 
1/2 cup erythritol-based confectioners sugar (either LaKanto Powdered or Swerve Confectioners)
4 ounces full-fat cream cheese, softened
2 tablespoons sugar free peach preserves (or apricot, if you can’t find peach)
1-2 drops yellow or orange food coloring (optional)

Garnish:
Raspberries and peach slices to decorate

Directions:

1. Preheat the oven to 325°F. Line the bottom and sides of a large loaf pan with parchment paper and grease the corners or any place not lined with the parchment paper sling.

2. In a medium bowl, whisk or sift together the coconut flour, sweetener, whey protein powder, baking powder and salt. Set aside.

3. In a large bowl with an electric mixer, beat the eggs, egg whites and extracts until light and fluffy. Add the melted butter, coconut milk and beat on medium-low until just incorporated. All at once, add the dry ingredients and beat until well blended. Fold in the chopped peaches and raspberries. The batter will thicken up as the coconut flour absorbs much of the liquid, which is normal.

4. Spoon the batter into the prepared loaf pan and spread to the edges and level the top with the back of a spoon or small offset spatula. Bake for 50 to 55 minutes in the preheated oven until top is golden brown and firm to the touch. It’s always a good idea to test the internal temperature of keto cakes and breads to better determine doneness. It should read between 206 to 210°F.
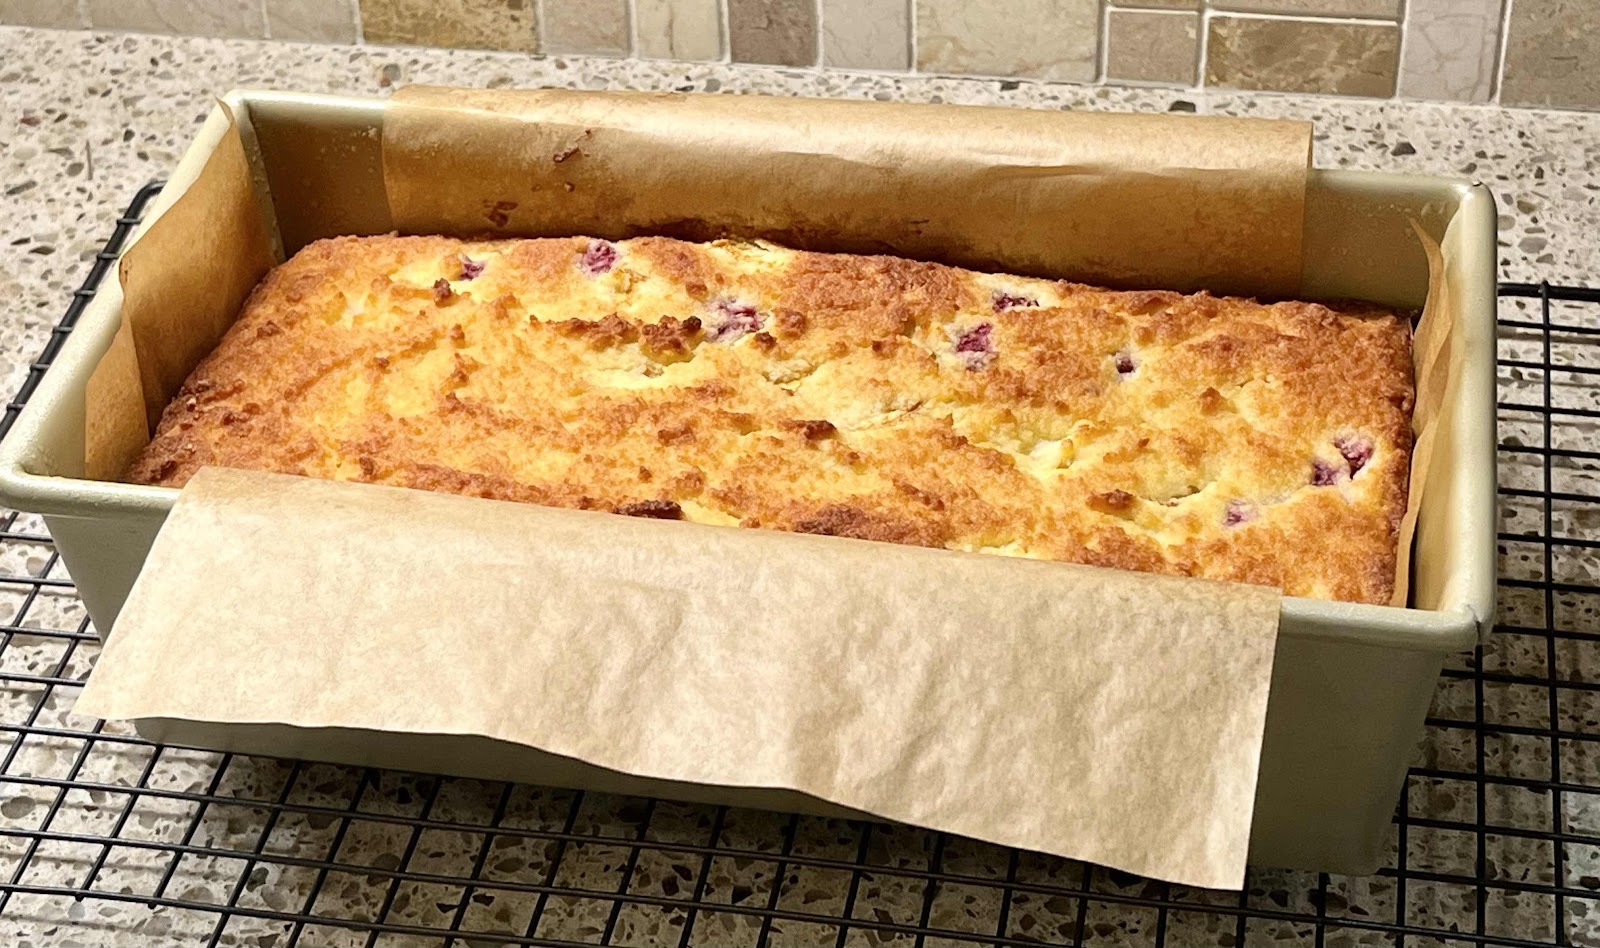
Loaf Cake in pan with parchment paper sling
5. Remove from the oven and let cool for 25 minutes in the pan. If needed, run a sharp knife around the insides of the pan and lift the loaf out using the parchment paper sling. Remove and discard parchment paper. Cool cake completely before frosting.

6. For the icing, put the softened butter in a bowl with the confectioners sugar and beat with an electric mixer until very soft and smooth. Add the softened cream cheese and beat again until thick and pale. Add the peach or apricot preserves for a fruity flavor, if you like, and add a drop or two of yellow or orange food coloring if you want to turn it a pretty peachy color. This frosting can be kept at room temperature for about an hour, or you may chill the icing until it has firmed up a bit or for longer storage. Return to room temperature and stir before spreading over the top of the cake. Decorate the cake with extra fresh raspberries and peach slices. (It’s best to do this just before serving because the peach slices can discolor if added too far in advance.)
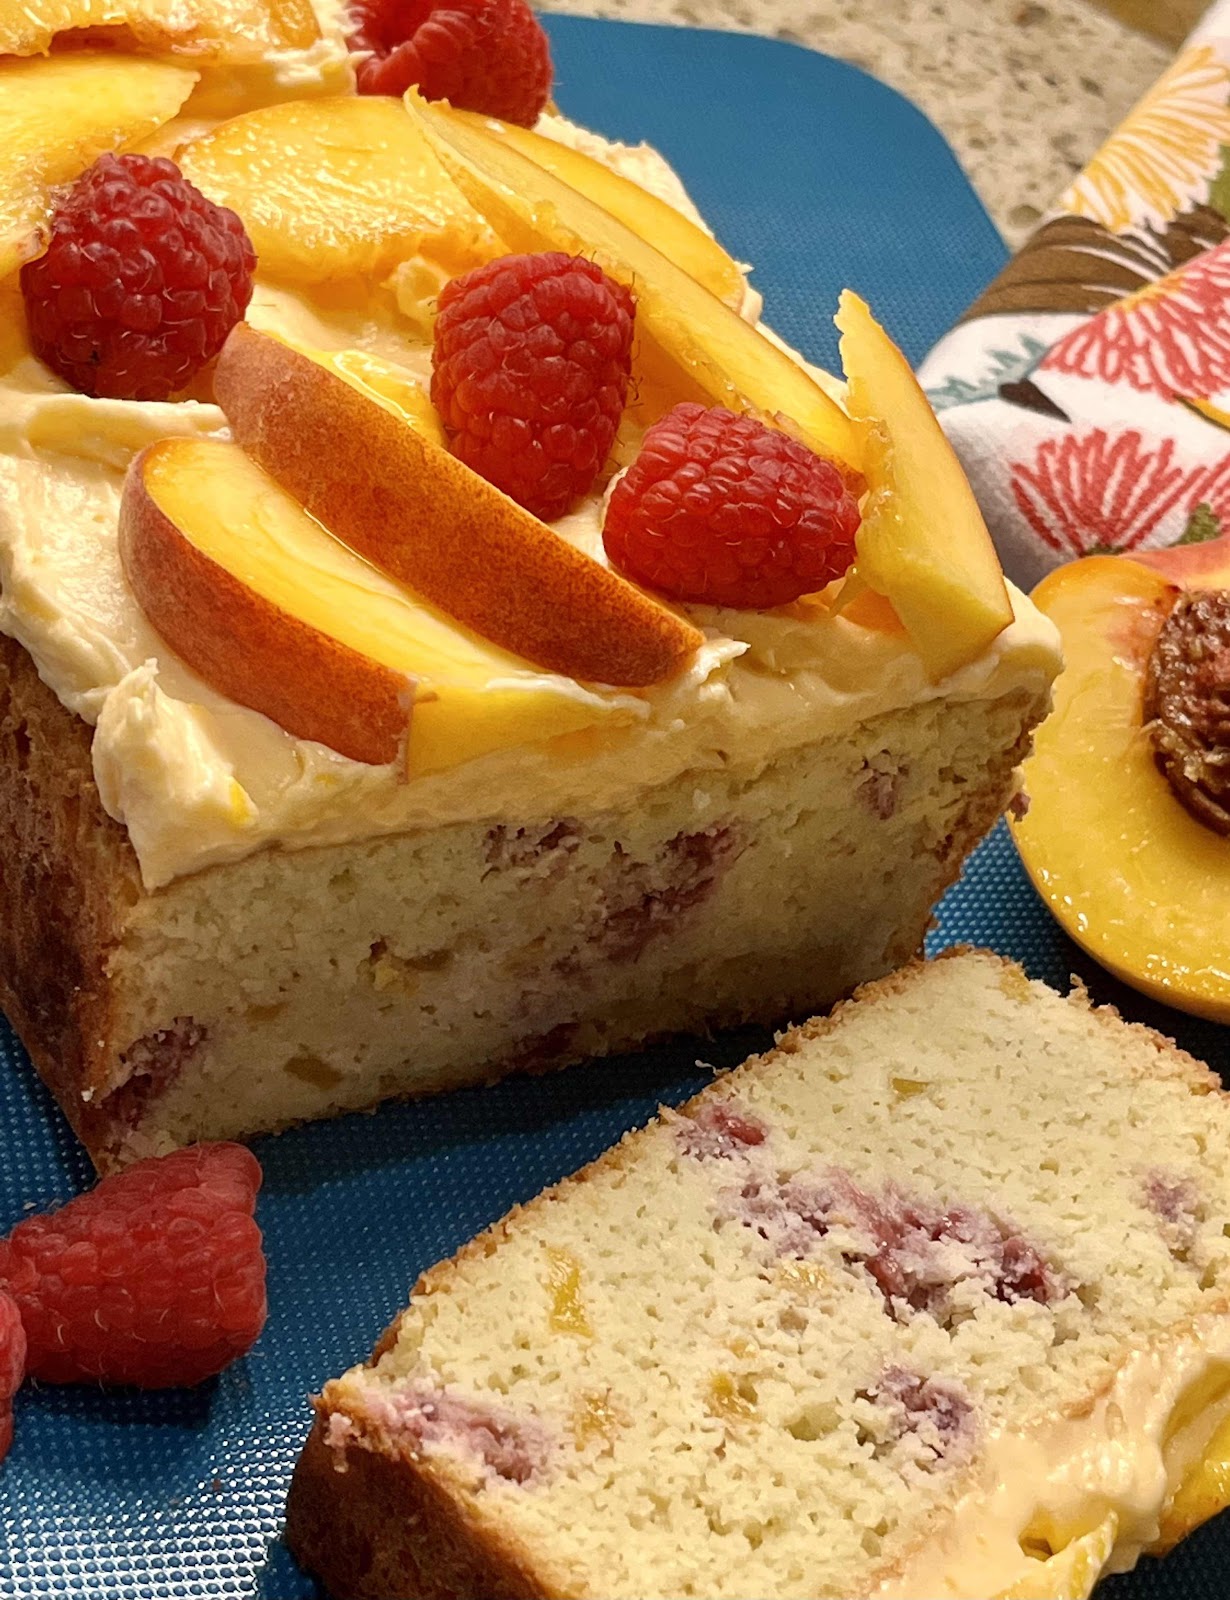
Decorate top with fresh fruit
Tips: Ripe peaches work best in this recipe. If your fruit is under ripe, try keeping it in a brown paper bag with a banana to speed up the ripening process. The unfrosted cake keeps for a couple of days in an airtight container. Use a serrated bread knife to slice.

Nutritional Information per serving (1/12 of cake), with frosting, but not counting fruit garnish: 200 calories, 10g carbohydrates (3.9 g dietary fiber, 3.9 g sugars, 3 g sugar alcohols), 17.3 g total fat (10.8 g saturated fat, 0 g trans fat), 104 mg cholesterol, 231 mg sodium, 123 mg calcium, 73 mg potassium, 1 mg iron, 178 IU Vit A, 1 mg Vit C, 7 g protein. Net carbs per serving: 3.1 grams

Photos and recipe by Kathy Sheehan, copyright 2022
All rights reserved. Please do not duplicate without the author’s permission.

Friday, August 5, 2022

No Sugar Added Keto Fruit Jam (Peach, Cherry or Strawberry)

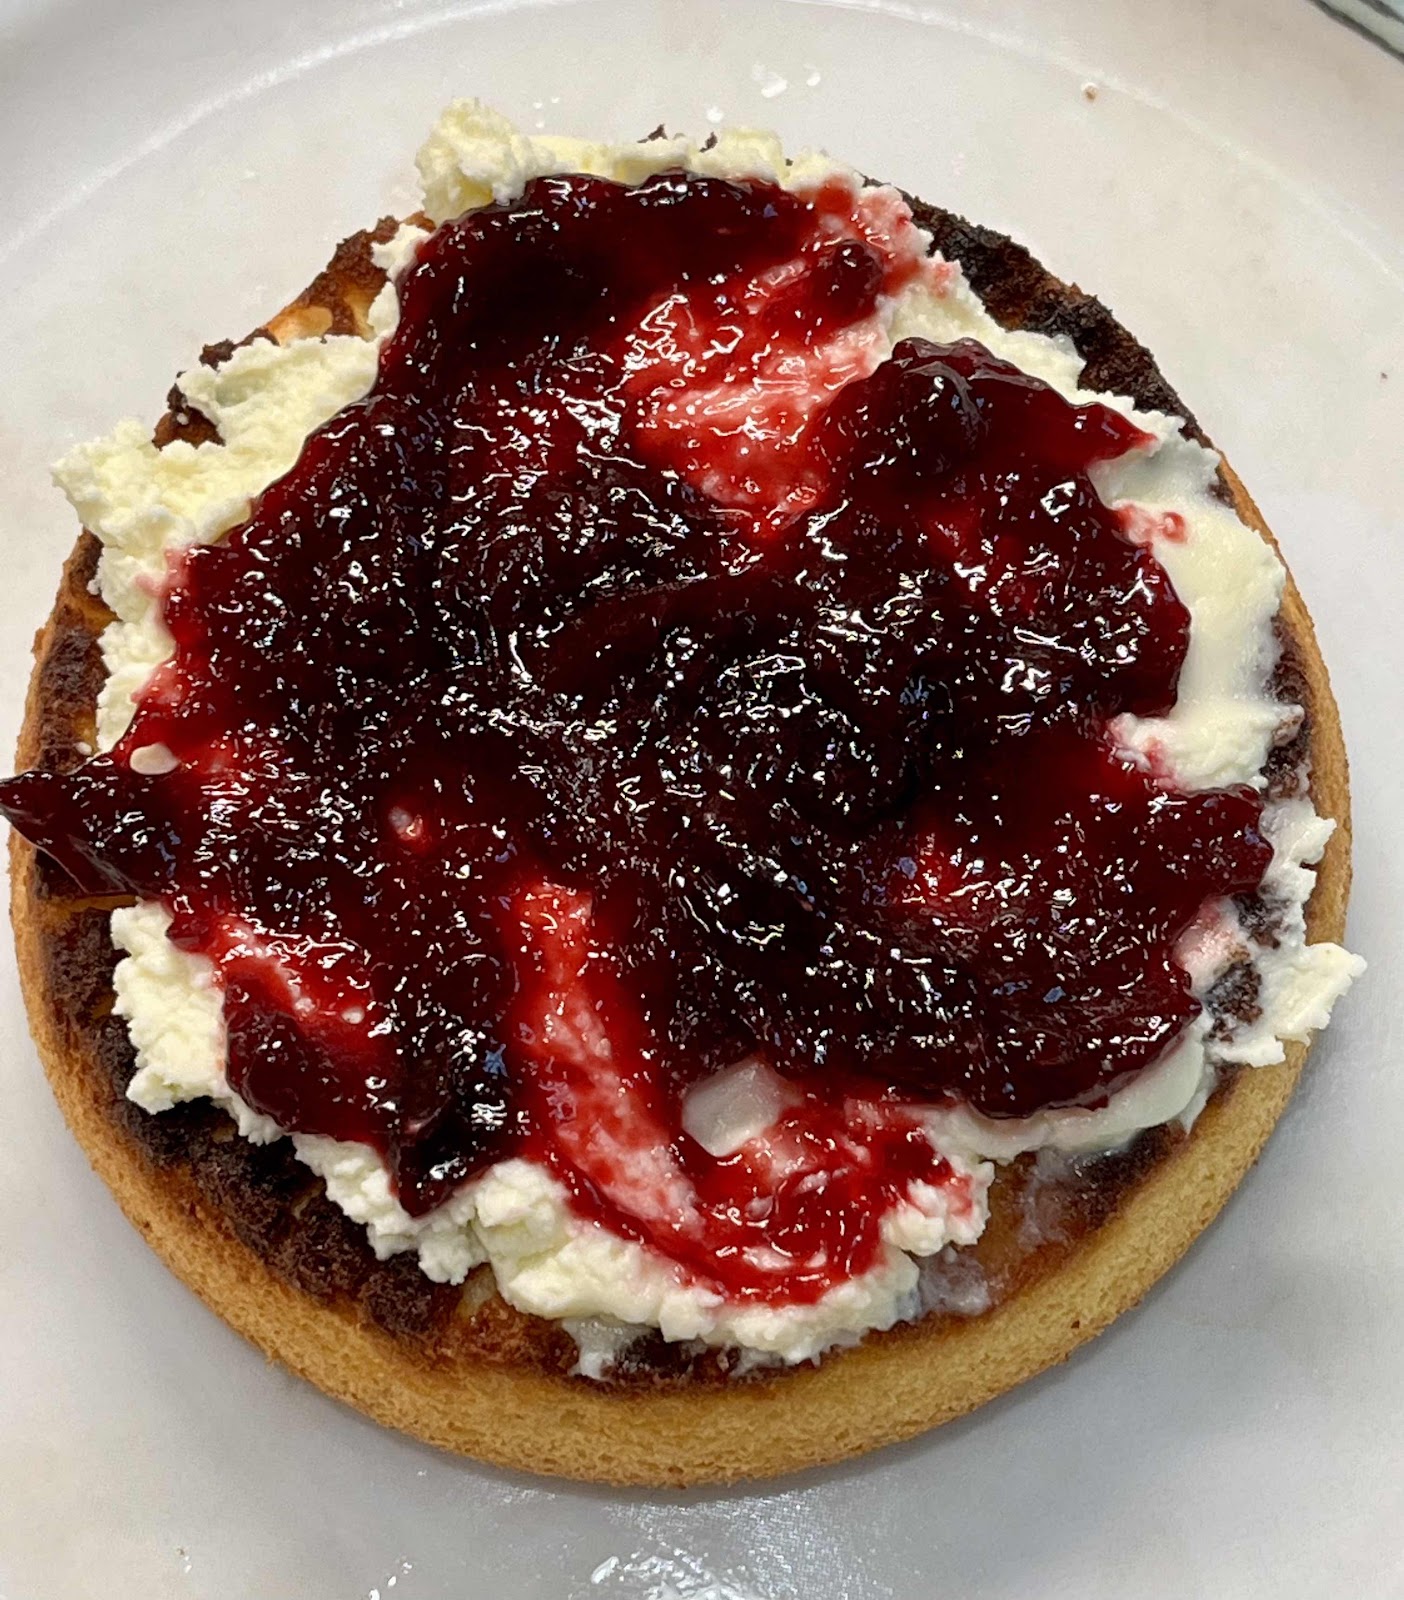
Keto Cherry Jam
I don’t eat a lot of fruit because of the high carb count. But one thing I really enjoy is a teaspoon or two of sticky, gooey jam on my low carb, keto bread. And there are times when I just want a peanut butter and jelly sandwich! In a previous post, I mentioned the excellent keto bread recipe that I found that has made my life normal again. (Click here for the keto bread recipe.) With the bread problem solved, it was now time for me to turn to finding the best keto jam. There are a couple of store brands that are acceptable, but they are watery, taste a little off and, frankly, are nothing like the real thing. Jam making is not really difficult, but it can have special challenges when not using real sugar. I have discovered that allulose is the very best sugar alternative when making fruit jam, with absolutely no aftertaste! My amazing keto jam recipe is easily adaptable to most fruits, with minor adjustments. I provide recipes for cherry, strawberry or peach, but you can change it up to create your favorite flavor!

Tips and Tricks for Sugar Free Jam:

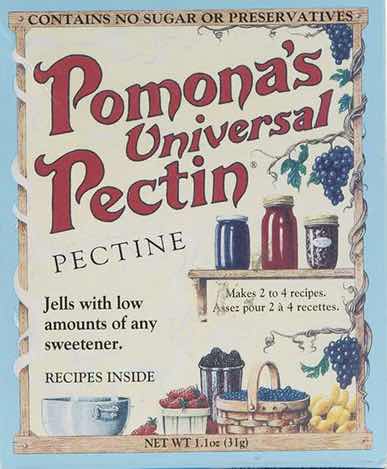
* You must use a pectin made especially for low or no sugar jam. Look for Pomona’s Universal Pectin, which is easy to find in most grocery stores or online. Follow the directions in the package to make the calcium water, which is the secret ingredient to properly thicken sugar free jams and jellies.

Pomona’s Universal Pectin
* Regular jam made with sugar typically reaches a temperature of 220°F when it is ready to be ladled into the jars. With sugar-free jams, the mixture will not rise to this temperature (usually no more than between 212 to 215°F), so you will have to use the “cold plate test” to determine when it is cooked enough to gel properly. Before you begin cooking the fruit mixture, place one or more small plates into the freezer to get cold. When you think your mixture is ready, spoon a small amount onto the cold plate and let it sit for a few minutes. If it forms a skin and begins to thicken and gel, then the jam mixture is ready for canning.

* You can use fresh or frozen fruit to make jam. If using frozen, increase the amount to 6 cups of fruit and proceed with the recipe as directed.

* You do not have to process the finished jam in a boiling water bath, if you want to dig right in! Use sterilized jars, but place the finished jam in the refrigerator to set up and consume within 1-2 weeks. If you want to make your jam shelf-stable at room temperature for up to a year, you must follow the canning directions, always use new lids and submerge the filled jars in boiling water for 10 minutes and test to make sure it sealed properly (add 1 minute to boiling time for every 1000 feet above sea level). After it has cooled completely, check the lids for a seal. They should not flex when the center of the lid is pressed. A properly processed and sealed jar of jam is shelf-stable for 12-18 months. Refrigerate after opening and consume within 1-2 weeks.

The Recipes:
Each recipe yields about 3-1/2 cups

Cherry Jam:
5 cups of cherries, pitted (or 6 cups frozen)
1/2 cup bottled lemon juice
3 teaspoons calcium water (see Tips and Tricks section above)
1 cup allulose
2 teaspoons Pomona’s Universal Pectin powder
1 teaspoon cherry extract (optional), or to taste

Peach Jam:
5 cups peeled and chopped fresh peaches (or 6 cups frozen)
1/4 cup bottled lemon juice
4 teaspoons calcium water
1 cup allulose
2 teaspoons Pomona’s Universal Pectin powder

Strawberry Jam:
5 cups fresh, chopped strawberries (or 6 cups frozen)
1/4 cup bottled lemon juice
4 teaspoons calcium water
1-1/3 cups allulose
2 teaspoons Pomona’s Universal Pectin powder
1/2 to 1 teaspoon strawberry extract (optional), or to taste

Sugar Free Strawberry Jam

Directions:

1. Prepare the boiling water canner. Put the canning rack on the bottom of a large pot, then heat the jars in simmering water until ready to use, for about 10 minutes. Wash the lids in soapy, hot water and set aside with the bands until you are ready to use them. (Do not boil the lids, but you can leave them in very hot water until you’re ready to use them.)

2. In a bowl, combine the allulose and pectin powder; set aside.

3. Prepare the fruit by peeling, pitting and chopping into chunks, whatever is required, and measure out the required amount (either 5 cups fresh fruit or 6 cups frozen). Put the fruit in a large pot over medium heat. Add the lemon juice and calcium water and stir. Bring to a boil, then use a potato masher to crush up the fruit to the desired consistency. If you like your jam chunky, then leave larger pieces of fruit. Bring to a rolling boil and, if needed, skim the foam and discard.
 
4. Gradually stir in the allulose/pectin mixture and continue to stir until the sweetener and pectin dissolves.

5. Bring the fruit mixture to a full rolling boil that cannot be stirred down. Boil hard for at least one minute, stirring constantly. Remove from the heat and skim any additional foam off the top if necessary. To test for the proper consistency, use the “cold plate test” as described in the Tips and Tricks section above.

6. Using a jar lifter, lift one jar out of the hot water and place it on a towel or wooden cutting board. Ladle the hot jam into the hot jar using a canning funnel. Leave 1/4 inch of head space at the top. Remove any air bubbles and wipe the jar rim with a paper towel or a clean cloth. Center a lid on the jar and apply the band, screwing it down until it is just fingertip tight. Repeat the process with the other jars until all of the jars are filled.

7. Process the jars in boiling water for 10 minutes, adjusting for altitude (add 1 minute to boiling time for every 1000 feet above sea level). Turn off the heat and let the jars sit in the canner, uncovered, until the water stops boiling or for several minutes. Very carefully remove the jars with the jar lifter, lifting them straight up (do not tilt jars as you lift them) and place them on a clean towel. You can gently blot any excess water from the top of each jar with a kitchen towel, but do not press down on the lid.

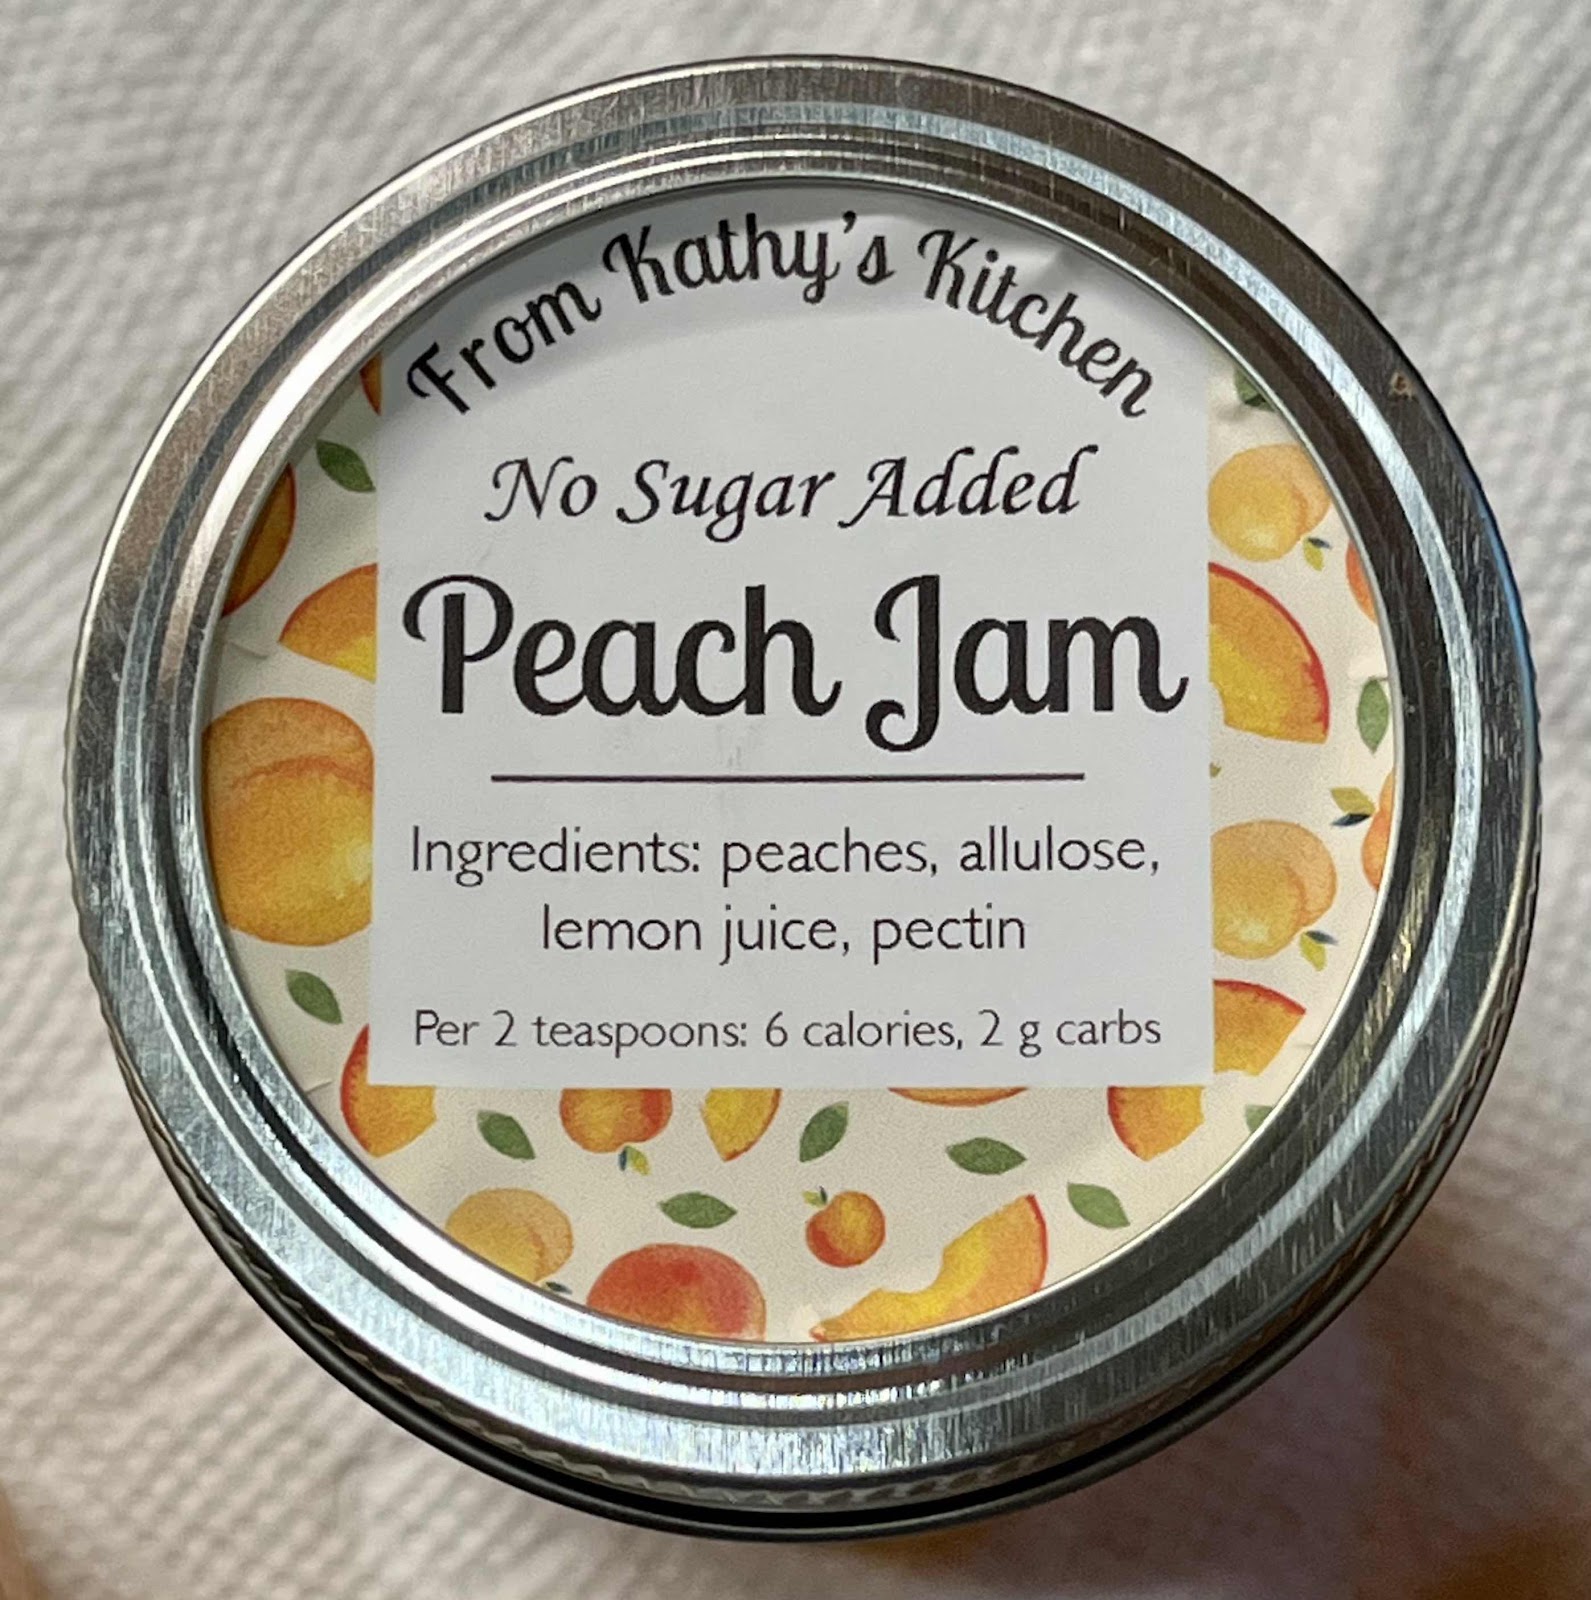
No Sugar Added Peach Jam
8. Let the jars cool undisturbed for 12 to 24 hours. You will hear a popping sound as the jars cool and create a vacuum seal. This is normal. After 12-24 hours, check the lids for a proper seal, they should not flex when the center is pressed. If any jars did not seal properly, you may put them in the refrigerator and use the jam immediately or you can reprocess them with a new lid.

Peach Jam Label
Nutritional Information for Cherry Jam (2 teaspoons): Calories: 8 / 2 g carbohydrate / 0 g dietary fiber / 0 g fat / 0 g protein

Nutritional Information for Peach Jam (2 teaspoons): Calories: 6 / 2 g carbohydrate / 0 g dietary fiber / 0 g fat / 0 g protein 

Nutritional Information for Strawberry Jam (2 teaspoons): Calories: 4 / 1 g carbohydrate / 0 g dietary fiber / 0 g fat / 0 g protein

Photos and recipes by Kathy Sheehan, copyright 2022
All rights reserved. Please do not duplicate without the author’s permission.